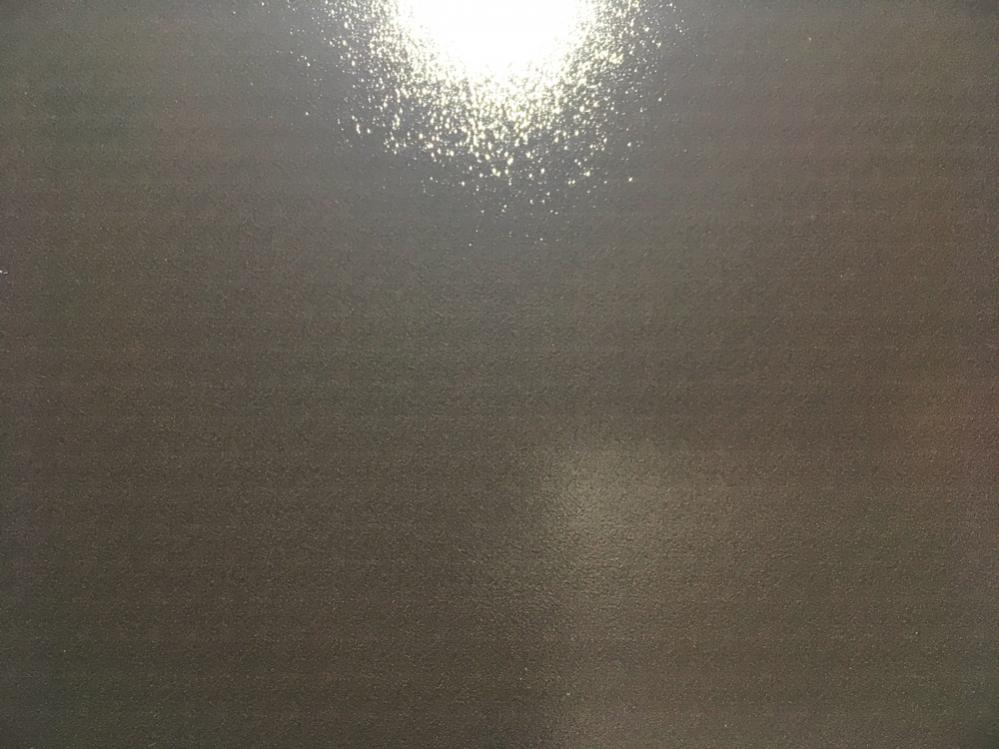
The prints got starting to have lines on the entire printed image(please take look at the attachment) after the tech guy installed the new head. The lines are same direction to move of the head, looks like nozzle check test.
I had this issue on smaller part of image before with another printer, also 7880. It was managed by changing the setting of the Paper Feed Adjustment, “-14” as Walker suggested. Now entire image got lines. I tried three types of baryta papers, and “Wide” & “Wider” platen gaps, and also “-14” & “-28” Paper Feed Adjustment. The results were same.
Here is one thing I concern… When the guy installed the head and got it fine tune with their professional software, he didn’t worked with a Epson paper, but Canson Baryta paper. It might got off the setting?
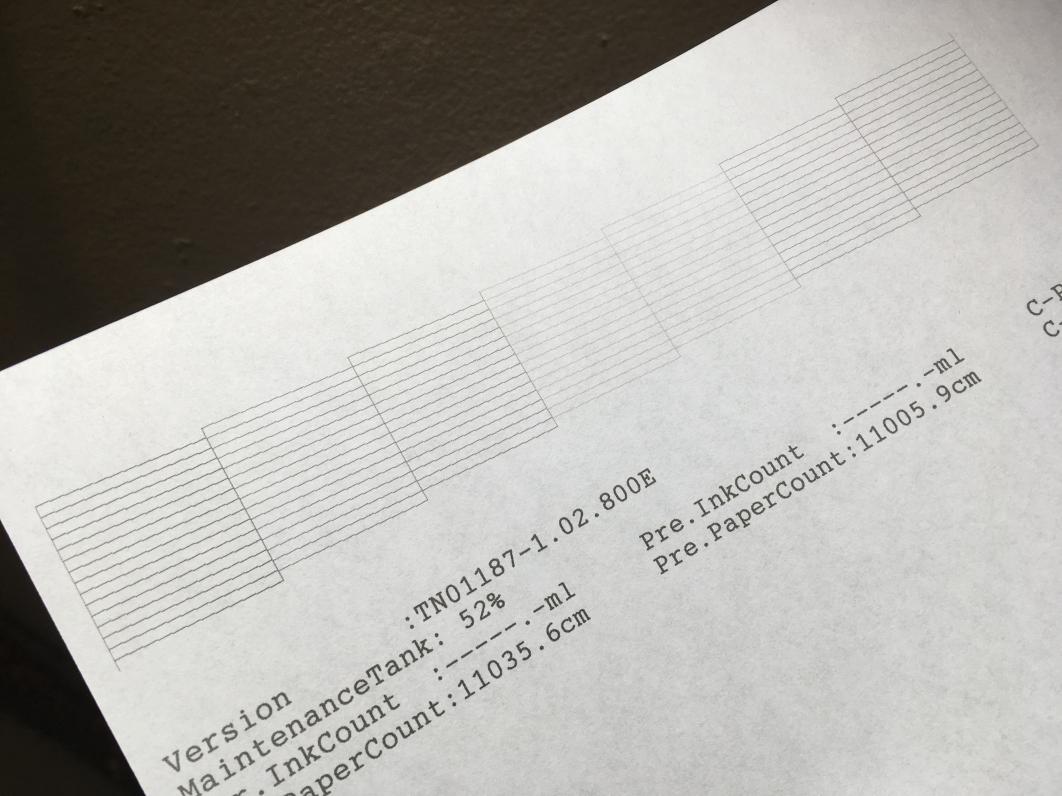
Thank you for getting back to me. Please take look at the attachment. The nozzle check is perfect.
The new printer head was just installed 4 hours ago, but the adjustment was performed with PizoFlush and Canson Baryta since the printer had issue not the head.
What I suggest is to set your paper type to something normal (say Premium Luster 260) on the printer’s panel. Do another test and check for lines. It could be that this specific printer needs a +20 paper feed speed (Premium Luster Paper 260 is actually defaulted to +20 or so). It’s important to test in both directions w/ paper feed speed settings.
Regarding the first thicker line, I have seen this before but only on x900 series printers and no x880 printers. On the x900 series printers, the fix was always a print-head replacement. However, due to the fact that this print-head was adjusted with PiezoFlush in the lines (something that is impossible), I think you’ll want to do a manual head alignment as well, but only after getting the correct paper feed speed.
I tried a couple of different “Paper Feed Adjustment” with different papers. The number varies by the type of the paper. For instance, the lines almost disappeared at +20 for Canson Patine and “0” for Canson Photography, but not completely… It is tough to find the fine tune…I am wondering If there are some formulas to find the best number for different paper.
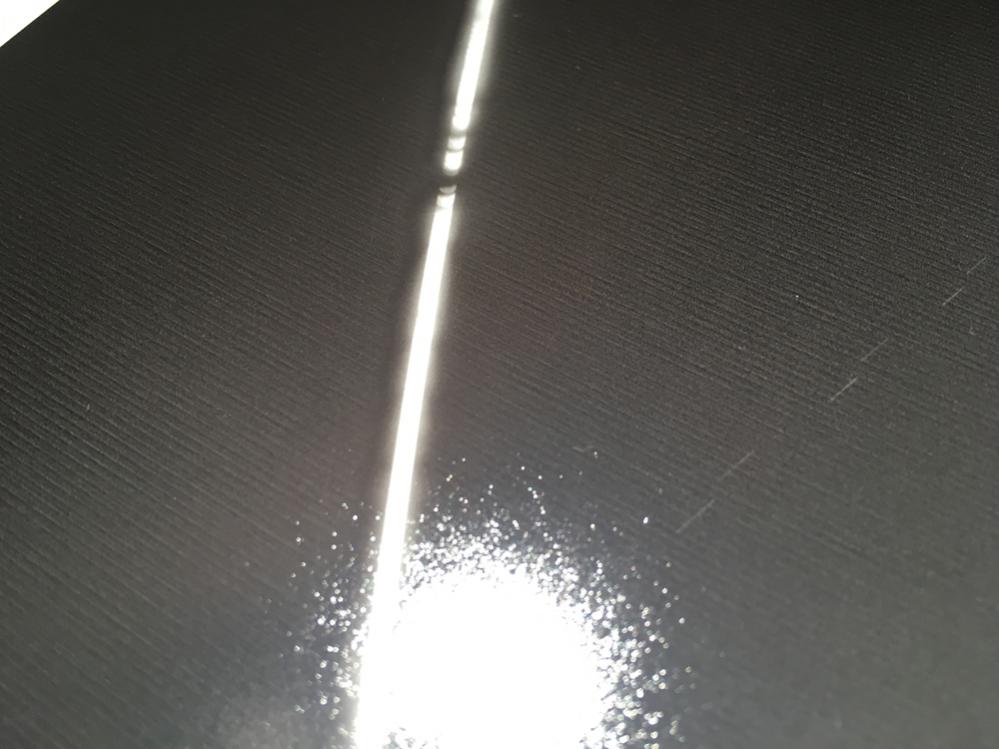
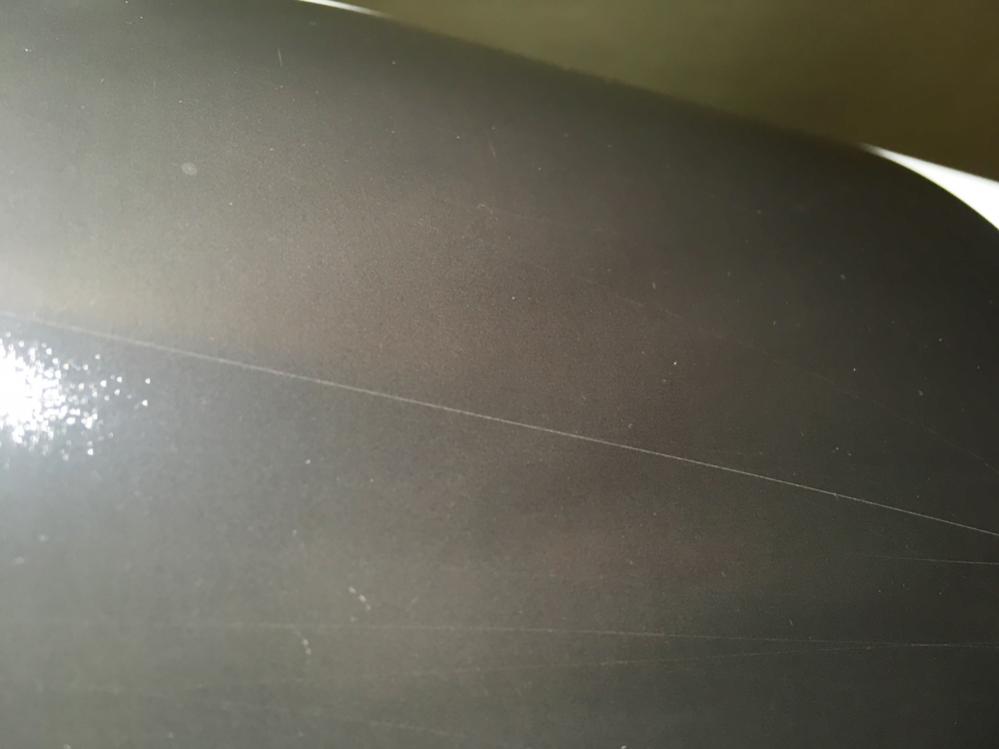
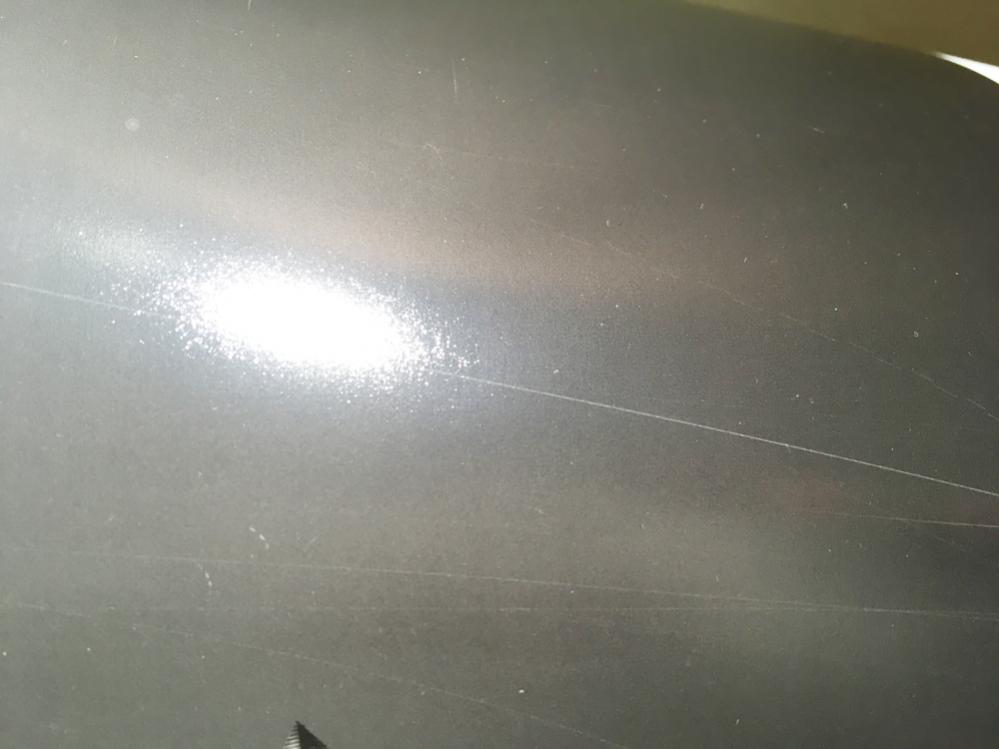
The horizontal lines issue managed by “Paper Feed Adjustment”, which we’ve discussed the above. How about the vertical lines, paper feed direction, which I can see on some of the papers, more like unevenness…in same width(please take look at the pics). I printed the same image different rotation, but they are seen only paper feed direction.
The vertical lines are caused by head alignment issue. Because the head alignment was done with PiezoFlush, the first calibration didn’t work. As I said in the post before, please do a Manual Uni-Direction head alignment from the control panel.
The head alignment was checked by the tech guy with his software & general photo paper, and we printed the same images with Canson Baryta, but the vertical lines are still on images…horizontal lines were gone.
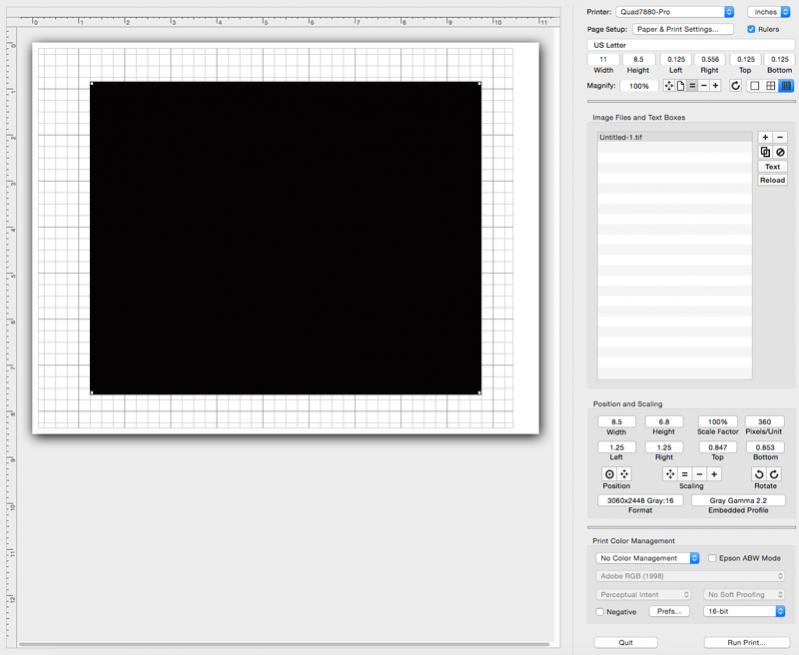
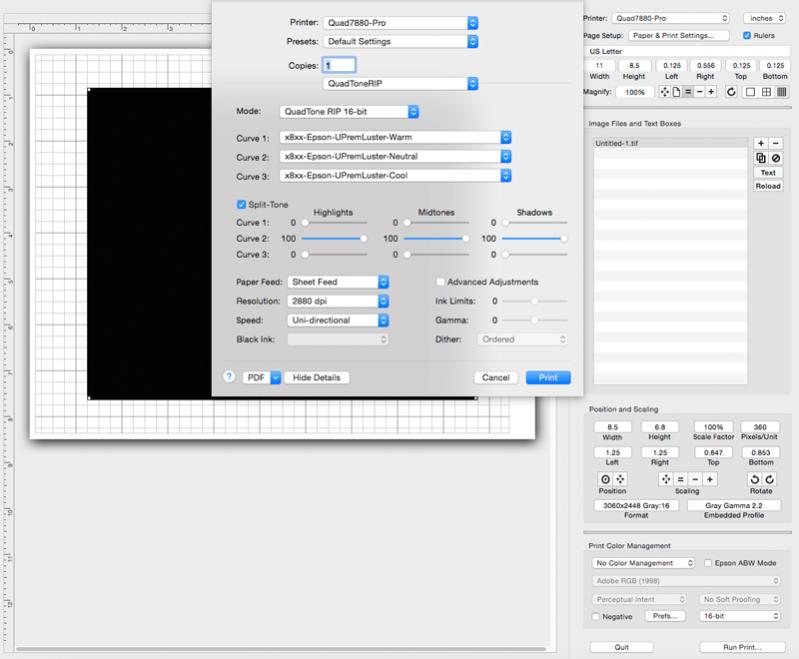
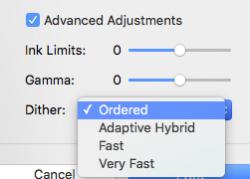
I also printed the same images(gray scale/2.2gamma/16bits) with and without QTR, with Print Tool/QTR, with Photoshop CC 2017/Epson driver(this tones are bit different from the others), and Photoshop CC2017/QTR. I can see these lines only the images printed with QTR. Same with another 7880 and QTR. And I’ve reinstalled QTR and Piezo software several times before printing. I use the latest Mac Pro(black one) with Yosemite.
I am wondering how I manage it. Anything wrong on the rip, profiles of the images and so on…
I did the manual head alinement, uni-D, with the pro inks, and Epson Ultra premium Luster(Letter size) and also Canson Baryta Photography(Roll, 24" with). The lines of LLK could not be detected due to the gloss optimizer, so I put “5” all. I printed the same images, but the results were same.
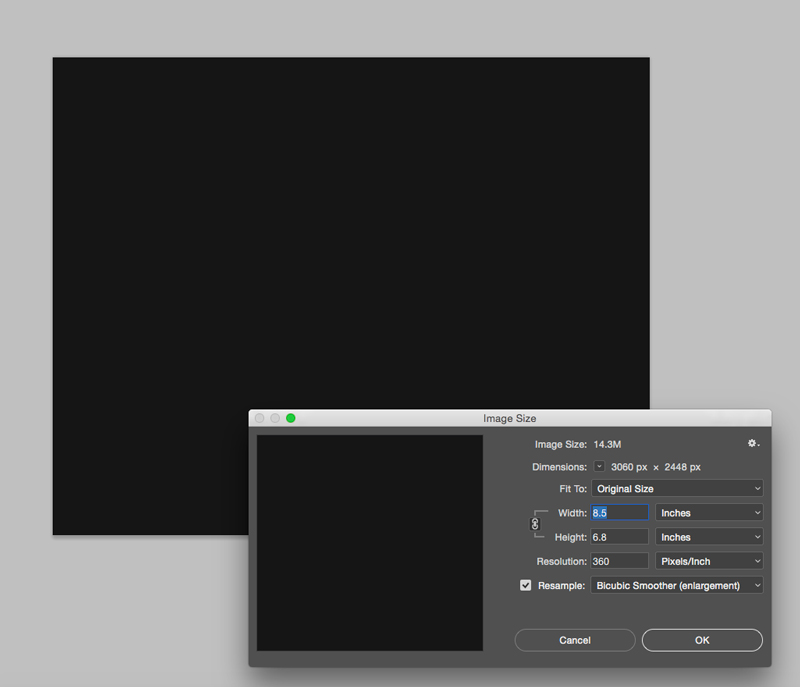
And then I did the manual head alinement with Epson Ultra premium Luster paper again. I thought the files themselves might have issues, so I created a flat gray image(K-89%/Gray/2.2/16bit) with Photoshop and printed it with both QTR and Epson driver in Print Tool.
Whenever I use QTR, I find the same banding issue, look like cross stripes to both horizontal and vertical direction, (Please take look at the attachment. The paper is Epson Ultra Premium Luster). And also I reinstall the curves with “Printer_Installers” and reset the printer, but the thing was same.
I am wondering what you think might cause this issue.
Your horizontal lines are print-feed related or nozzle related (a nozzle dropping out during print). Remember, you corrected this problem already w/ paper feed speed change, so you need to do this again! Change the platen gap from Normal to Wide also if need be.
The vertical lines are usually caused by head-alignmnet issues but you are having too many variables and problems to suss this out correctly online it seems.
It could be as simple as you are using the wrong curve! (You are using the “4880-7880-9880-Pro” curves yes?) We have several x880s working perfectly w/ Pro at Cone Editions (and others have this installed in their own x880s with no problem reported yet) so it’s not any inherent flaw in the system.
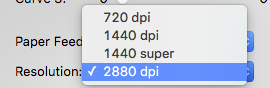
Try this one thing. Resize your image to 360 or 720 dpi which ever closer to the original and print it without changing the size. (Make sure “fit image” option is not sected on any printing driver so no resizing occurs unrealizingly)
I resized the file, 360dpi, as you recommended and printed, but the result was same.
Before I printed this image, I reinstalled all of the softwares and did manual alignment, Uni-D, with Epson Premium Luster(all of # were “5”). I also tried feed speed both “-14” and “+20”(with none resizing image), but the result were same, so I set the feed speed “0” and run this print as the attachment shows.
I am wondering if there are anything I can provide to check weather or not I am doing wrong?