Want to linearize K7 curves using Curve Creation in QTRqui. Have installed Piezography curves in original download. When I open Quad3880-K7 folder with the Curve Creation tool, the folder switches to uc-3880 and all the curves are uc curves, not K7. The printer’s name is Epson Stylus Pro 3880 and the printing model is Quad3880-K7. I can open a K7 curve when printing, but there is no access to warm, neutral, cool tones for the ink, and thus I can’t do any blending. Any Windows users out there who could help would be appreciated. Actually, I believe it’s mentioned somewhere in the literature for Piezography Pro, which I have, that the curve creation tool in the Windows version of QTR is needed to create curves generated by the Excel Tool. I can’t find anywhere that explains the process. The video on calibration is Mac based. It’s said that the process for Mac and Windows is the same, but for the life of me I can’t finalize a usable curve after all the scanning and tabulation is completed. Again, help would be appreciated.
You don’t use the QTR Curve Creation (aka Curve Creator) tool for anything Piezography. It makes QIDF (Quadtone Ink Descriptor File) files which Piezography does not use. In Windows, QTRgui is used only for printing.
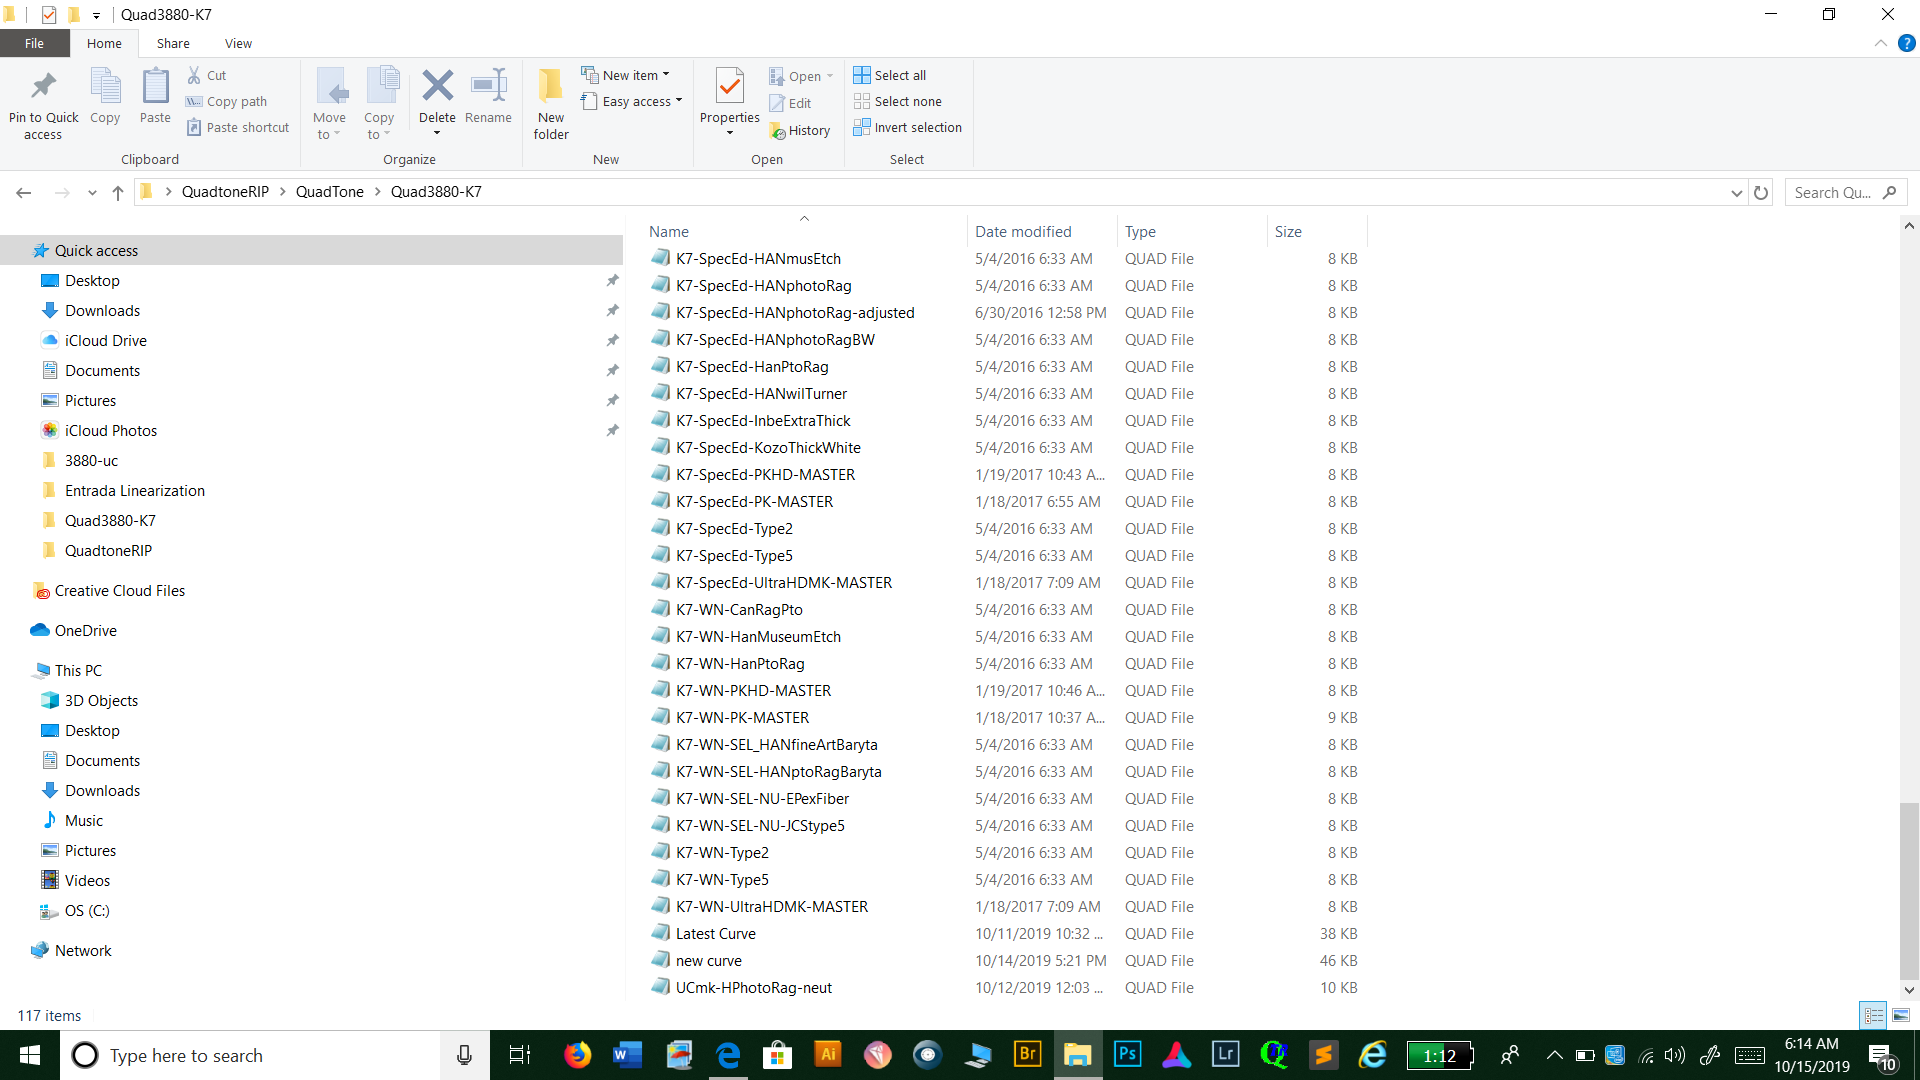
For making a new linearization from an existing curve, you will use the QTR-Linearize-Quad app (droplet) that is located in the folder C:\Program Files\QuadToneRIP\EyeOne, with the starting Quad and the text file of the CGATS output from the Smoother Tool, if you are using the original (v1) Piezography Tools, then you simply drop the new Quad into the relevant folder: C:\Program Files\QuadToneRIP\QuadTone\Printer Model-K7 to make it available for printing in QTRqui. If you are using the Piezography Professional Edition Tools (PPEv2), the linearized QUAD is created there and you don’t need to use QTR-Linearize-Quad at all. The instructions for both of these methods are in the tools themselves.
Detailed instructions for Method 1 (v1) can be found in The Piezography Manual 2017 Deluxe Edition, Section 9, Linearizing Piezography.
Detailed instructions for Method 2 (PPEv2) can be found in The Piezography Manual 2018 Deluxe Edition, Section 9, Linearizing Piezography.
Hope I got this all right and hope it helps.
Keith
Old PDFs for those who need them.
2016: Deluxe: https://drive.google.com/open?id=0B4gHbc7Tg9-ScHJHRkM1dkgxQmc
2017 Deluxe: https://drive.google.com/open?id=0B4gHbc7Tg9-SeTQ0ZjJGWHhzUGc
2018 Deluxe: https://drive.google.com/open?id=1H148HMMRJnRLdkaX-IkaXtF1tczhCABd
2019 and Onward manual published online now : https://shop.inkjetmall.com/getting-started-with-piezography
You must install the Windows Community Edition to get access to the Warm,Cool,Neutral Piezography Pro curves: Piezography Community Edition | Piezography
best,
Walker
The “smoother tool” has a Piezodn designation. Is that what you want me to use? I tried entering data into the tool but it wouldn’t let me, indicating that it was a protected document. Actually, I have used the Excel Piezo Professional Tool 2.1 to create a reasonable looking linearization. But, I stuck on how to insert this into my curves folder for Quad-K7. The instructions say to save the Starting Curve after the New Curve has been pasted as a quad file into the curve folder for the printer. How do you save as a quad file? Afraid this step eludes me. Thanks for any advice.
Oops! You are right about the smoother - it’s part of PiezoDN. But since you have PPEv2, it’s kind of a moot point since that is really what you need.
From the New Curve tab in PPEv2, simply follow the instructions at the top of the sheet. In Windows you just save the new quad to the appropriate folder - something like:
C:\Program Files (x86)\QuadToneRIP\QuadTone\Quad3880-K7
I am not a Windows user, but I just fired up my wife’s old Windows 7 laptop, installed the Piezo Community Edition and QTR, and double checked that things are where they are supposed to be. All seems okay.
In Printer section I select:
- Name: Epson Stylus Pro 3880
- Printing Model: Quad 3880-K7
In the Curve Setup section all the appropriate curves show up in the dropdown list including one of my own that I copied to the folder while QTRgui was open. I didn’t need to close and reopen the app for the curve to appear.
One more thing that may need clarification: When you are saving a new curve from PPEv2, you copy the “orange” (looks more yellow to me) block to a new text file in your text editor and be sure to use .quad as the extension rather than the default .txt extension. This is important and easy to overlook.
I hope this answers your questions.
Keith
Hello again,
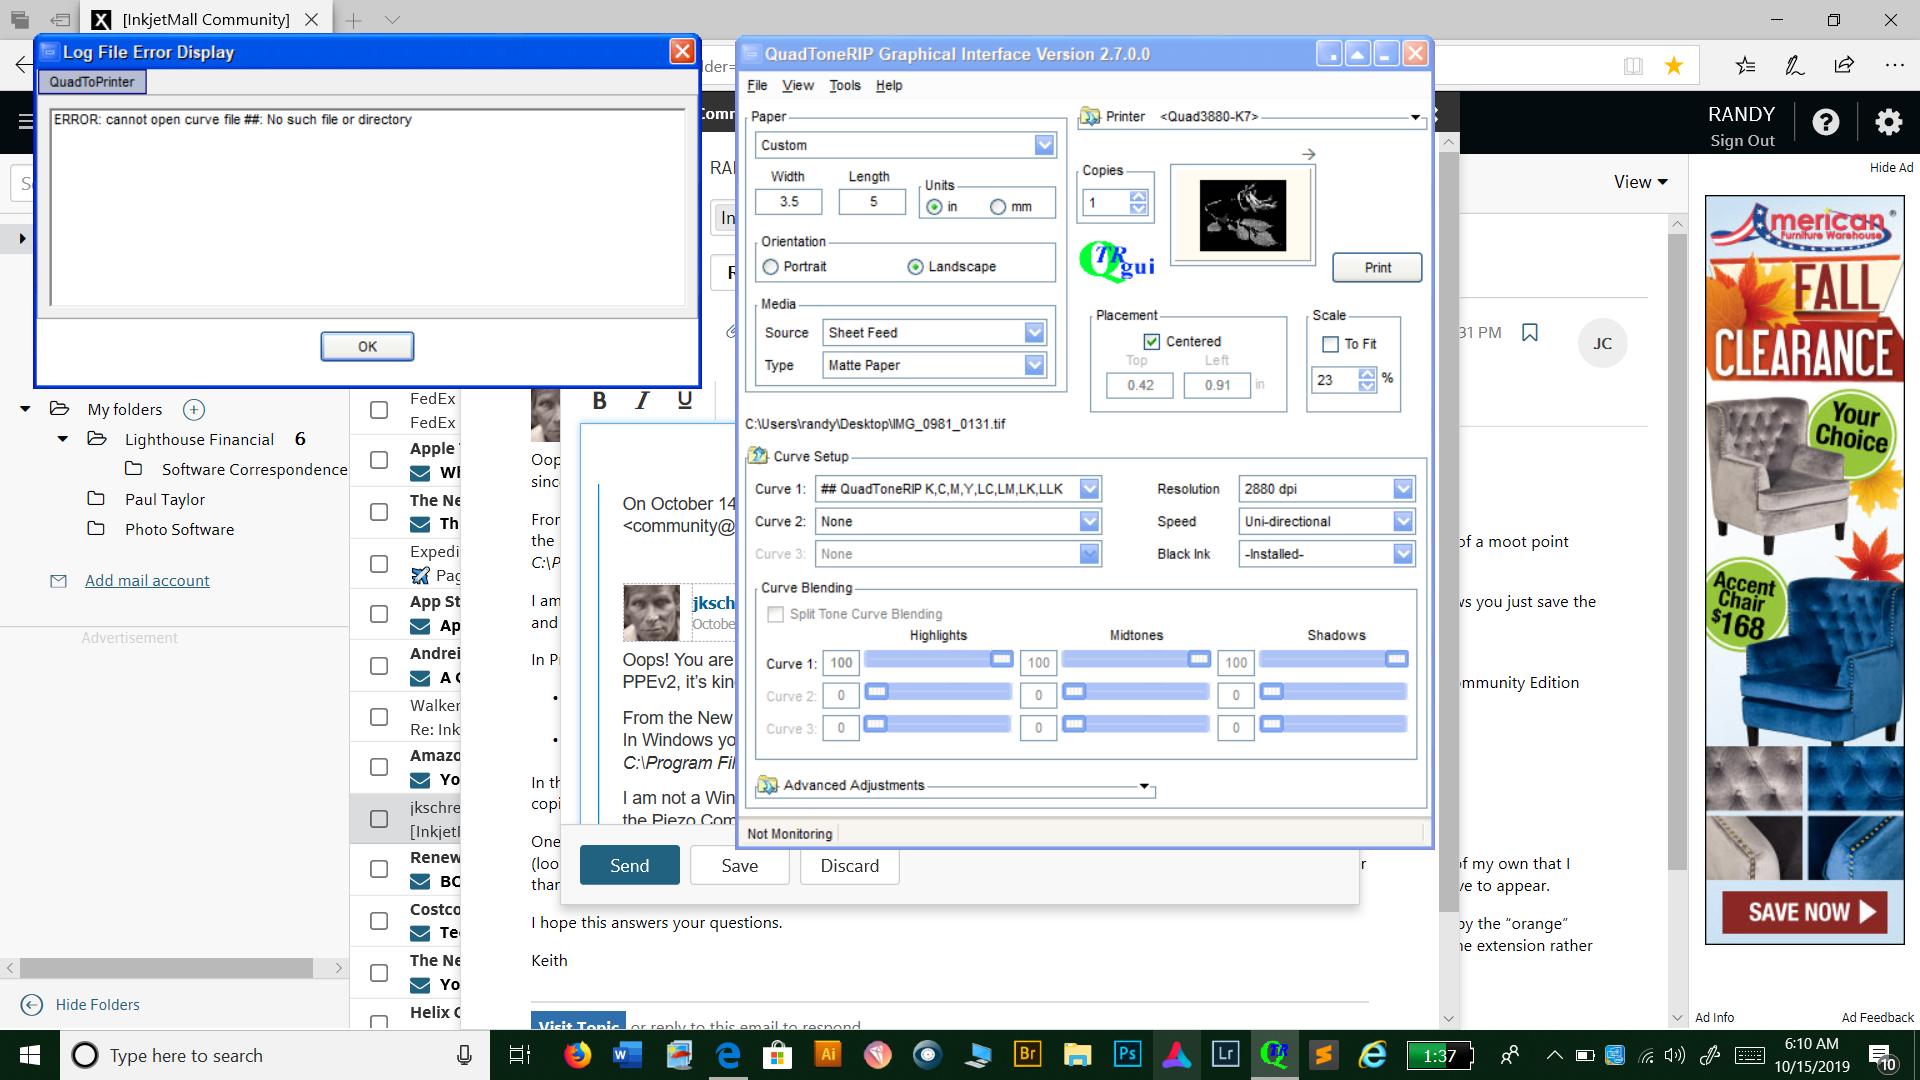
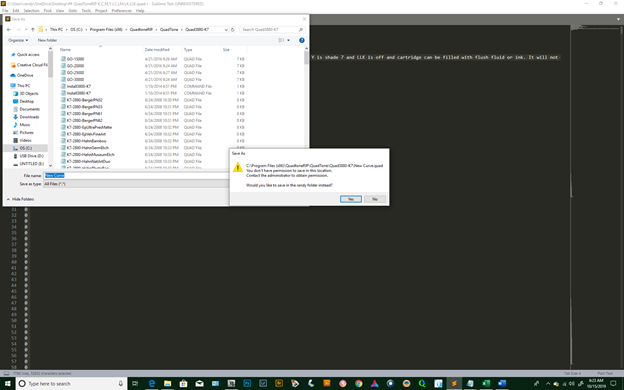
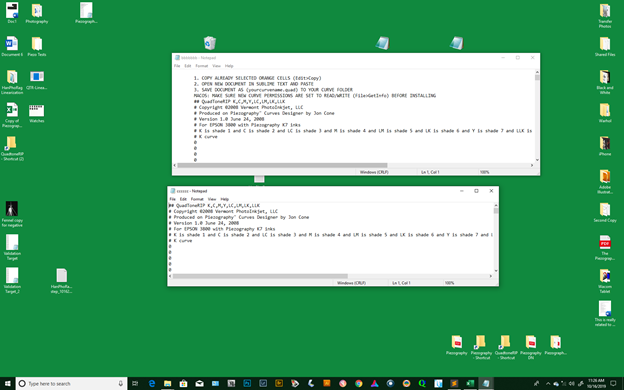
I do appreciate the lengths you went to to investigate the issues I’m having, and they are many. I followed your protocol to the letter, and, in fact, that is what I had been doing all along. And, yes, the quad files that are copied from the Excel tool are in the QTR folder (by the way, my desktop computer won’t let me save to the QTR file, as indicated in one of the screen shots…I have to copy and paste…has something to do with macros? I have gone to the Info file in Excel to execute a read/write function for the New Curve…but can’t locate where this is done…I tried to “unprotect” the New Curve but a password was required, but what password?..or is this even where to go?) However, when I choose the new curve created by the Excel tool to print, a message occurs, as indicated in another screen shot, that there is no such file in the directory. And yes, I save with the quad designation. When I try printing anyway with the newly linearized curve, the print is pure black. So… Did you try printing with one of your own curves that was in the K7 folder?
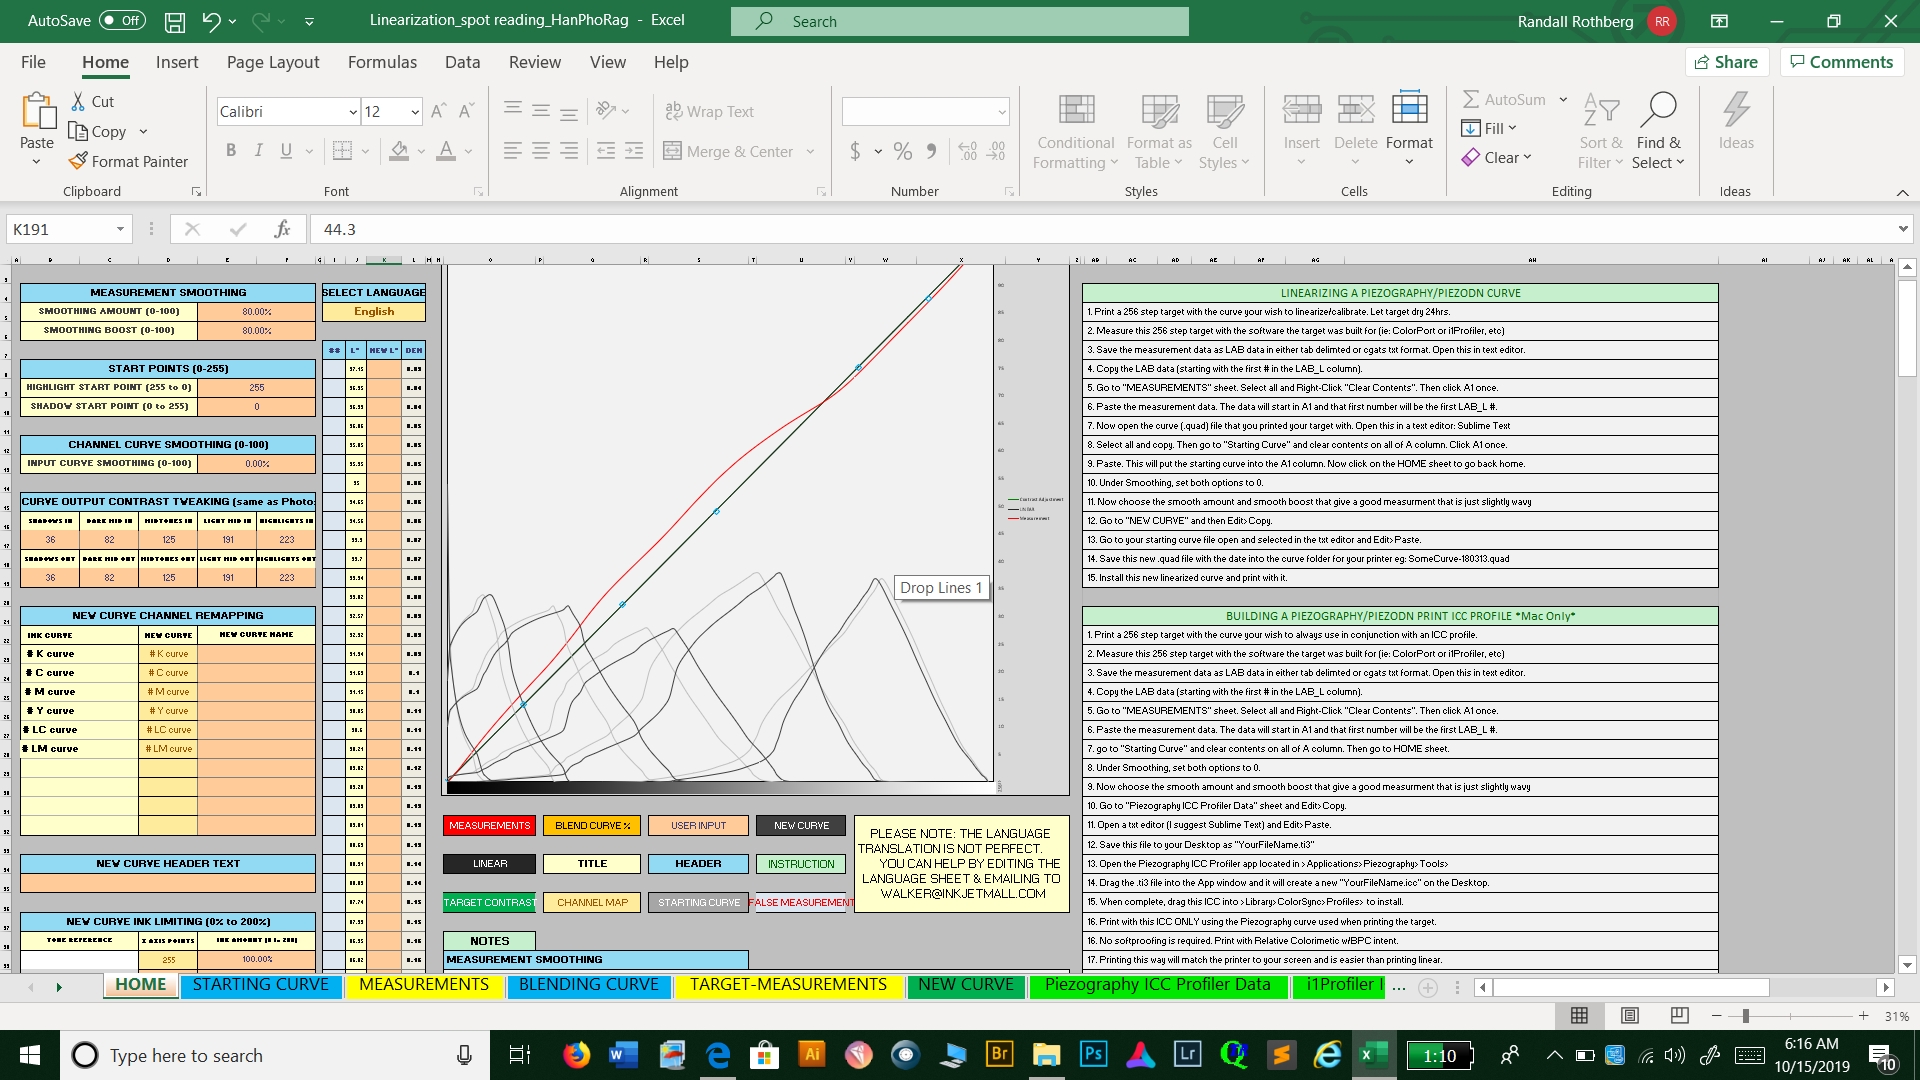
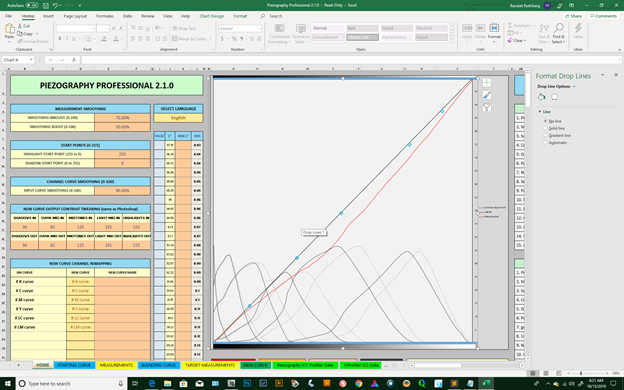
I’ve also provided shots of a couple of linearizations. I watched the calibration video and in it the red line is awfully close to the ideal. My red lines are not. It’s unclear what we are shooting for. Are my results acceptable? Are they, on the other hand, reflective of issues with scanning? Even with high levels of smoothing percentages, I’m not seeing much of a before and after difference. Is this normal?
You know, I’ve used the K7 inks for quite a while and I’m basically very happy with my black and white work. In fact, lately I’ve scanned 21 step patches using Piezo curves and used the QTRgui curve creator to linearize them; the results have been excellent. Have gotten deeper blacks and more tonal range. So, I wonder why I’m tearing my hair out with PiezoPro. I thought even though I was basically pleased with my basic K7 setup, it would be fun to fine tune even more. Maybe I’m the only one having these problems. If so, I apologize for my ineptitude but so it goes. I’ve watched the video and I’ve read the instructions, many times. But still…
 h
h
- You need to smooth your measurements more. Go to 80 on the first one and 60 on smooth booster.
- When you go to “new curve” simply File>Copy (the correct orange cells are already selected) and then go to your original curve (in text edit) and select all and paste over. I think what you did was actually select the entire column and copy/paste which is not the correct procedure. Only the orange cells should be copied.
- Save this new curve as (somename.quad) in the curve folder and print with that.
best,
Walker
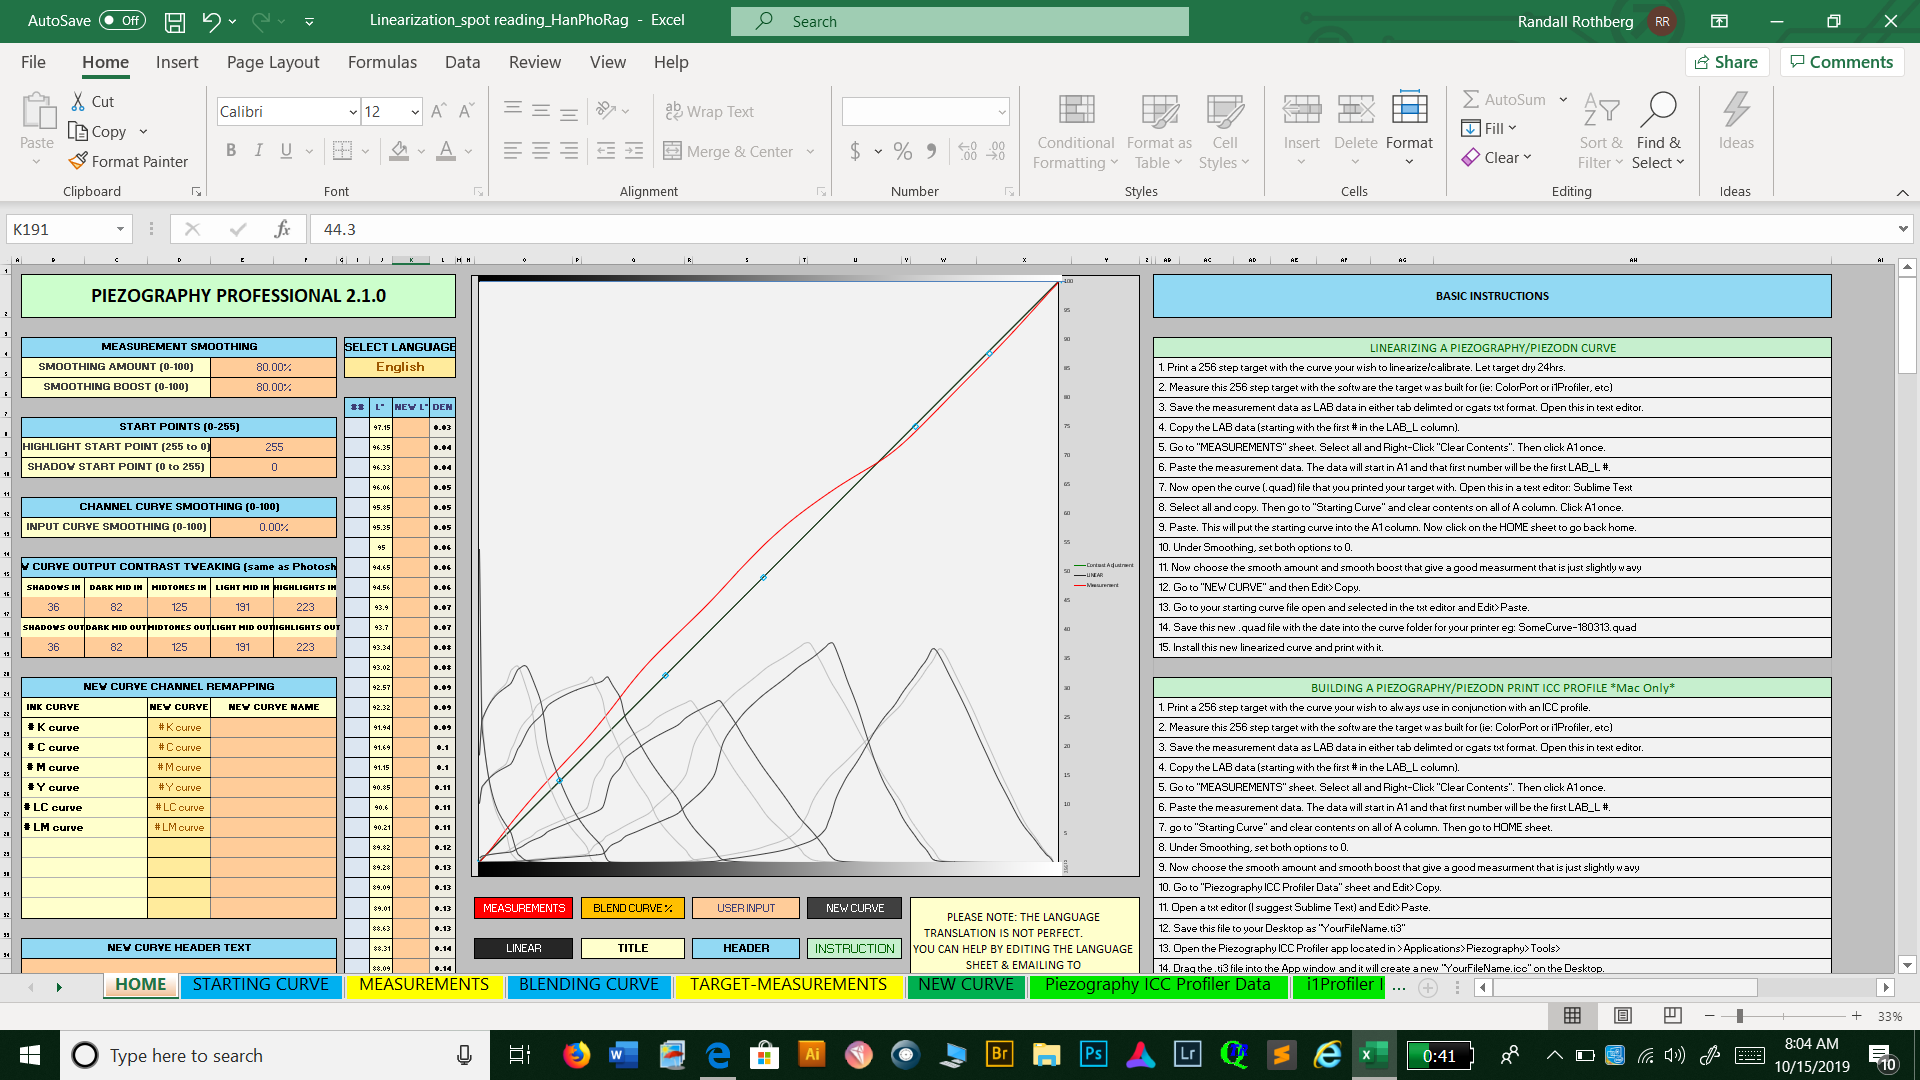
Okay, I did what you said, and I got a message that I didn’t have permission to save to the given location. On the bottom curve, the settings are 80/80. Is the curve acceptable? Or do we need to be spot on the ideal? Sorry for this back and forth, but I am determined I’m going to get this right.
always save to desktop and then copy to final location.
best,
Walker
Thank you Walker, I’ll do that. Could you also respond to my question about how close to the ideal a newly linearized curve should be. Do the curves I sent your way fall into an acceptable range? The second of the screen shots, in particular, was boosted 80/80. Even after 80/80 boosts, some curves don’t seem to move any closer to the completely linearized line. Are we still good if this is the case?
The smoothing is not making it more “linear”. You need to copy/paste the new curve, save it, print the validation target with that new curve, let that dry overnight, and measure that curve.
You also need to ensure that you ink has not settled. If it has you need to agitate your carts and also print some pages to ensure agitated ink is printing from your head.
best,
Walker
Thanks for all the help. I know this is a pain, but things are progressing. So I successfully installed a curve the 3088-K7 folder and using that curve printed a target, scanned it, entered the measurements, entered the Starting Curve, but there isn’t a New Curve present. Something amiss? Or am I missing the next step?
Copy past the curve that you used to print/measure the target + the measurement and it will always create a new curve. But to validate you only need the measurements just to see if it’s linear (red line roughly = to the straight line).

You must install the Windows Community Edition to get access to the Warm,Cool,Neutral Piezography Pro curves: Piezography Community Edition: Manual, Curves, Documentation, & Tools
Walker,
This download still does not contain the IMAGES files. You had indicated last week that it would be fixed.
Dave
fixed. sorry, I was traveling abroad.
best,
Walker
Thanks. But please note FYI:
If I download from https://piezography.com/downloads/piezography-community-edition directly I get the fixed version.
But if I go to https://shop.inkjetmall.com/ and then follow the “Support” link to the “Piezography Community Edition” link, I get the bad version of the zip file.
So there is still something buggy between your two web sites.
Regards,
Dave
simply a normal cache thing.
takes a few minutes to recache
-W
Hi Walker,
Some good news. I was able to print off of a curve produced with PiezoPro and I was very pleased with the result. However, I hope it wasn’t a fluke. I tried a second to make sure I had this down. Everything went fine until I pushed the print button for the second curve and keep getting the message that the new curve only has six inks and can’t be used. As you can see, the curve indicates 7 inks. The bbbbb curve is the successful one, and the ccccc curve the one not working. They seem the same to me. Any thoughts? And I must once again thank you for your patience with me. I certainly appreciate it.

These screenshots you’ve been posting are much too small to read. And as far as I can tell, there is no need for the full screen - try capturing the relevant window only. I don’t remember how that is done in Windows but I’m sure there is a way.
If nothing else, maybe just copy/paste the text from the text files into a reply.
And sorry for any errors I may have made in my previous comments. I haven’t been a Windows guy since the early aughts, but I happen to have my wife’s old Dell laptop sitting here unused so I try to do what I can to help by putting QTR and Piezo software on it. All I can say in my defense is what I said above worked for me. 
Keith
Sorry about the screen shots. They are awfully small. In the meantime, I got the curve to work…and I’m not sure why. I re-did the measurements, saved…and it worked. I’ll try some more and watch my moves closely to see if I can nail down what might be a problem. Sometimes I wonder about the Windows platform. It seems awfully finicky.
One last thing and maybe you’ll be rid of me. After scanning the validation target and entering the measurements, if the curve looks okay, is it a day? Or is there another step? And I’m still unclear on how okay is okay for this final curve. Anyway, you’ve been great and I appreciate all the help.