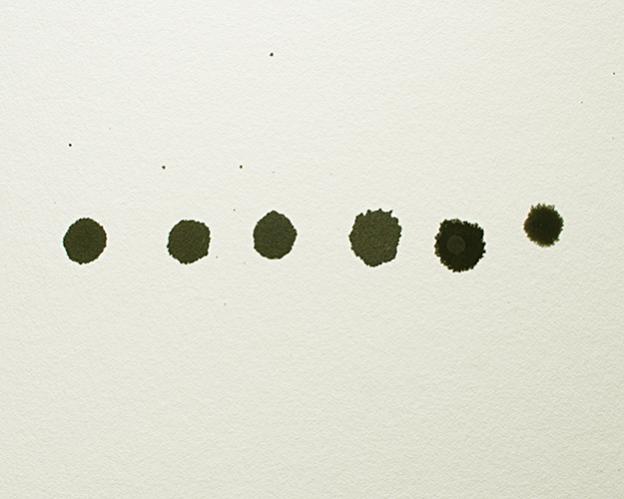
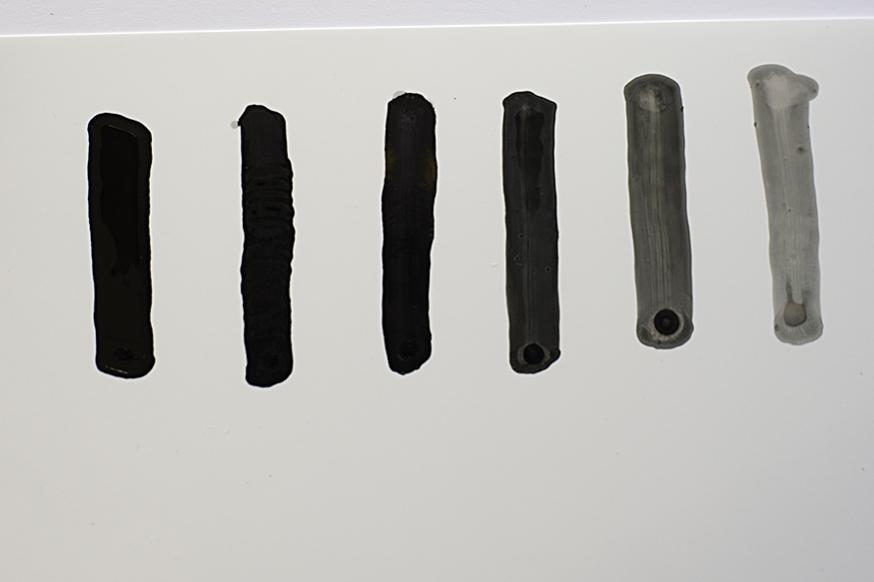
Test 2. left to right shade 1 through 6.

Test 2. left to right shade 1 through 6.
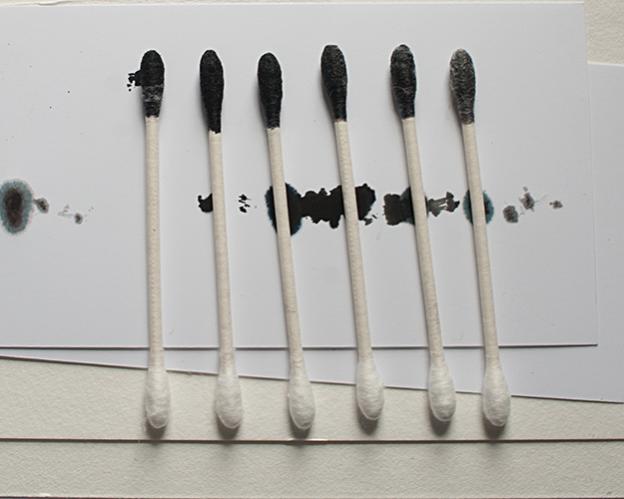
And one more just for fun. 
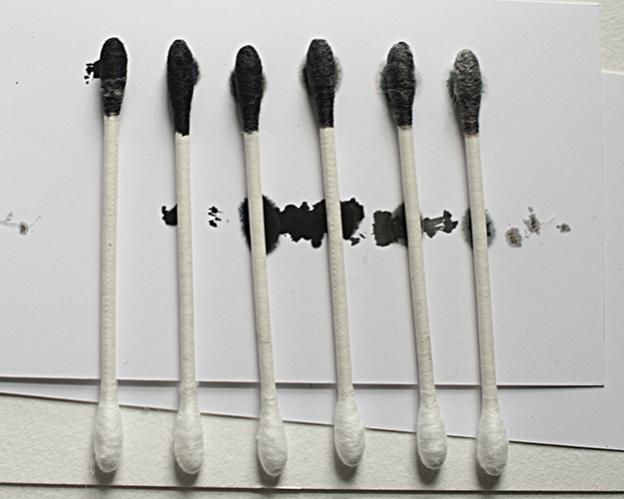
Test 3 after drying a little bit.
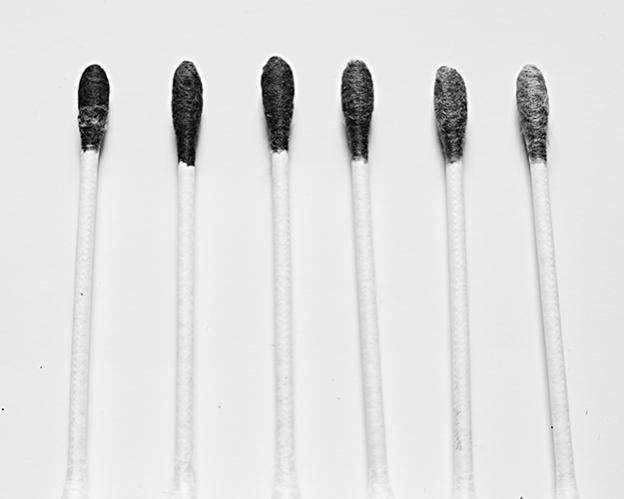
Finally: The same q-tips after more drying, I moved them to a clean piece of paper. This file was saved in grayscale.
Sorry not to explain better… but it would be best to shake the bottle, dip the qtip and wipe the qtip down a sheet of glossy or semi glossy paper. The idea is to smear so that the ink is wiped onto the sheet of paper and we can see if there are six different densities of ink.
We know that you have at least five correct bottles because you have printed five different shades of ink. On your second attempt to fill the cartridges, you only printed four shades of ink. BUt we know that you do not have only four densities of ink in six bottles, because you first loaded five different inks. We rarely even if ever misfill a bottle. We know that you are not correctly installing them. But what we need to see for certain is that you really have six shades of ink in the bottles. So smearing them on the glossy or semi-glossy paper should reveal 6 different densities…
Beyond that, we are relying on your to to put six shades into the correct six cartridges. That we can not help with other than suggest you set everything out pairing the cart with the bottle and methodically filling them correctly.
Okay then.
Hey folks, just checking back. Any thoughts on the above shades of ink?
Based on your ink smear test, it does look like you have 6 different shades of ink, but the two printer Ink Separation images don’t show the expected results.
I have attached a correct printout of the Ink Separation image (from a 1400 printer), which shows obvious differences in the six ink shades (compare the 30% or 60% patch of each strip to easily see the density differences), and proper shade placement. If your printout doesn’t look like this, then I suspect you may have filled carts with the wrong ink shades, or didn’t shake ink bottles before filling carts.
Best regards~ Dana
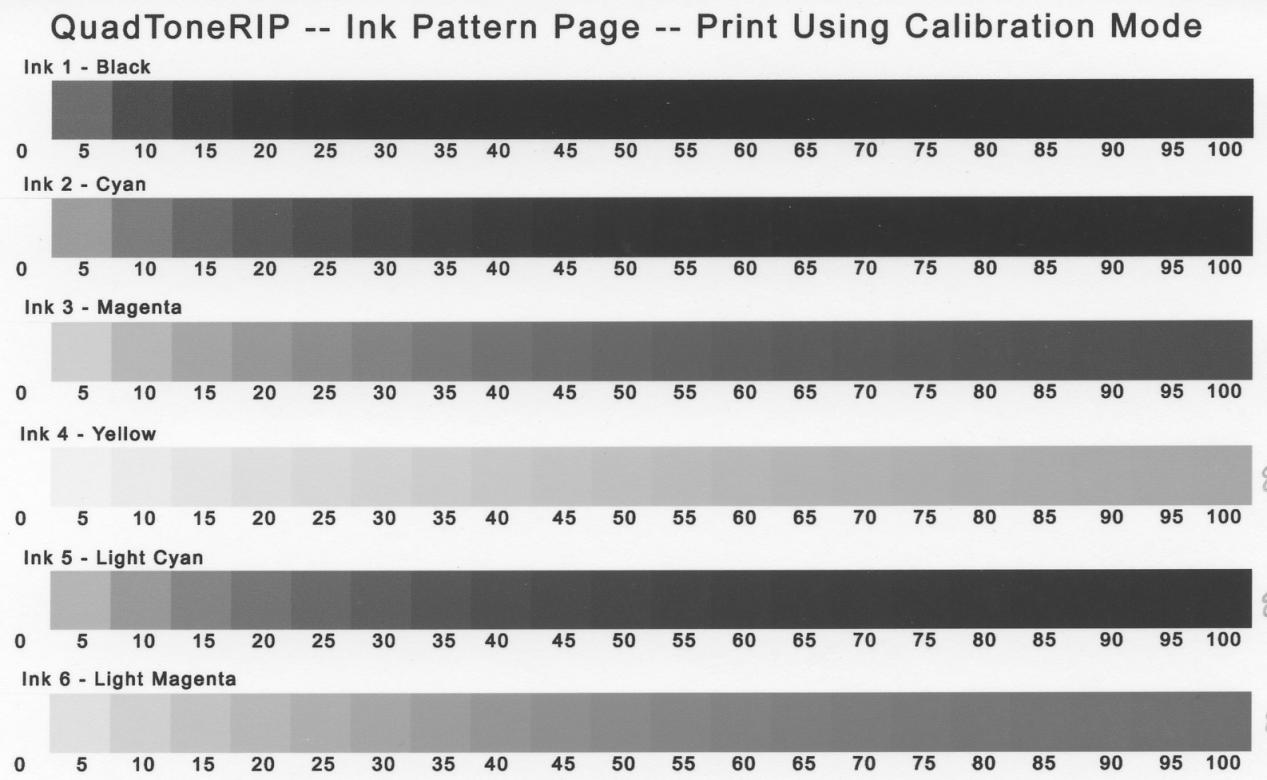
I agree that the ink pattern page is different then the one produced by my printer. However, I do not see a difference in the smears. 2 and 3 look exactly the same.
To be more specific: I see a clear difference between smear 3 and smear 4 and the same difference between smear 4 and 5 and again the same difference between smear 5 and 6. These smears show a consistent graduated change in tone. I do not see any difference between smear 2 and 3. I’m not sure there is a difference between smear 1 and smear 2 for that matter.
As I read your response your remedy is for me to obtain new carts and start again, is that correct?
In the event that I do, in fact, purchase another set of carts and syringes, and the result is the same; that the ink pattern is identical to the second pattern I posted, what is the next step?
Hi Runner6~
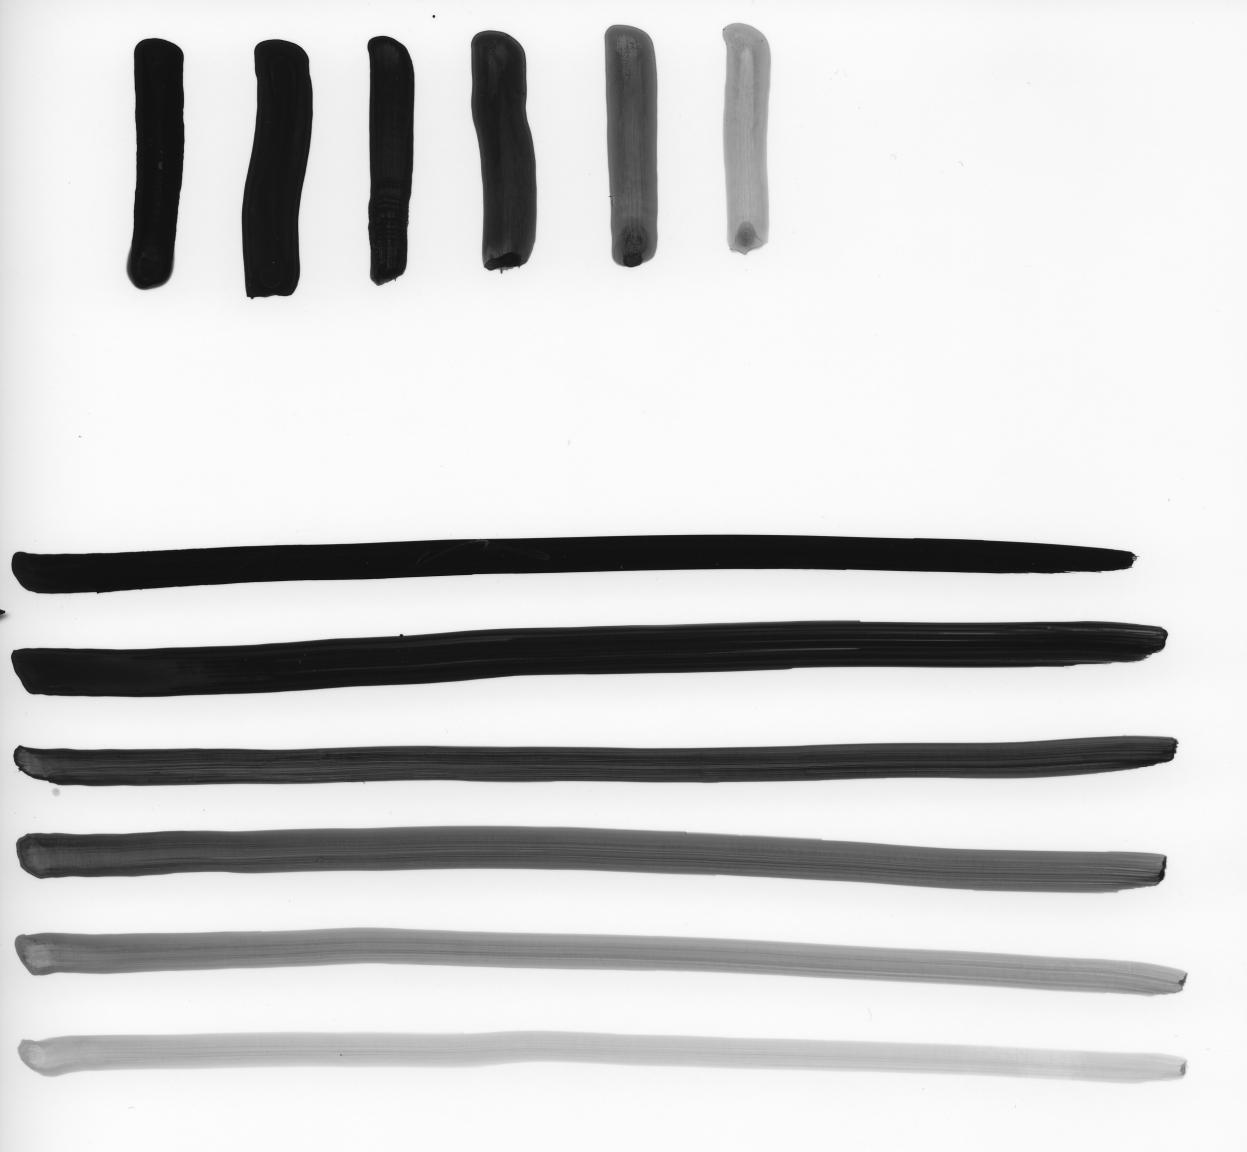
Sorry for not responding quicker, I wanted to do a Neutral K6 ink smear test on glossy paper to compare to yours. On the top, I did short vertical smears like you did, then at the bottom I did longer horizontal smears. Normally, when I do smear tests, I do longer horizontal smears to be able to better see the ink shades, and also normally use matte paper, which shows the ink shades better than glossy paper. As you can see, my short vertical smears look the same as yours, and I agree shades 2 + 3 look the same in this test, but you can easily see the density difference in the longer ink smears. I’m working from home today, but tomorrow when I get back to the office, will write an official “how to do an ink smear test” to add to our articles section, to explain the best way to do it, and add photos showing expected results.
So, I believe you have correct ink in your bottles, but am unsure carts were filled with the correct shades, or possibly the ink bottles weren’t agitated before filling carts (?), as your printed ink separation charts don’t look correct.
I feel it would be best to get a new set of carts (you can just get a set of carts, and use the syringes you already have), then shake your ink bottles, and fill the new set of carts by carefully following the ink shade placement chart in the cartridge instructions, specific to the 1400/1430 printer model. I recommend writing on each cartridge with the Piezography ink shade, for easy filling/refilling. I often write on each cartridge to indicate the ink tone and shade, as well as the date they were originally filled, so I know exactly what ink is inside, and how old the carts are (since we use a LOT of different inks and carts here).
Please also be sure to read both the cartridge instructions, and Piezography manual to get the best results with your system, to be happily making beautiful Piezography prints.
I hope this helps.
Please keep me posted, and let me know if you have further questions or there’s anything else I can help you with.
Best regards~ Dana
Thanks Dana I’m still here 
I have a clean set of carts and I’m going to load them up today.
Okay, I think I am having success.
Fantastic, I’m glad to hear!!
Best regards and happy printing~ Dana 
On a separate note, the image is not centered on the paper. If I print a 5.5 x 3.5 inch image to a 4x6 inch piece of paper the image is slightly off center. Is there a fix for this?
Thanks.
Chris
This is due to the maximum printable area of the paper. Without looking it up, I believe the maximum printable area is .13" from the top and sides, and .58" from the bottom, so if you try printing a 5.2" tall image on 4x6 paper, it should center correctly.
~Dana 
Does work with every size image? On 13x19 paper am I printing an image area of 18.2 by 12.2?
Yes, the maximum printable area with QTR is the same as specified in your Epson printer manual. QTR does not support borderless printing.
Thanks. From time to time I get blotches of ink on the print…
I made a horizontal print with the long side 9 inches. The paper is 8.5 x11. The image is not centered on the paper. I checked “centered” on the QTR interface.
Thanks for any help 
Did you select “Letter- centered” page size? Please contact Roy Harrington for support with QuadTone RIP, as he directly supports QTR. You can reach Roy at quadtone@harrington.com
Regarding the ink blotches you get occasionally- about how often are you getting the blotches? How large, and how many blotches are on each print? Are the blotches on the paper corner or edge, or more near the middle? Have you cleaned your printer’s capping station, wiper blade and/or bottom of the print head? If not, you can follow our cleaning procedures, here: http://www.inkjetmall.com/tech/content.php?133-Printer-Cleaning-and-Preventative-Maintenance
Best regards~ Dana