I am in the process of switching from a P800 to a P6000 using the Piezo Pro system on MacOS Ventura 13.1.
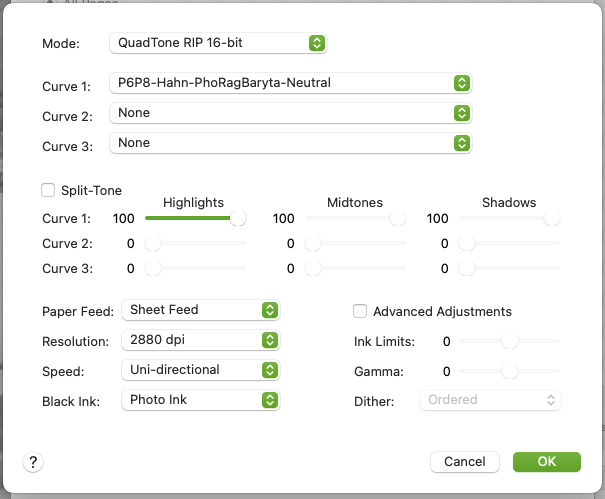
Today I chose a familiar image and started to run some test prints. I am using the identical paper and tiff file that I used on my P800. I print on Hahnemühle Photo Rag Baryta 315 to make a neutral Piezo Pro print.
When compared to a P800 print the P6000 prints are coming out about 1/4 stop hotter.
I am not sure if this is normal going from one printer model to another or if there is a problem with my new P6000 setup.
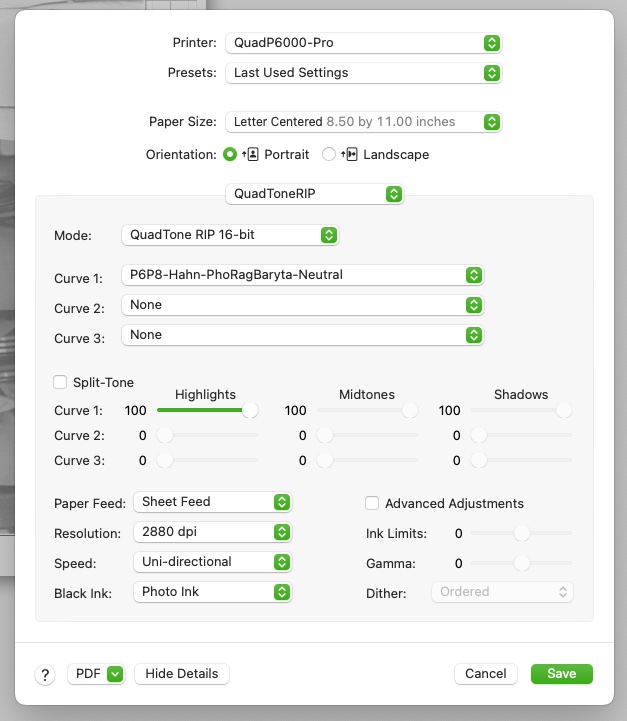
When I installed the QuadtoneRIP for Piezo Pro I went with Curves/P6000-8000 Pro, not the Curves-HD P2 P6000. The installation video show P2 being installed, not Piezo Pro…
One thing I did notice is that thanks to the new printer panel in Ventura 13.1 the setting don’t seem to stick.
I’ll set everything up using "Last Used Setting’ and then by the time I get bounced back to the panel after hitting ‘Run print’ the settings will have changed. Things like 16bit will be 8bit etc.
So, I am not even sure if it is printing with the correct settings. It may just be operator error, but the new Ventura printer panel is not inspiring a lot of confidence in me.
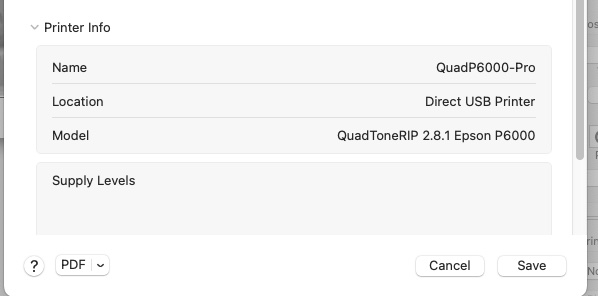
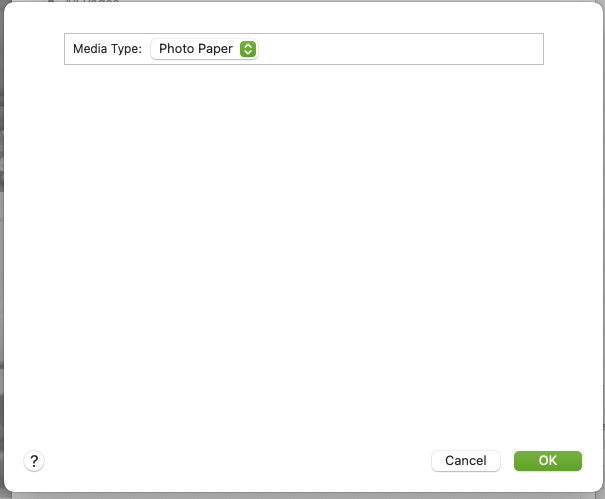
My other question is in regards to the P6000 and things like Paper settings. Do I need to be highly specific like selecting Glossy Photo Paper over Matte Paper etc in the panels or is all of that overridden by QuadToneRIP? Again, a lot more options than on the P800…
Thanks in advance for any help.
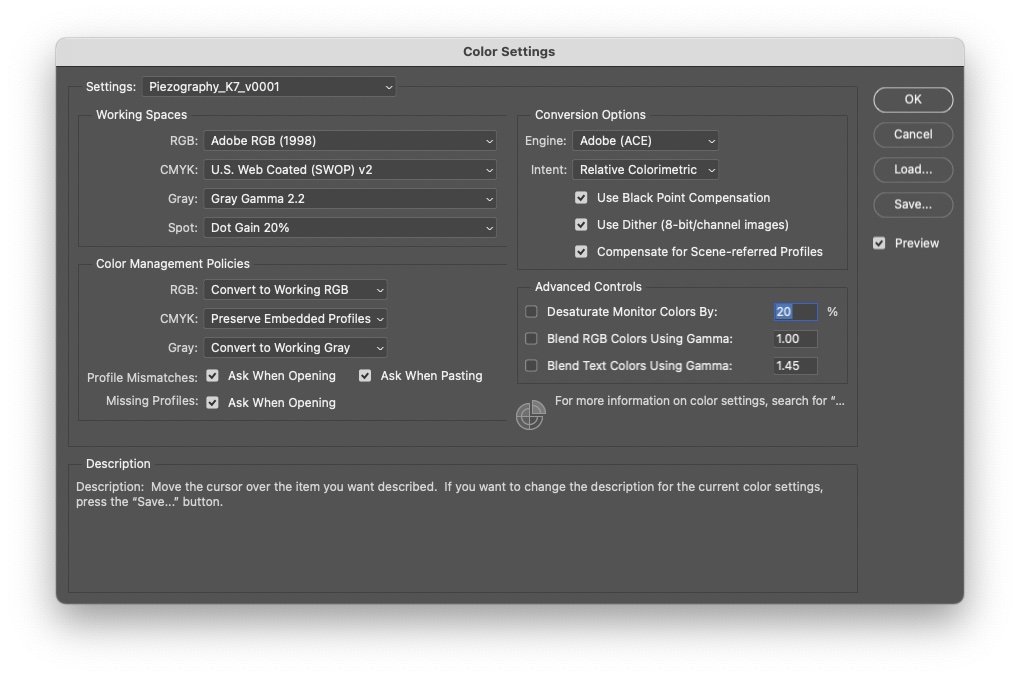
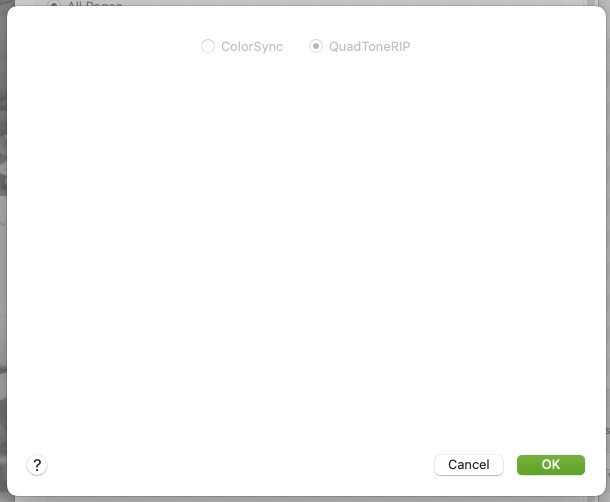
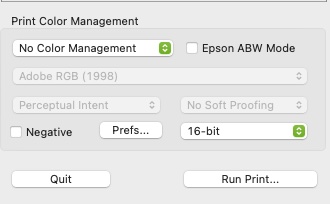
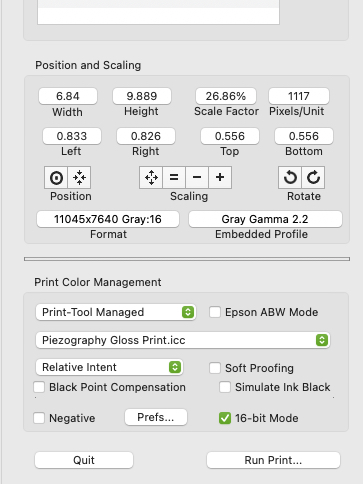
Here are my settings in Print-Tool.
Yeah, Ventura does not let settings stick yet (it’s a bug).
The issue though is that I think your P800 was printing a bit dark. This probably helped in your workflow a bit because I think maybe you were not soft-proofing for linear either and probably were not printing with an ICC either. So the dark P800 is getting you a rough screen-to-print match. The P6000s are very true-to-linear from one printer to another so you are getting a more accurate linear print now but it’s going to look flat unless you print with an ICC from print tool. So in print tool select the Piezography Gloss Print icc and Relative Colorimetric w/BPC (as your rendering intent) and this will be a good screen to print match.
I generally leave Black Ink unselected (Printer) and just set the black ink directly on the printer itself.
warmest regards
-Walker
Thanks Walker. I’ll give that a go on the P6000 and maybe that will do the trick.
I should mention that the P800 prints were made on Monterey 12.x, before they changed the print panel in Ventura 13. Ventura also screwed up my prints on the P800, but I believe that mostly had to do with the Printer Panel settings not ‘sticking’. The P6000 showed up a few days later and the P800 got shelved before I had a chance to fiddle with it some more to resolve the issue.
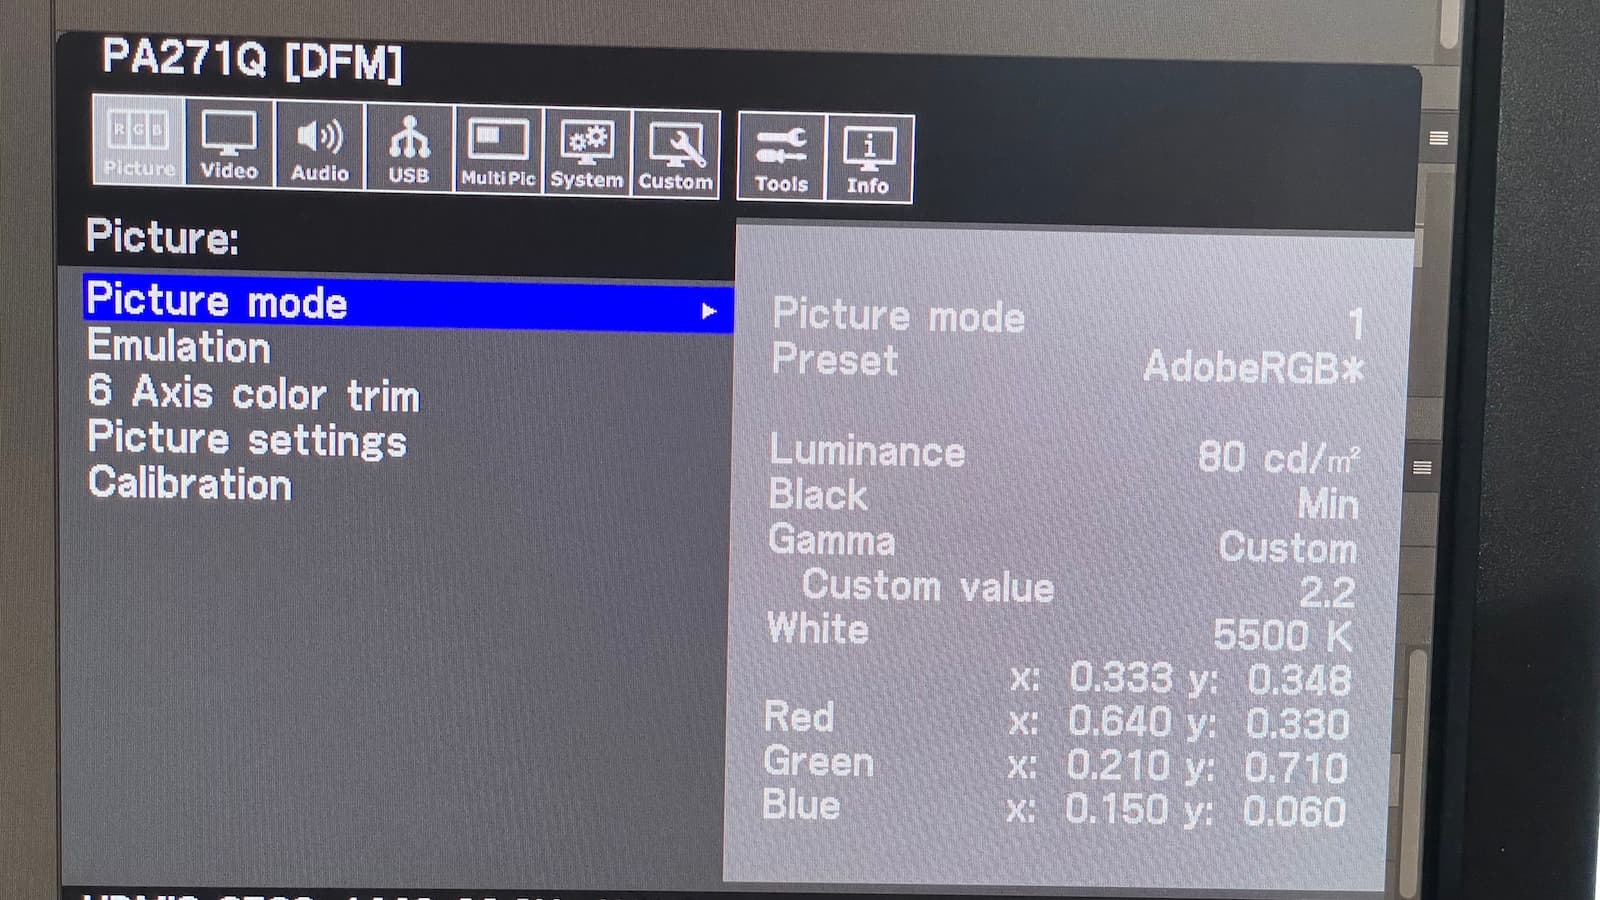
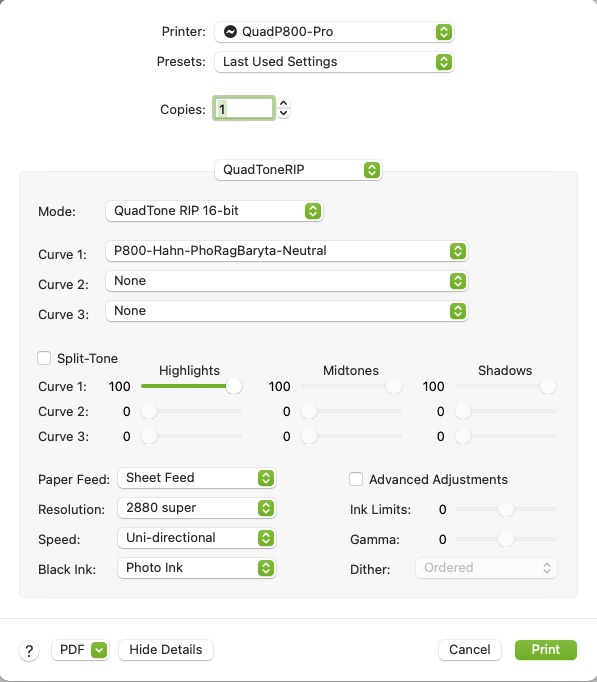
Here are my setting from the P800. The P800 prints were very close to what I was seeing on my monitor. I’m working on a calibrated NECPA271Q and reviewing with a print booth and high CRI LED light, when hanging on a wall.
Thanks!
P800 SETTINGS ON MacOS MONTEREY
You are doing it proper with soft proof workflow.
Do you have a spectrophotometer? May be worth a calibration on your large format printer. Some printers are different than others.
-Walker
Hey Walker.
I tried what you suggested and to make sure that Ventura was not complicating things I went back to my old MacBook Air, which is running Monterey.
This is the same computer that I used with the P800, when I made the reference prints that I am now trying to print on the P6000. I did a fresh install of Piezography and QuadToneRIP to obtain the P6000 curves etc. on the Monterey MacBook Air.
Yeah, Ventura does not let settings stick yet (it’s a bug).
The issue though is that I think your P800 was printing a bit dark. This probably helped in your workflow a bit because I think maybe you were not soft-proofing for linear either and probably were not printing with an ICC either. So the dark P800 is getting you a rough screen-to-print match. The P6000s are very true-to-linear from one printer to another so you are getting a more accurate linear print now but it’s going to look flat unless you print with an ICC from print tool. So in print tool select the Piezography Gloss Print icc and Relative Colorimetric w/BPC (as your rendering intent) and this will be a good screen to print match.
I generally leave Black Ink unselected (Printer) and just set the black ink directly on the printer itself.
Unfortunately that did not solve the problem. The prints still look about 1/4 stop too bright and virtually the same, as when I was running Print-Tool / P6000 without color management for the first prints.
I should note that I was running the P800 setup with the 'Optional Super-Fancy Linear Photoshop Expert Option’ that is discussed on the Cone-editions website.
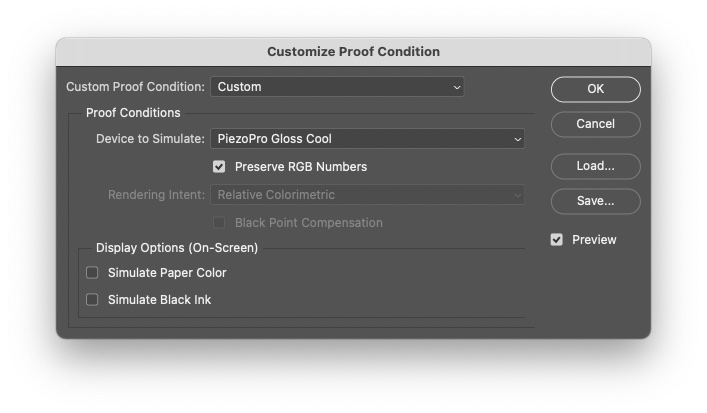
With Piezography we give you the option of printing your image in “linear mode” which opens your shadows more. If you want us to print in this way, soft proof by turning on “Preserve RGB Numbers” and keep the simulate black ink off. This will dramatically decrease your shadow contrast but then you can simply add a curve to dial the shadows down to exactly where you want them. Then request “Linear Expert Mode” from us when you order a print and this will perfectly match the condition you soft proof on your monitor. It takes more work to do it this way but sometimes that is worth it. This option is not available in any other application.
The output from the P800 was pretty much a dead on match to what I was seeing on my calibrated NEC monitor, when viewing the print under a high CRI LED light around 400 lux. I’m running the NEC at 80 cd/m2. Maybe that’s too dark for the monitor and that is why it was matching the ‘dark’ P800? If I raise the brightness to 100-120 cd/m2 it’s closer to the bright P6000 prints, but still not quite a match. I went with 80 cd/m2 because that is what I found in the Piezography bible.
Do you have a spectrophotometer? May be worth a calibration on your large format printer. Some printers are different than others.
Unfortunately I don’t have a spectrophotometer.
Interesting problem.
Thanks!
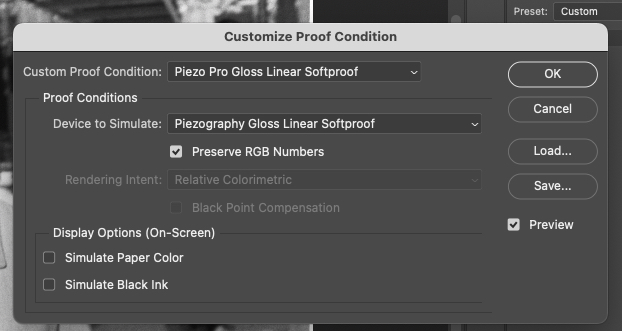
Make sure Black Point Compensation is turned on and that you are actually NOT soft proofing if you are printing with said ICC.
-Walker
Make sure Black Point Compensation is turned on and that you are actually NOT soft >proofing if you are printing with said ICC.
ok, let me tweak the Photoshop Proof Colors setup and see if that helps.
thanks
Not to hijack this conversation but I have a question / observation… When you were printing with the P800 you set print tool to “no color management” but when you went to the P6K you went with “print tool managed”, with an .icc, etc… I have always printed with no color management in print tool and am wondering why you switched and could this be contributing to why the two prints are different?
Hey Michael. Sorry for the late response, but I’ve been sick for the past 10 days and unable to do much. Pretty nasty flu, maybe COVID, but I’m back to normal and ready to tackle this printer, again.
Please feel free to chime with any experiences you may have had and maybe we can collectively come up with a solution.
Thanks