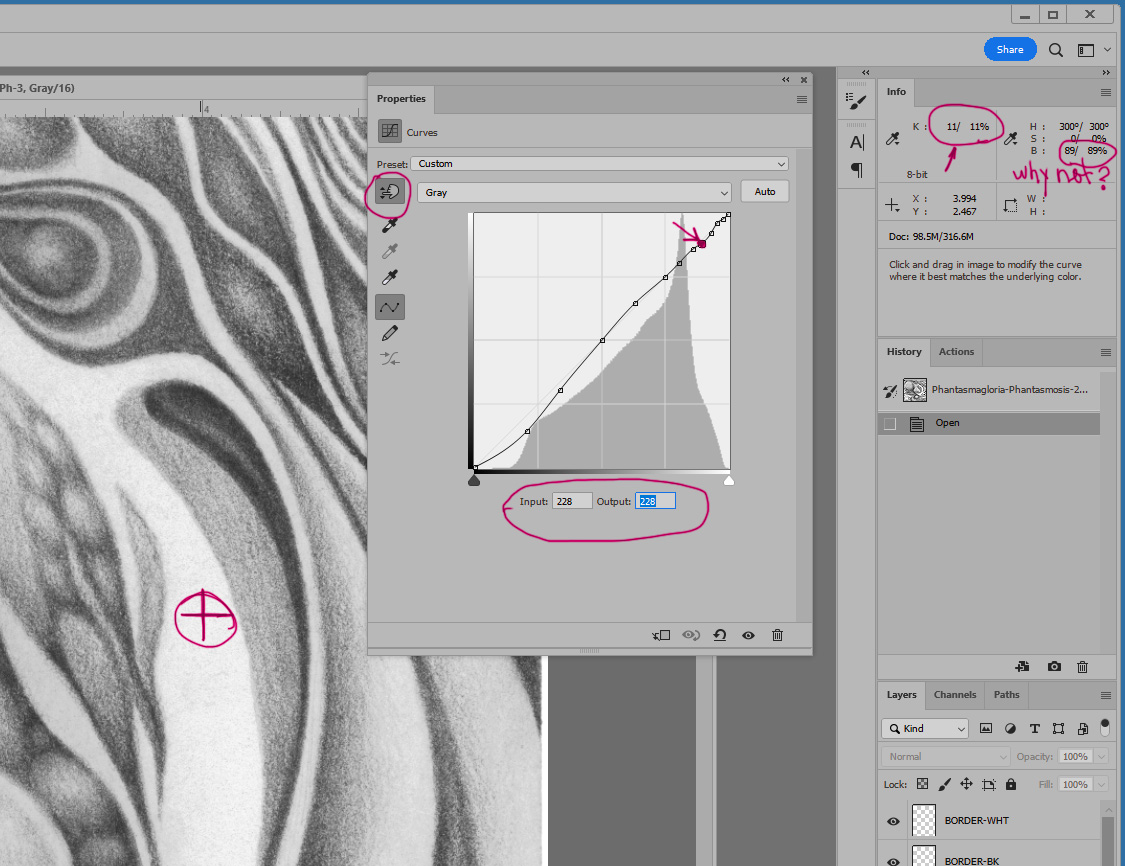
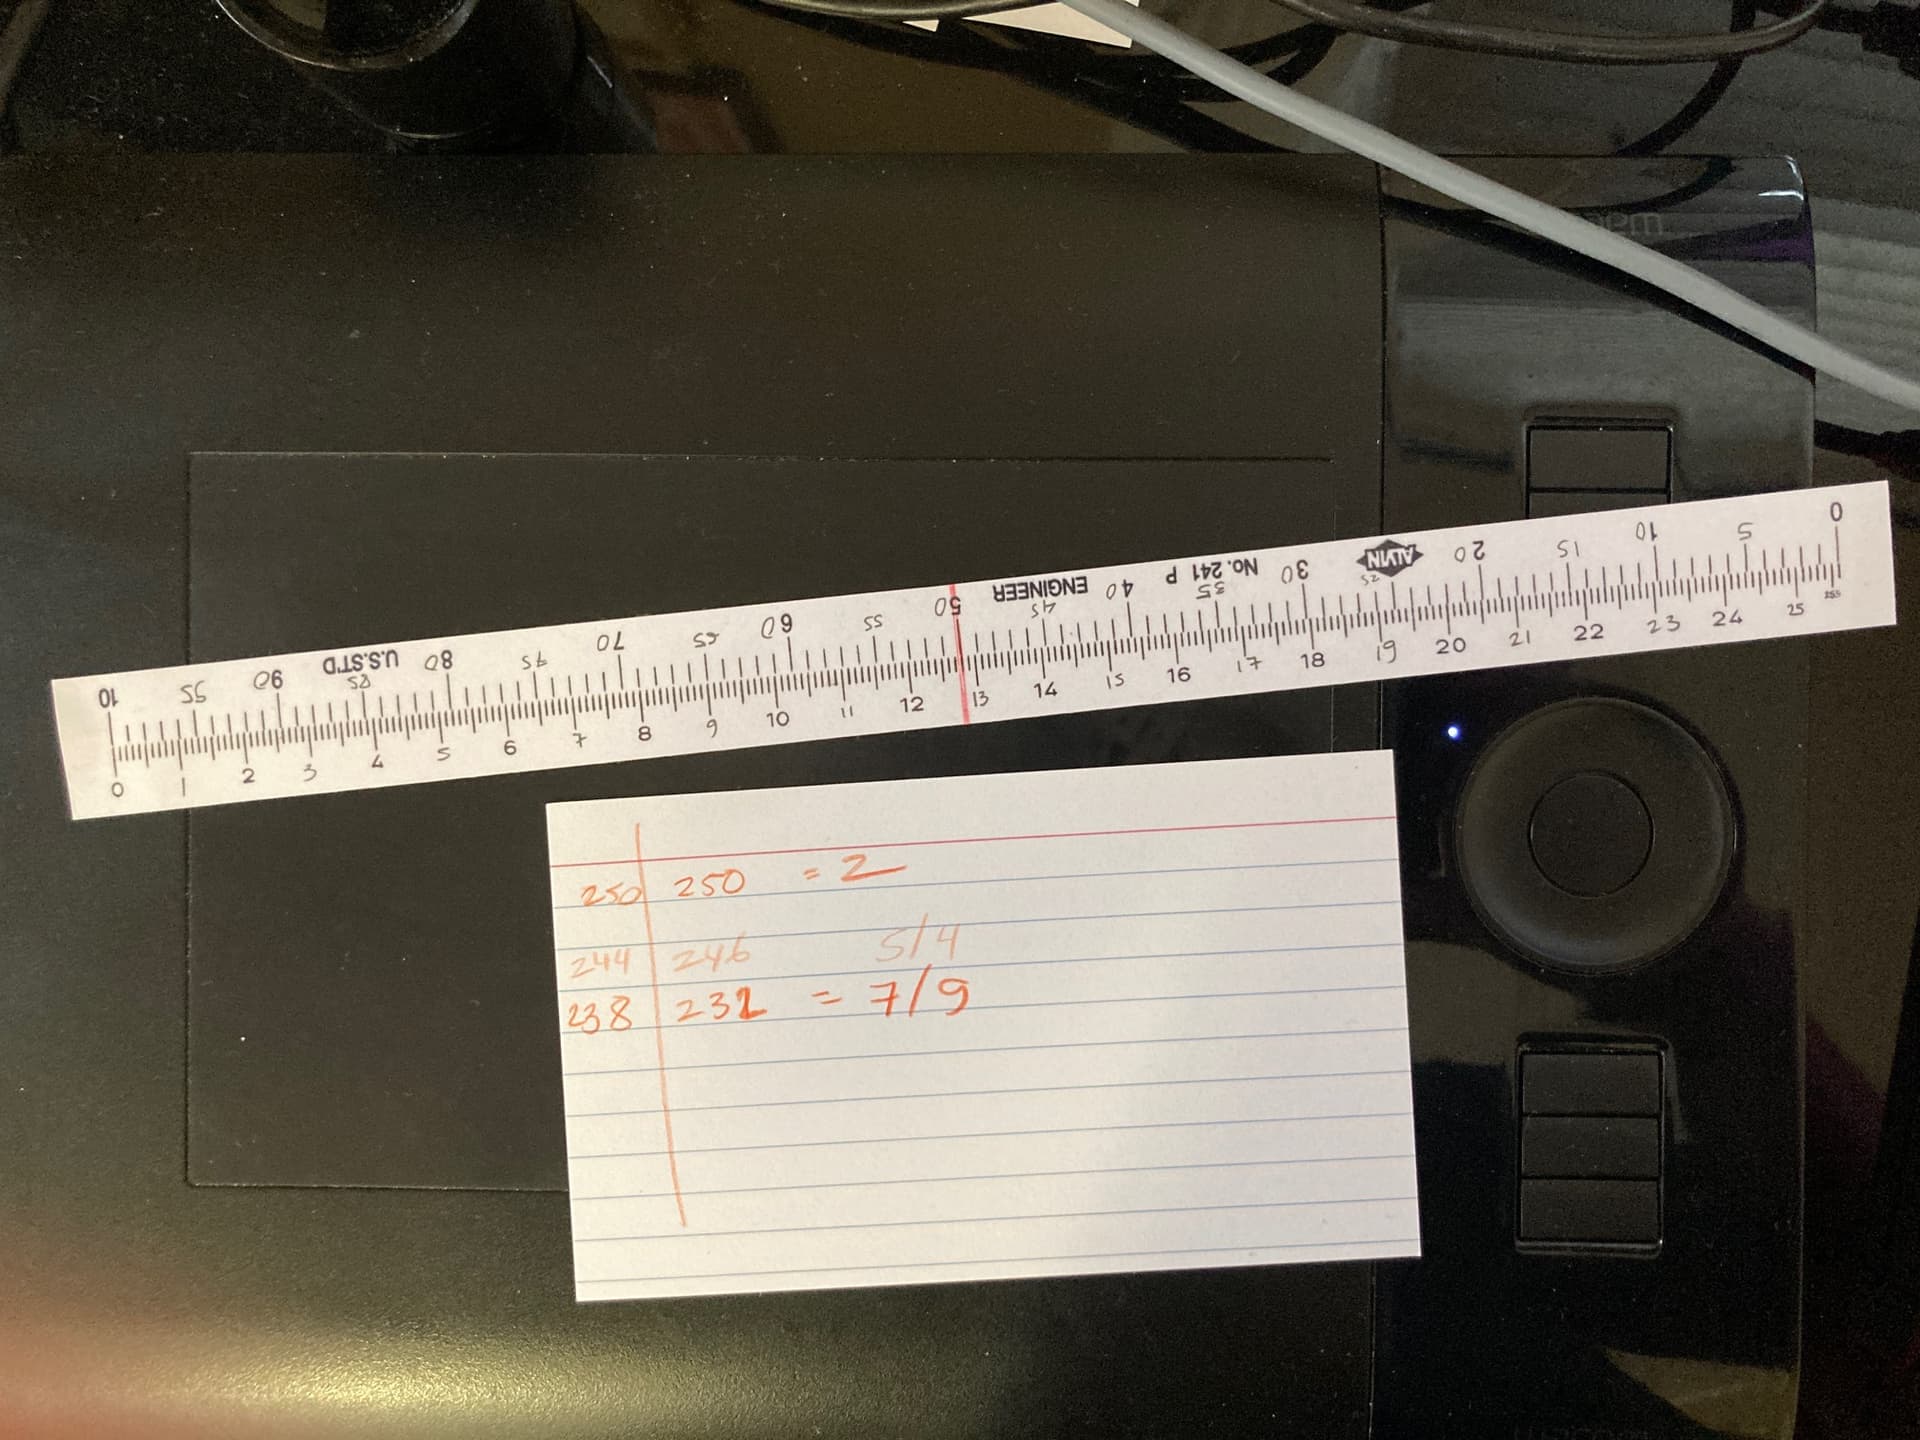
When working in grayscale, Photoshop jumps back and forth between a 256 scale and a 100 scale. I did not find any online calculators to keep open in a tab for converting as I work, so I made a printed ruler. I photographed two of my scales and aligned them in said image editing application. After printing, I wrote in the missing odd numbers and covered in packing tape. And you can too!
Having sampled tests of stepped values, I know that my Piezo onto PhotoRag has a base ‘white’ of the paper at about 2%, and the inks max out darkness at about 90% (from memory as I type). When I have a test print I will look at an area and say 'just that needs to go a click darker. So I sample the file to see that it reads as 210, which is 18%, gray, and I want to pull it 2% darker. So I have to tell curves to put a knot at 210 and enter a new value of … ? 205. The readout in the Info panel should then say 18/16 when I hover over that area with Curves active.
There may be ways others address this normal editing step, please post any other ideas here.


