1: Can you please acknowledge that that sticky texture that I am seeing on my prints i not normal? I know that type5 has a texture very different from the harman paper - and I do like the type5 texture (and particular the subtle warmth of the paper base, but I don’t believe this sticky, lumpy spots has anything to do with the paper??)
We do not see any abnormalities with your Type 5 paper that you are describing. Rather, we see the natural make up of this paper, with no defects. It may be that you simply do not like our Type 5 paper and it is not suitable for your use.
2: Can we please stop talking about this one individuel image? Yes the background is 93% density in the file - but that doesn’t really make any difference? I expect it to print without any sticky texture. The file is from a DSLR (5d mark II), but I use silver efex pro to get a more analog feel of the image, as I come from a darkroom background. I edit on a EIZO coloredge 245W, which I calibrate regularly, and it is hardware based calibration so that monitor is pretty darn accurate - and I can see the difference on my monitor between pixel value 1,1,1 and 2,2,2 - that sticky texture is not part of the image - there is a fine fine fine grain in the very darkest tones, but nothing that explains that sticky texture.
I believe the “Sticky” texture you are explaining is actually the paper surface itself, it has a bit of a depth to the make up of the paper and is not smooth like the Harmon paper you are used too.
3: The reason I state point two - is that as I have mentioned to you guys a lot of times - that obviously I have also tried to print out patches from photoshop with perfect monotone tonality - i.e by creating a fill layer in photoshop with a fixed value - i.e for instance perfect 93%. And that sticky texture is still very much present on the prints. So the particular image serves no other purpose than illustrating at 93% density there is a lot of funky stuff going on. Can you please confirm that this should NOT happen? I mean I should be able to print density 93% if I chose to do that??
Again, I feel like I am repeating the same here, There is nothing wrong with the TYPE 5 paper you sent for testing or in the images you sent us for evaluating. The only differences we can see are your density values are darker then our (ALL of them, NOT just the WN2). This leads me to the question of Go application, how much GO are you applying? We print 30K go at 1440 dpi, Bi-Directional for all of our testing as well as in the studio and this is the recommended workflow. Anything more or less of the recommended will throw the Lab values WAY off, this could be why your WN2 is so far off from ours and SEL2.
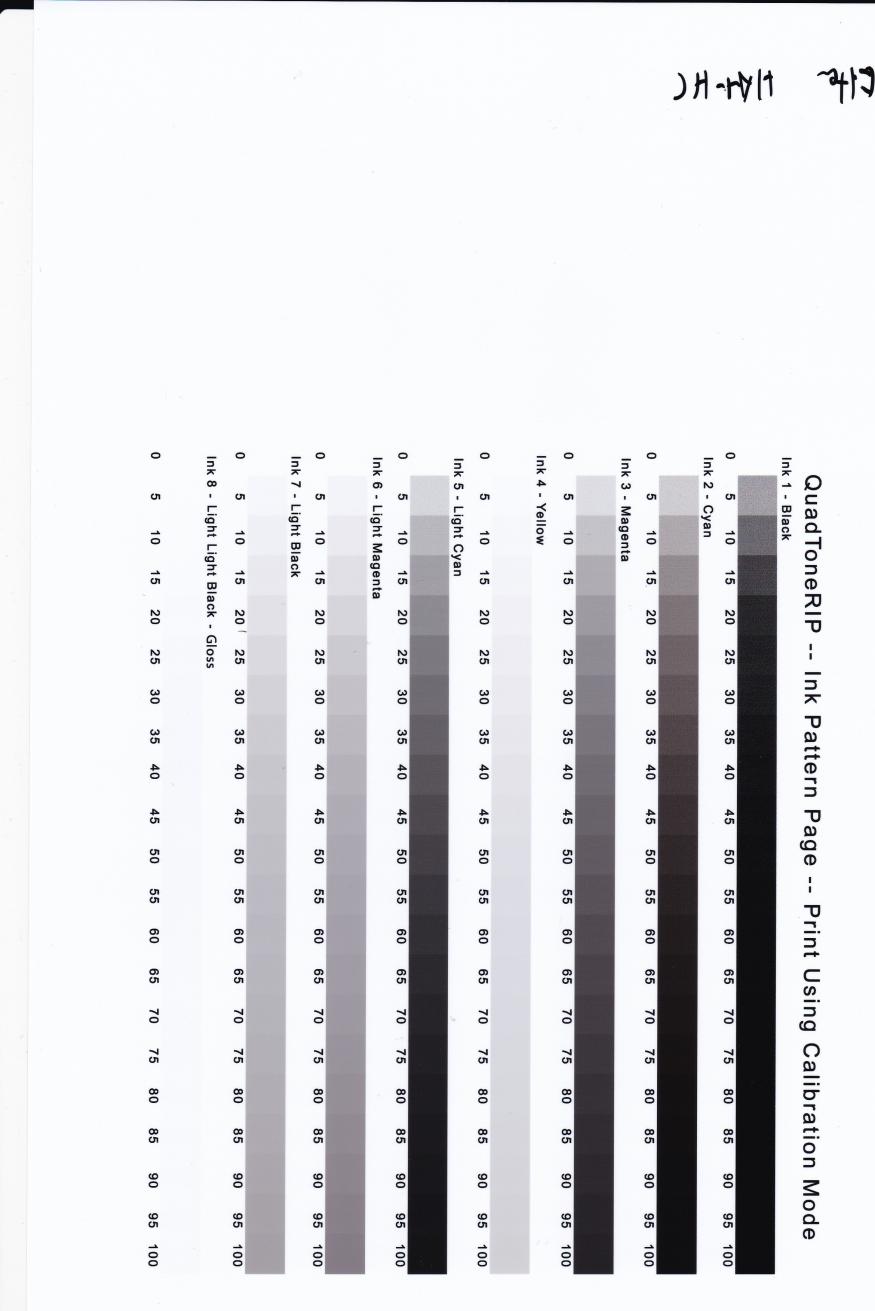
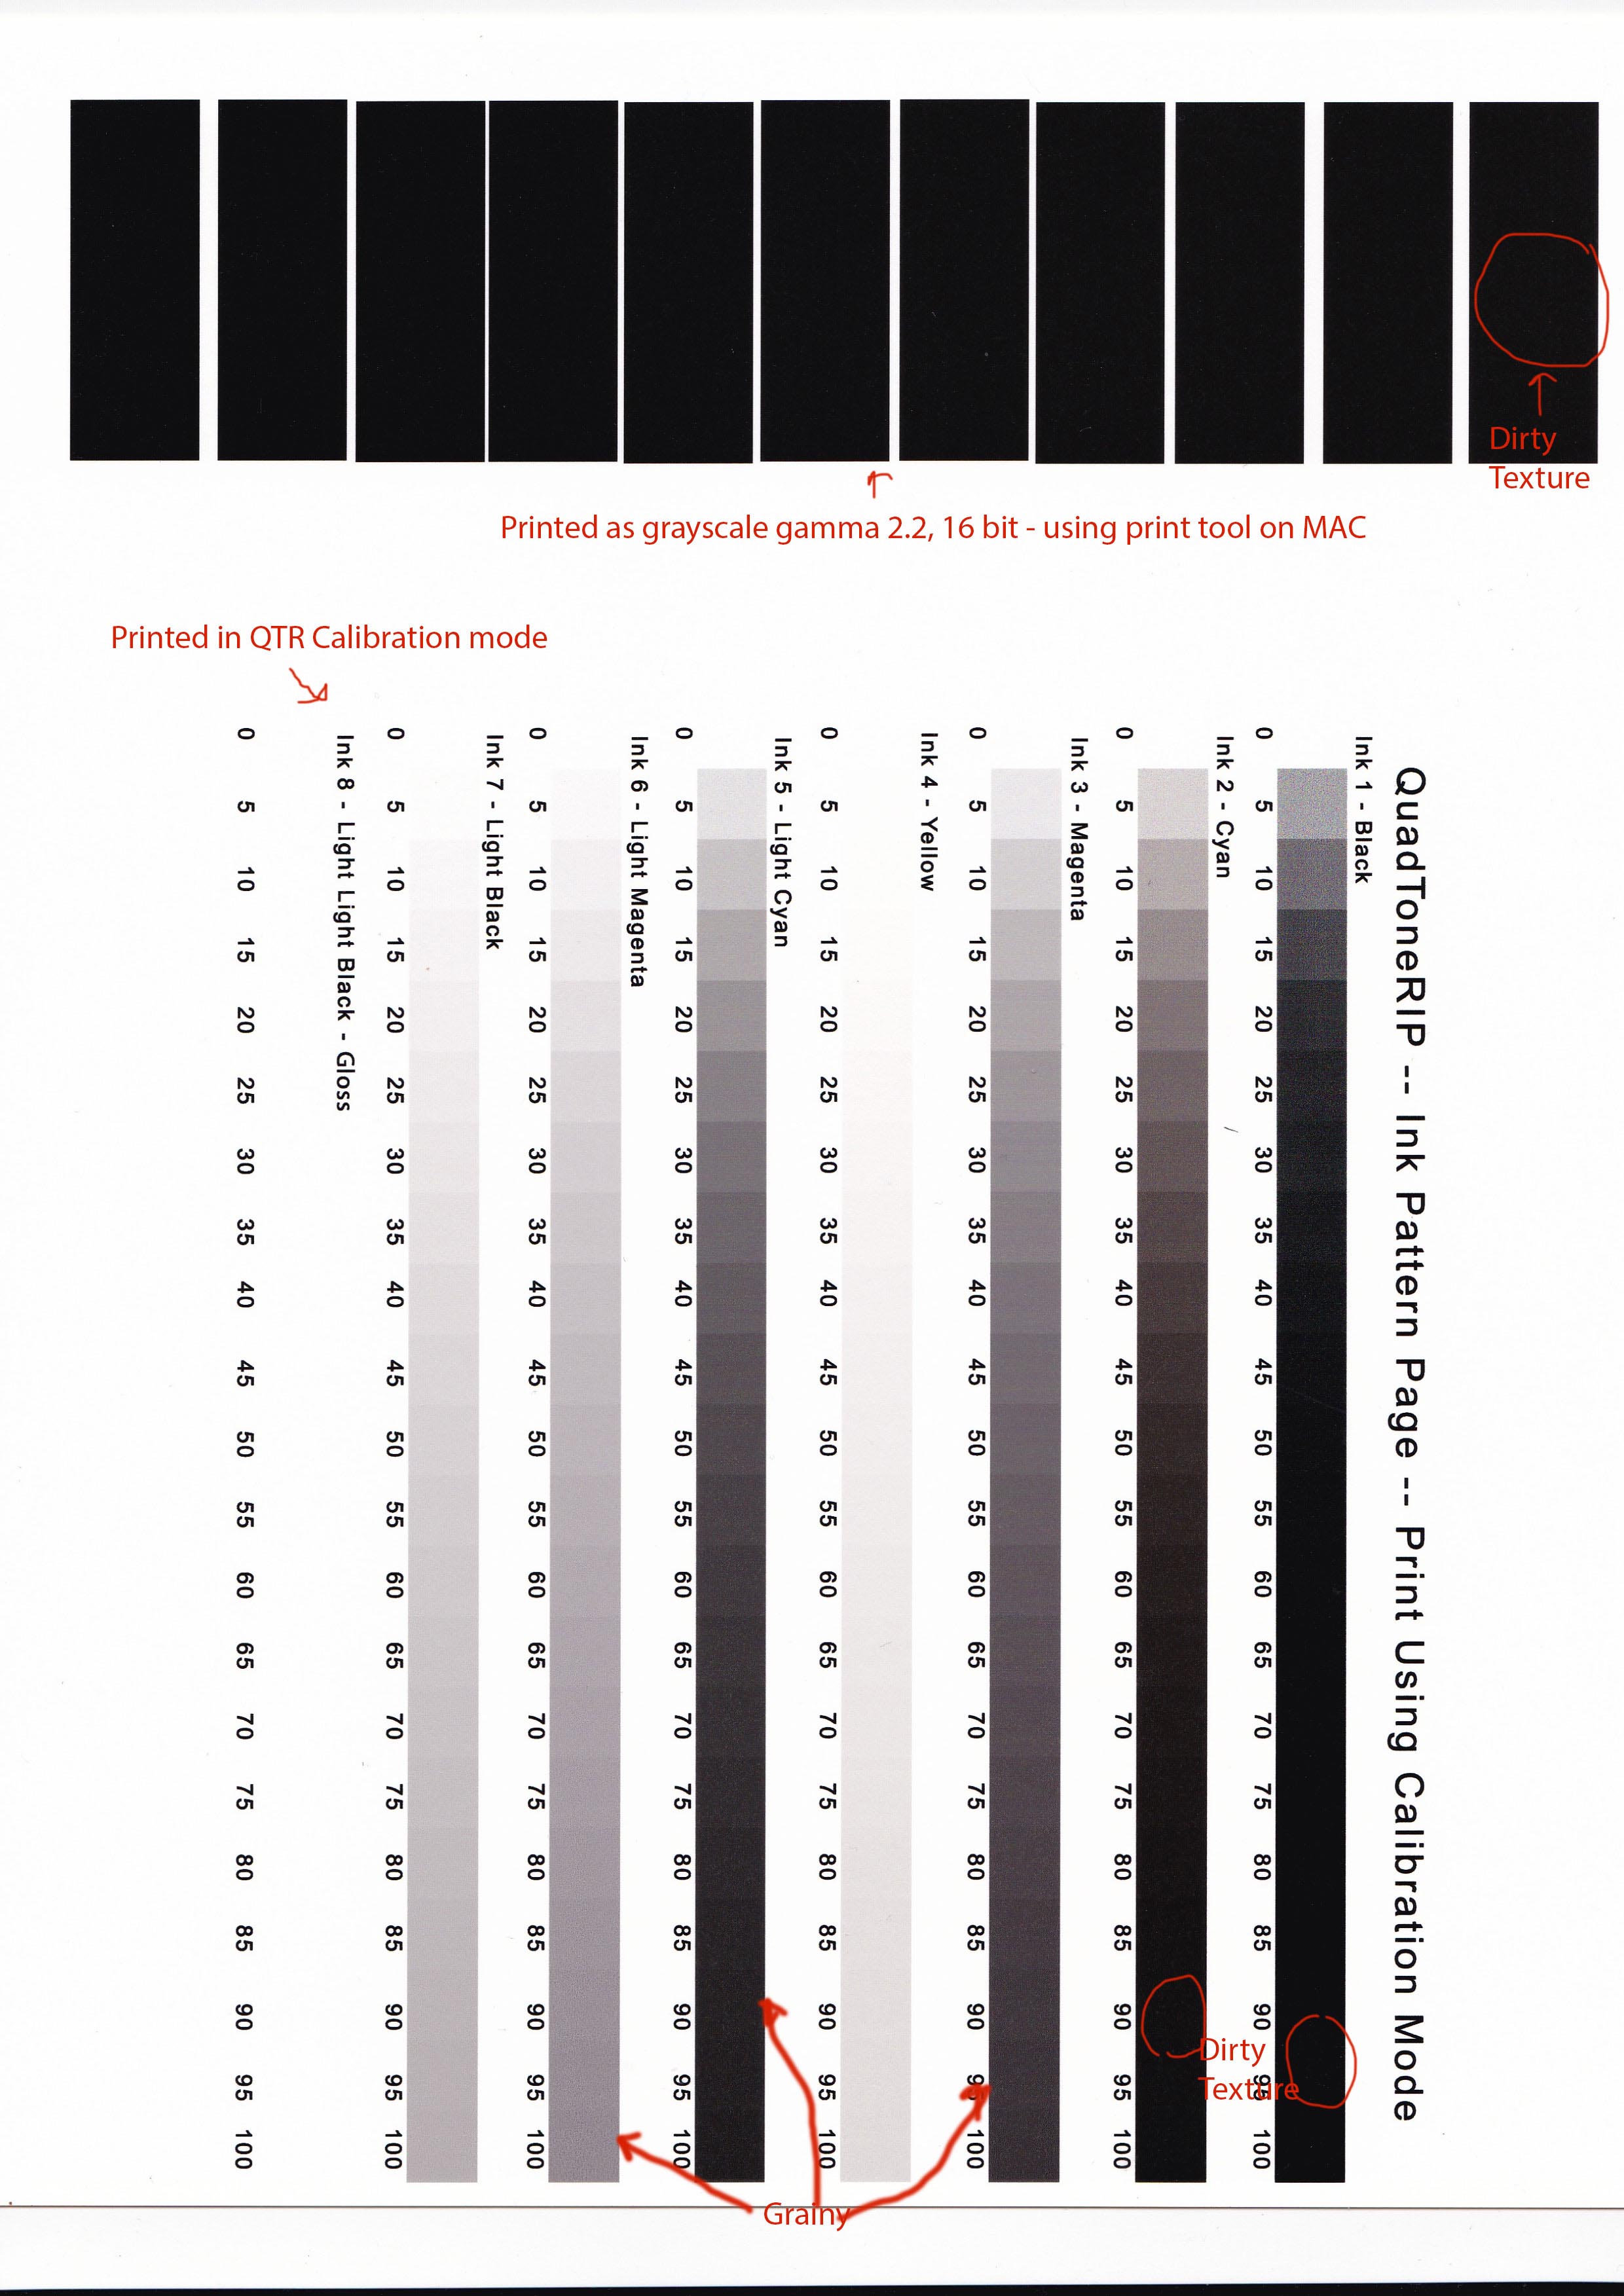
4: On the samples I have send you in QTR calibration mode - can you please confirm that you see this lumping/sticky texture as well on my prints on cone5 (but not on epson paper or harman) - including on the black ink from my epson 7880 on the prints on calibration mode there? Forget about the QTR curve, the WN2 vs SEL2 - why does the lumps show up on QTR calibration mode - not only on WN2 but on some of the other SEL shades as well - as well as the black ink from the OEM 7880 ink (which is stale/old, but still I do not see any of that lumping/sticky texture on epson/harman papers). I even printed on some canson paper that I had luying around - no sticky texture there either. So why does it happen on the cone5 when I print using the QTR calibration mode and thereby avoid any issues with linearity?
Harmon & Epson glossy papers have a very smooth finish, almost looking plasticy in comparision to the Type 5 paper, which is a Fine Art paper made to look more natural. Again, there is no comparision and you really should abandon the idea that Type 5 should look or be compared to either of those papers.
You’re image is not linear because, 1. you are not using a full K7 set of the same ink shade, which is what our curves are created for 2. I believe there is something going on with the GO application that is not recommended workflow, causing your output to be much darker then it should be
Now having said that I do acknowledge that it seems to be the WN2 that is the culprint. When I inspect the curve file in QTR, right around 93% density is where the cyan is maxed out (ie shade 2). If I print straight from photoshop without using QTR printtool (i.e subjecting myself to mac os messing with the photography by compressing the shadows), I get more cold shadow tonality as less of the WN2 is used, and I see less of this sticky texture issue. I know you are not supposed to print using that workflow on mac, I am just mentioning it to illustrate that it seems to be the WN2 messing with my system.
You have a number of things going one here, Yes the WN2 thrown in the mix with the SEL ink set is not going to give you linear prints. BUT, I believe you are comparing apples to apples with the papers and have grown used too the appereance of the Harmon & Epson glossy papers so the Type 5 looks off to you. The same is true for us, we are used to Type5 and in comparision to Harmon or Epson glossy paper we think it blows it out of the water, this is obviously personal preferences, neither opinion is right or wrong.
Ok the above is some observations about the problem at hand. Next some more general observations about piezography:
4: I have been researching this system for 2+ years, and finally pulled the trigger - I have read TONS of blogposts from Jon Cone, and scouted this forums a lot. One thing that I have seen repeated again and again and agains is that piezography is DENSITY based - i.e the inksets are interchangable. I have seen numerous blog posts by Jon Cone describing this, and seen reports from your workshop where people have had fun mixing their own ink recipes - which is entirely enabled by the fact that the system is density based. I even called you guys on the phone back in april (don’t remember which gentleman I spoke to on the phone) and it was confirmed to me that this was in fact the case. And now you are letting me know that SEL2 and WN2 does not have the same density and that they are in fact not interchangeable? Something does not seem right here?
SEL2 & WN2 are similar in density, but not a dead match, none of them are a dead match, they are all unique in this aspect. BUT, they are all within a certain specification that we set based on a number of factors that we find valuable. I believe your WN2, along with ALL your other shades are much darker then they should be, causing such a drastic difference between our values and yours. We need to determine why that is and fix it, otherwise you will be fighting an up hill battle the entire process of this journey. After years and years of research, I am confident you understand the process and have a good base of knowledge to make this system work wonderfully for you. As you are finding out, it is all a matter of fine tuning what you have and getting the most out of your current system before moving on to the next ink mixture. Where once again, you will be starting back at square one, where you are right now. I have explained this in private emails back and forth between us several times and have recommended starting with a FULL K7 ink set to get yourself a good starting point before mixing inks or adding a different ink all together to the system. I have also explained many times the importance of a measuring device, without it you are basically shooting in the dark for a decent output.
We always tell customers to perfect any system, you need to have a custom profile. This is ecspecially true with custom set-ups, these inks may be within specific density ranges, BUT they are different in color (yes Piezography has color values). In combination with your individual printer, Paper, Inks, environment, OS and anything you might be adding or changing along the way, like custom ink shades you need a custom curve created for your system to begin with an accurate output. I see shifts in linearizations by very small L value changes, L values can be affected for numorous reasons.
5: No I do not have access to measuring my own densities - it is something I would like to invest in in the future, but based on jon cones numerous blog posts / forum posts stating that piezography is a turn key system where you really don’t need to mess around that much with measuring densities - I chose to invest in the piezography system for now, and then postpone investing in a density measuring tool for the future. Is it possible for you to create a profile using the stepwedge I have send you?
“Turn key” is not exactly true as I explained above in my lengthy response to the last question #4. If you are mixing custom ink sets, then you need to have a measuring device, there is far more involved then simply using a straight ink set of K7, such as SEL1-7. We do not offer custom curves for free, you need to invest in a measuring device to measure your target and then QTR to create your own OR pay $99 each.
 ). It has stale OEM epson inks installed currently - but I thought heck why not change EVERYTHING - every single variable but the paper - so I printed a QTR calibration image using the stale OEM inks. I clearly see the lumping on the cone 5 - on epson premium luster it is smooth - no lumping. I see the lumping even without GO - GO merely pronounces the issue. So the only thing I didnt change was my physcial environment (i.e humidity) and the cone 5 paper. The one paper that I keep seeing this issue with is cone 5 regardless of using piezography inks or stale OEM inks.
