There started to be a little discussion of the merits of colour management in LR vs PS vs others, and I didn’t want to contaminate the thread with this topic. I, being relatively new to digital photography at this level, don’t feel well qualified to contribute, but my modesty and issues I have brought up have lead some to make incorrect assumptions. There were discussion about how I was soft proofing, my monitor being too bright, not using ICC profiles correctly, etc. All valid concerns that had to be addressed to some degree. Then we got into the discussion of colour management in LR. Jon stated that colour management wasn’t so good in LR, which got somewhat contested by Brian, while I was left standing in the middle of the two of them sparring! (I think we can call it a friendly sparring).
Considering I knew very little about colour management when I got LR (I got it because it was dirt cheap with an educator’s discount) I’ve been quite impressed with how it works for printing. Soft proofing may actually make sense now that I’ve got the ICC profile issue sorted out, at least for Epson papers. As far as I can tell, LR5 is at a disadvantage for some people who have the need to choose a colour space for editing. Is this really an issue, especially if one is working with RAW formats?
In terms of colour space, how important is it when you have a printer that can potentially print a wider gamut than your monitor can produce? (I assume this is true for printers with more than 3 colours) If I’m using an ordinary LED Samsung monitor is there any point in being able to choose a colour space anyway?
A lot of questions, perhaps some or all do nothing more than reveal my ignorance in this field.
After starting this thread, I got interested in the possibility of camera profiling (Colormunki colorchecker). I know just how easy it is to spend lots of money on something only to find out it was a waste. So, I went into Lightroom and fiddled with the camera calibration settings in the bottom right and changed it from Adobe to one of my camera settings (vivid). That made a huge difference in the onscreen image. But I know that’s just what’s showing up on the screen, so I checked the proofing box and made a proof copy. While in proofing, I switched between Adobe, camera neutral, and camera vivid. There was absolutely no difference in the proofing image, yet there was a huge difference when not in proofing. Both Adobe and camera neutral provided a very close match to the proofing/non-proofing screens. Therefore, I assume that, for the purposes of editing, I should avoid the various camera profiles and stick with Adobe? I can also assume that changing camera profiles has no effect on the printer output?
If this is truly the case, the only advantage I can see to using a camera profile is to create a proof copy and edit the proof copy until it matches, as close as possible, to the camera calibrated in the non-proof view.
Some responses. I guess I have the gear here to create a camera profile, but I’ve never bothered, for two reasons. First from what I’ve read, the lighting in which you shoot the colour checker card is critical. It has to be absolutely even, and I guess the colour temperature is fairly critical as well. Second, I don’t see the point, for most people. A camera profile may assist you to get prints closer to real world colour, like in your red jacket example, but how many people outside of advertising really need that?
There is a difference between accurate colour and pleasing colour. Take the recent Fuji X-trans cameras as an example. They have been really popular because of the colours they produce. The camera has a number of options to imitate the look of classic Fuji films, like Astia, Provia and Velvia (yuk!). Some people who used to be RAW shooters have found that they can now shoot JPG, because these simulations are so good. Alternatively you can shoot RAW and LR has (approximately) programmed these simulations into the camera calibration tab. But no-one is claiming that these are accurate colour, rather they’re pleasing colour, designed to give a certain “look”. As the original films did also. (For readers using C1, PhaseOne doesn’t include them, but you can download C1 compatible profiles from a thread on DPReview.) The same is true for my Nikons. The cameras have certain look profiles and you can download and install more. Most of these are in the LR camera calibration tab. Again, not real world accurate, but designed to give a certain look. When I edit an image, I’m aiming for an image with pleasing colour, especially skin tones. Rarely would I try to match the real world original. Last night I did a big indoor live theatre shoot, and all I’m trying to do with those shots for the client is make them look realistic, as best as my mind’s eye can recall. Real world matching is not practical in this case.
Where you do need accuracy is in soft-proofing, as you’ve discovered recently. I want to be sure that what I see in a soft-proof on my screen is a fairly accurate representation of what is going to come out of the printer. Which brings us to your Initial post. For my part, although I don’t use LR for printing, I still can’t see any problem in printing from it. I am assuming that you’re printing from RAW. Here is what I understand to be the current word on LR working colour spaces: https://helpx.adobe.com/lightroom/help/color-management.html . LR uses ProPhotoRGB in the develop module, and AdobeRGB elsewhere. You can soft-proof in the develop module, and in the print module you can specify a printer profile to print from. What is it that you could do in Photoshop that you couldn’t do here?
In another thread, Jon said “Adobe Photoshop arguably has better color management than LR5 - although Adobe is trying hard to equalize them in more recent versions of LR. In LR5 you are unable to set the working space as Adobe RGB 1998 - but you are able to select the output profile to our ICC for the R3000 and Epson PGPP paper and the rendering to relative”. I don’t understand these comments. I don’t have a problem with the working spaces for printing from RAW. Perhaps he is referring to printing JPG or TIFF, I’m not sure.
Interesting comments regarding the color checker. I may still get one, they’re not too expensive. Sometimes when I shoot a landscape (they are really beautiful here in BC), I’m trying to capture a colour combination that I really like. I hear you when you say I should be interested in what’s pleasing to the eye. Part of me sometimes wants to know or remember what I was trying to capture in the first place. I guess if I really were concerned about it, I’d take some written notes about the landscape, especially what I wanted to capture.
One thing I either didn’t listen or read about, or just isn’t mentioned much, is the camera calibration. I never played with it much. LR leaves it as Adobe as default. As soon as I changed it to “landscape”, some of the haze that was in my shots completely disappeared! Adobe is really washed out. I remember hearing years ago that when the eye sees a picture, it wants to see more saturation than what was in the real scene. Perhaps this is all related.
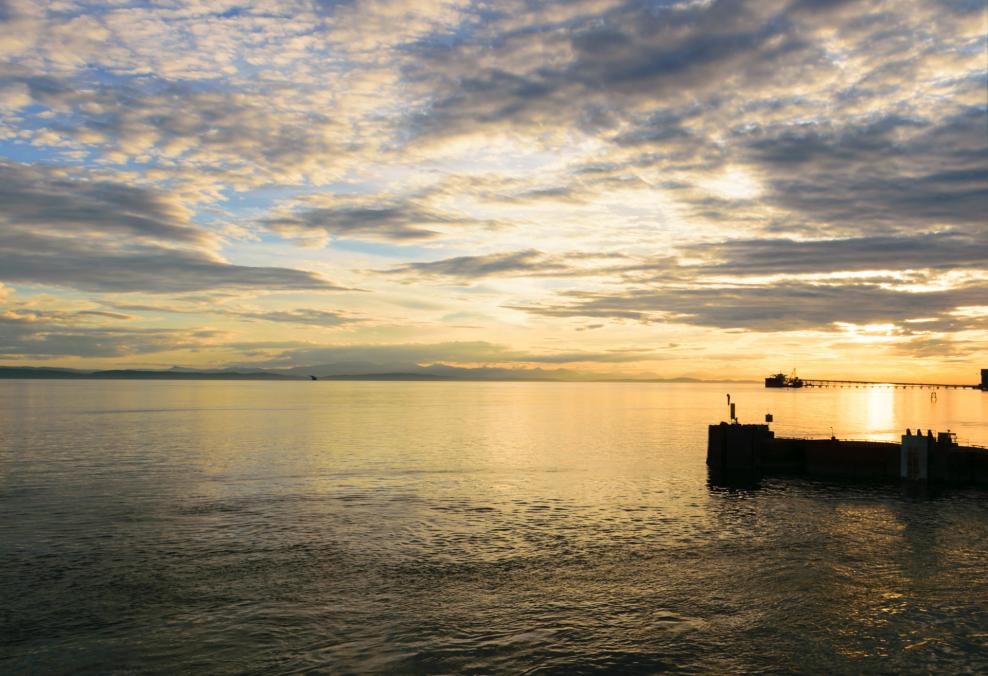
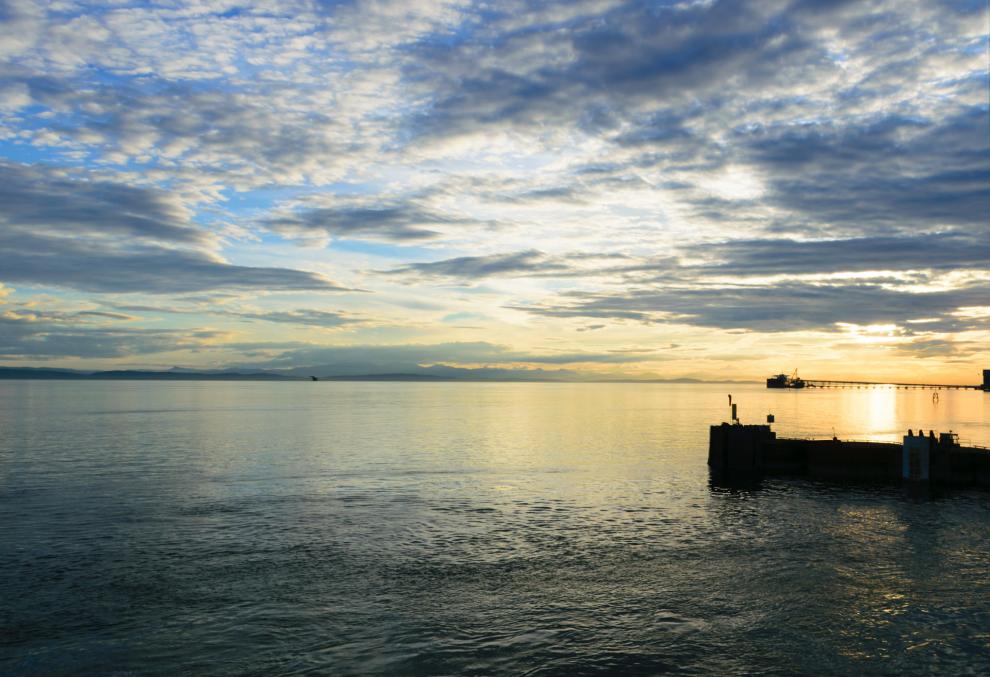
Another related issue is white balance. If you look at the setting sun images, none of the white balance settings seems to capture what I thought I saw. What’s more is that “as shot” doesn’t match any of the LR settings. I’m not sure exactly what LR means for “as shot”. I usually shoot in “auto white balance”, knowing I can tweak the white balance later in LR. So, my real question here would be what is LR doing when using “as shot”?
The first image I used custom. I began with “daylight”, but there was too much orange in the sky and wanted more blue. “As shot” was much cooler. LR “auto” was warmer than “as shot”, which was shot using the Nikon auto. I can only surmise that Nikon’s auto white balance calculates the white balance based on the image, LR does the same in its “auto” mode, but they do it differently. Because some computer algorithm is trying to decide what I saw, I’m no longer sure what I actually saw that evening. Perhaps this shouldn’t matter to me at all.
Yes, it’s true that the Adobe default calibration is rather flat and lower contrast. What it does do is show you all the shadow detail that’s there, before you start editing, which other camera simulations often won’t. It’s useful for situations where I want that max detail, and is often the best place to start for a B&W conversion. You can save your own LR default develop settings, either general and/or camera-specific, including camera calibration so that when you ingest new images, these settings are applied by default. There are some preferences options that control aspects of this, so I suggest you Google.
Under normal circumstances, setting the white balance means balancing the reg, green and blue channels so that something in the scene that is neutral is actually neutral in the image, i.e. R=G=B. If you have taken an image of that sunset scene with a 18% grey card included, and used it to set the white balance in LR I can assure you that you would end up with an image that looks nothing like what you saw. The so-called “golden hour”, is called that for a reason. The last thing you want is to take all that away by balancing the colour temperature of the light. Which is what I think the cameras will do when WB is on auto - it’s trying to make an educated guess based on what it sees in the scene. Perhaps some of these look profile settings are programmed to recognise the golden hour and not try to correct for it. Dunno.
As far as I’m concerned, you’re on your own when shooting scenes like this. Some camera WB settings may or may not provide a better starting point for later editing, but my view is that it’s up to me to replicate what I think I saw or to produce “pleasing” colour, by adjusting the WB temperature and tint settings. Of course JPG shooters will have to make their choices in-camera.
 (I think we can call it a friendly sparring).