Thank you Keith. I will do exactly as you suggest. Maybe allowing the printer to rest overnight will help, given that I have been working on it nonstop for the last ten hours.
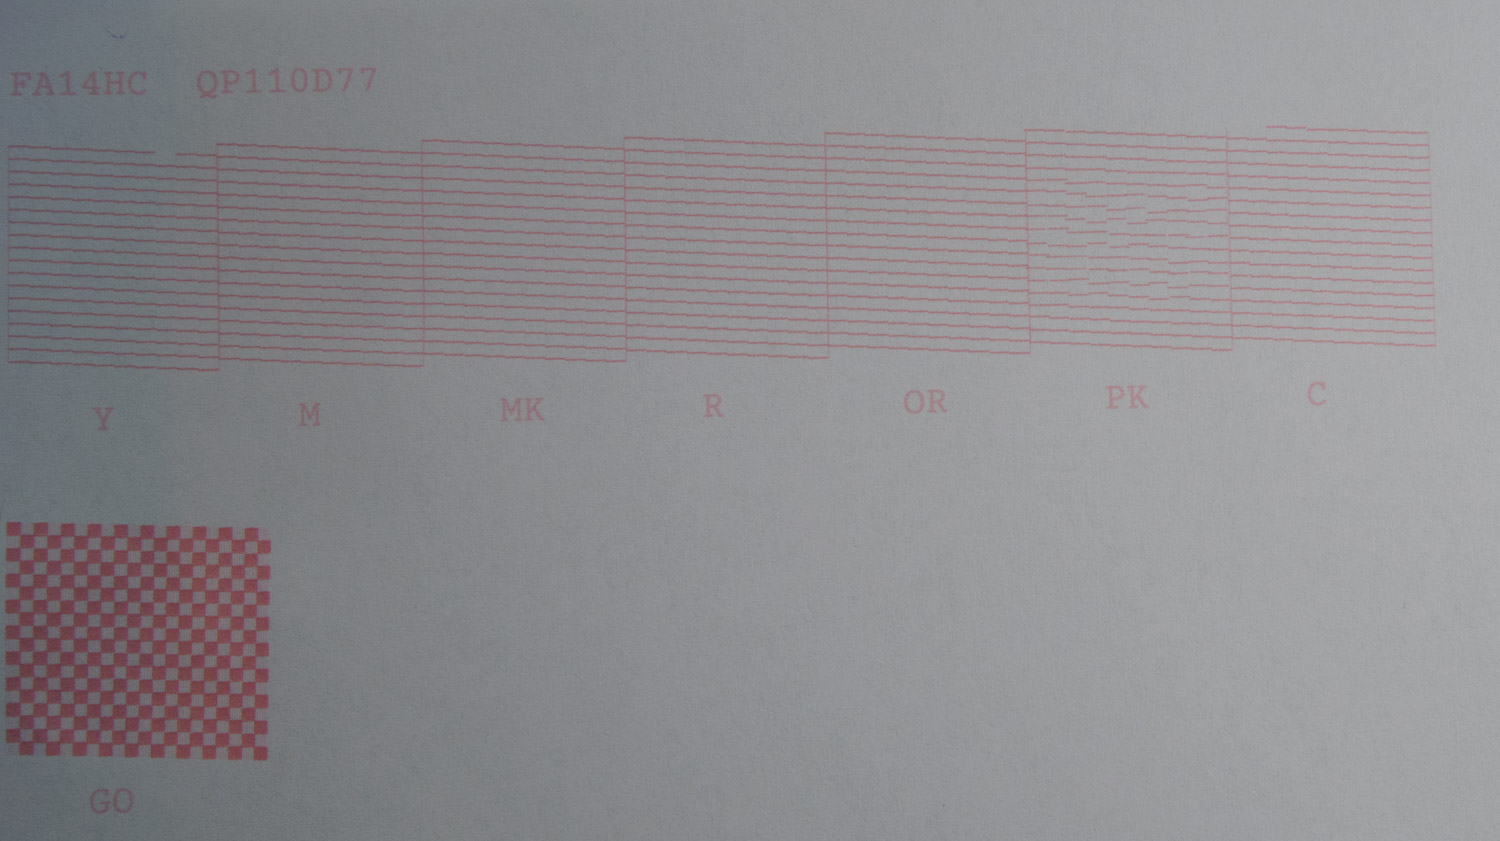
In the last nozzle check (the one where the yellow channel was nearly white), the Cyan also had developed gaps. This was the first time I had seen gaps anywhere but in the yellow. It could be that the head cleaning procedure (the one with the paper towel) made things worse.
I topped off the Yellow and Cyan and shut down the printer. I will post the results tomorrow. Thanks!
Keith and Brian_S
I waited until morning, ran a nozzle check, did a head cleaning, and another nozzle check. The first nozzle check improved over the night before. The nozzle check after the head cleaning showed further improvement. But there are still a lot of gaps in yellow and (as I mentioned previously) cyan.
I had planned to do the individual channel flush but I must delay that because I am seeing my first ink warning lights go on. I need more PiezoFlush to continue this experiment . There, I just ordered the 700 ml economy size bottle.
Thanks to both of you for your help. I’ll post again when I’m able to print again.
I agree with what Brain has stated. I have been running prints this evening and have been experiencing micro banding. I noticed that the IJM carts for the P400 do not seat properly. After a little DIY with some foam core I was able to place a pice of foam core on top of the upper half of the IJM carts making a semi snug, but not tight, fit when closing the cart carrier. This helped in seating the carts and now I do not have any vacuum loss. I am now running prints with no problems at all. I understand that this is not the ideal nor proper way of doing things but I have 75 prints that I need to get to my bookbinder by Friday. I am not saying to do this as it could damage the printer and/or carts. But if you are in a position such as I am it may be a fix for you.
Chris,
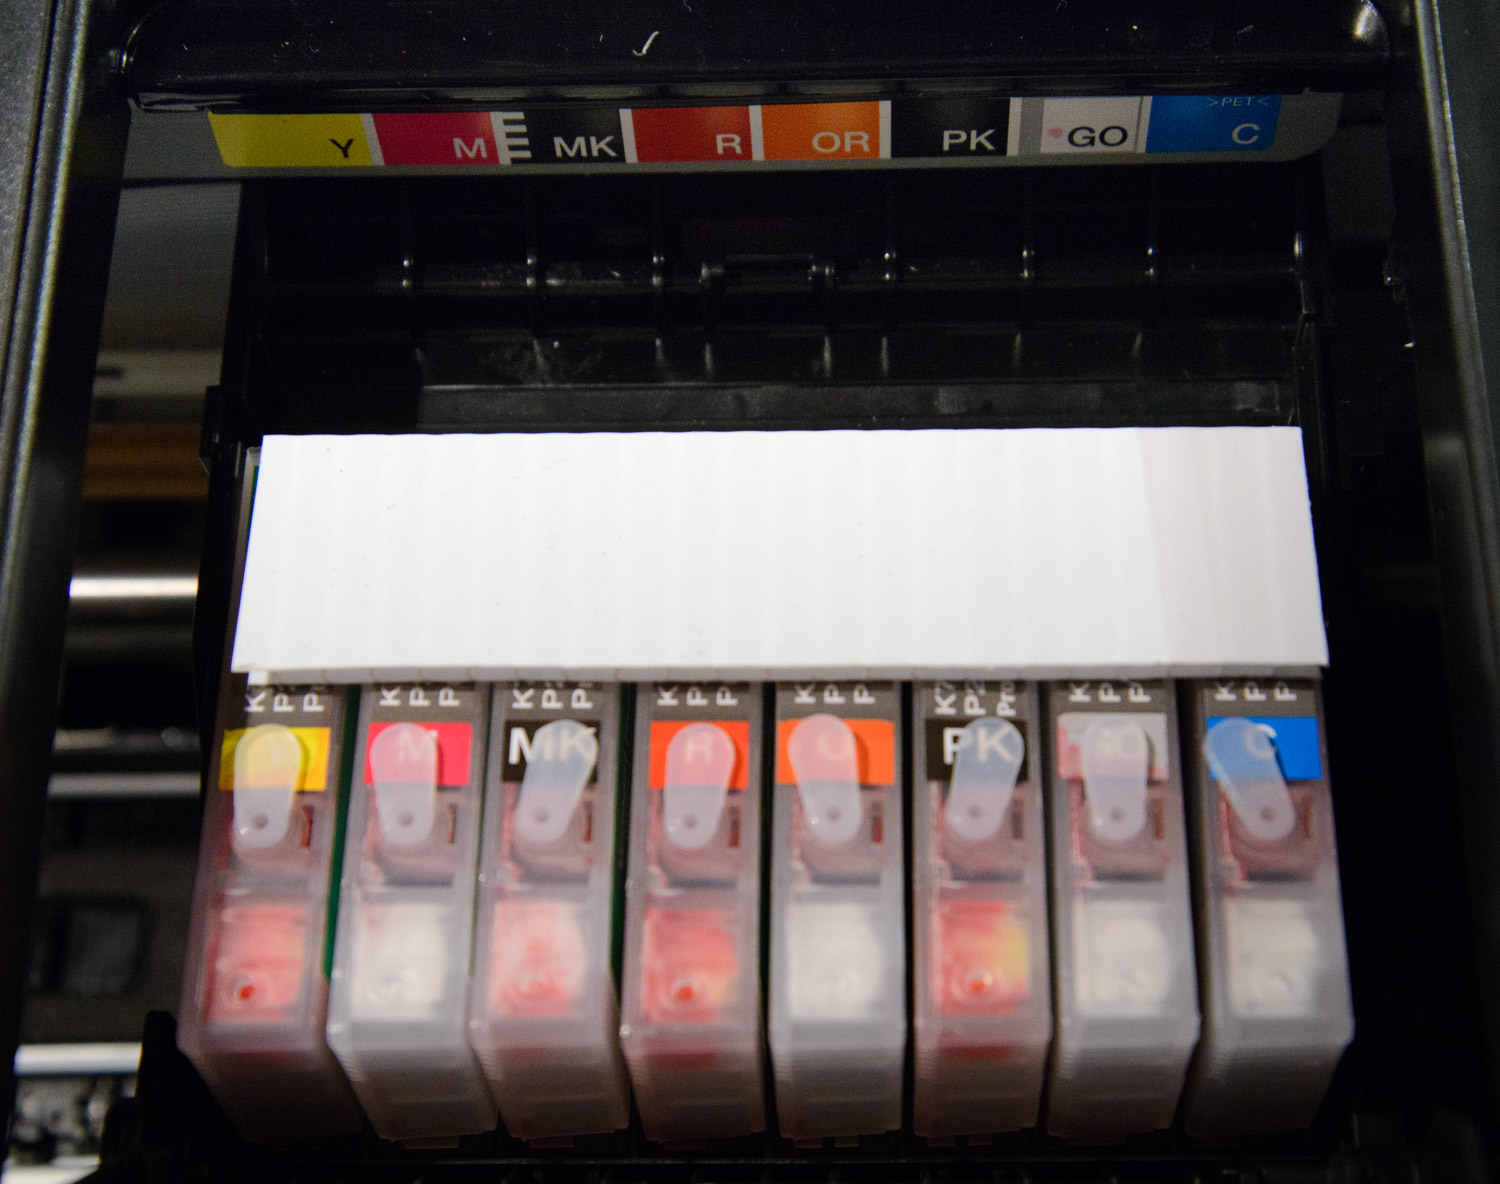
When you say they “do not seat properly” do you mean that when you press down on a cart, it sinks a little bit? I also notice that with mine. They feel a bit spongy when I press down on the green arrow. Maybe they’re not making a airtight contact with the spike that sticks up from the print head, and air is getting in. See picture in link (the image won’t insert inline)
That is exactly what was happening with my carts. Yes. The “spongy” feeling. The OEM epson carts seated nice and firm but not the IJM carts. And my magenta retaining clip also broke off while I was trying to remove it earlier this evening.
Like I said I found a temporary DIY work around for the issue. I just hope that it does not damage my printer. But if it does it does. I really don’t have much of a choice right now.
So if you do decide to go that route do so at your own risk. I guess that would be my “disclaimer” of sorts. For what it is worth anyway.
I hope you get up and running soon. Even with some of the headaches of the P400 I am overall happy with the printer.
I finally got around to trying Chris’s foam core hack.
Interesting result!! I got almost-perfect nozzle checks on Y and C - one gap and two gaps, respectively ! This is better than I have EVER gotten.
The middle six had always given perfect nozzle checks, but now there shakiness in the PK which doesn’t look like gaps, but maybe some kind of alignment issue.
I think this clearly indicates a problem in the fit between the carts and the printer. Walker, I understand it could be the printer, not the carts.
Anyway, this is as close as I’ve gotten to fixing the problem, although I doubt it’s a viable long-term solution.
I hope everything works out for you. My printer is barely a week old and I have run a good 80 prints, 8.5 x 11, through it plus several proofs. Like I said overall I am happy with the printer though.
Hopefully Walker will see this post and offer some assistance or work around/through with these IJM P400 chips.
And I was there the week before, but only as a tourist from far away. And WWIII may have broken out if I told my wife that i was going to help fix yet another printer, rather than communing with saguaro.
I think that’s a good idea. Having dealt with these issues many times, and advising others in your predicament, my advice is patience and purge patterns, and head cleans only when you really need one. In that respect I part company a little with Keith - my experience has been that it’s extremely rare to solve a problem like this with a head clean. I’ve typically found them as you have so far - they make matters worse.
Patience is a difficult virtue to practice at times like this - you just want to printer to work, darn it!! But air can be intransigent and often needs time to settle out. Head cleans generally don’t accelerate that process, they just consume ink / flush.
The retaining clips on my IJM carts don’t snap into place without a lot of pressure. And when they do finally snap in, you wonder if they’ll pop out because so little of the clip underlaps the rim of the box - maybe 1/64 of an inch. The Epson cartridge snapped in with a definitive “click” and the clip looked like it held the cartridge very securely in place.
Mine is a new printer. I have only printed nozzle checks so far. The nozzle checks have gaps in the Yellow and Cyan. These are the carts on the ends. Coincidence? The gaps move from one nozzle check to another (i.e., they’re not always in the same position), which according to Brian_S is a symptom of air getting in, rather than a clog. In fact they move radically from one check to another.
I’ll will try your foam core idea and post whether it helps. Thanks for the suggestion!
Hey everyone. You have to depress the spring-loaded lock (pinch it back) before putting the cartridge in. After the cartridge is in all the way, let go and the cartridge will be locked under the cartridge lock bar.
Forcing these cartridges in and out of the printer without re-tracting the spring loaded tab lock can damage the cartridge and/or lead to all the problems listed in this thread.
Hi Walker,
I always pinch the spring-loaded lock when I insert a cartridge. But additional downward pressure is needed for the tongue of the lock to engage the cartridge lock bar, and it only engages the bar by a hairbreadth! The tolerances of the locking mechanism are too tight. I’m an engineer who has worked around mechanical equipment my entire career and I know this is not the way a locking mechanism should feel. Epson cartridges snap in without additional downward pressure, give a distinctive “click” and gave me perfect nozzle checks every time!
I’m going to keep trying. I ordered a 700ml bottle of PiezoFlush. I’ll be patient and do purge patterns as Keith Schreiber and others have suggested. If I can’t solve the problem, I’ll put my P400 up for sale and buy a printer with more of a track record. I almost bought a 1430, but was convinced I should go for the P400 because it’s the latest and greatest. It is nifty printer, but IMHO the IJM cartridges need refinement.
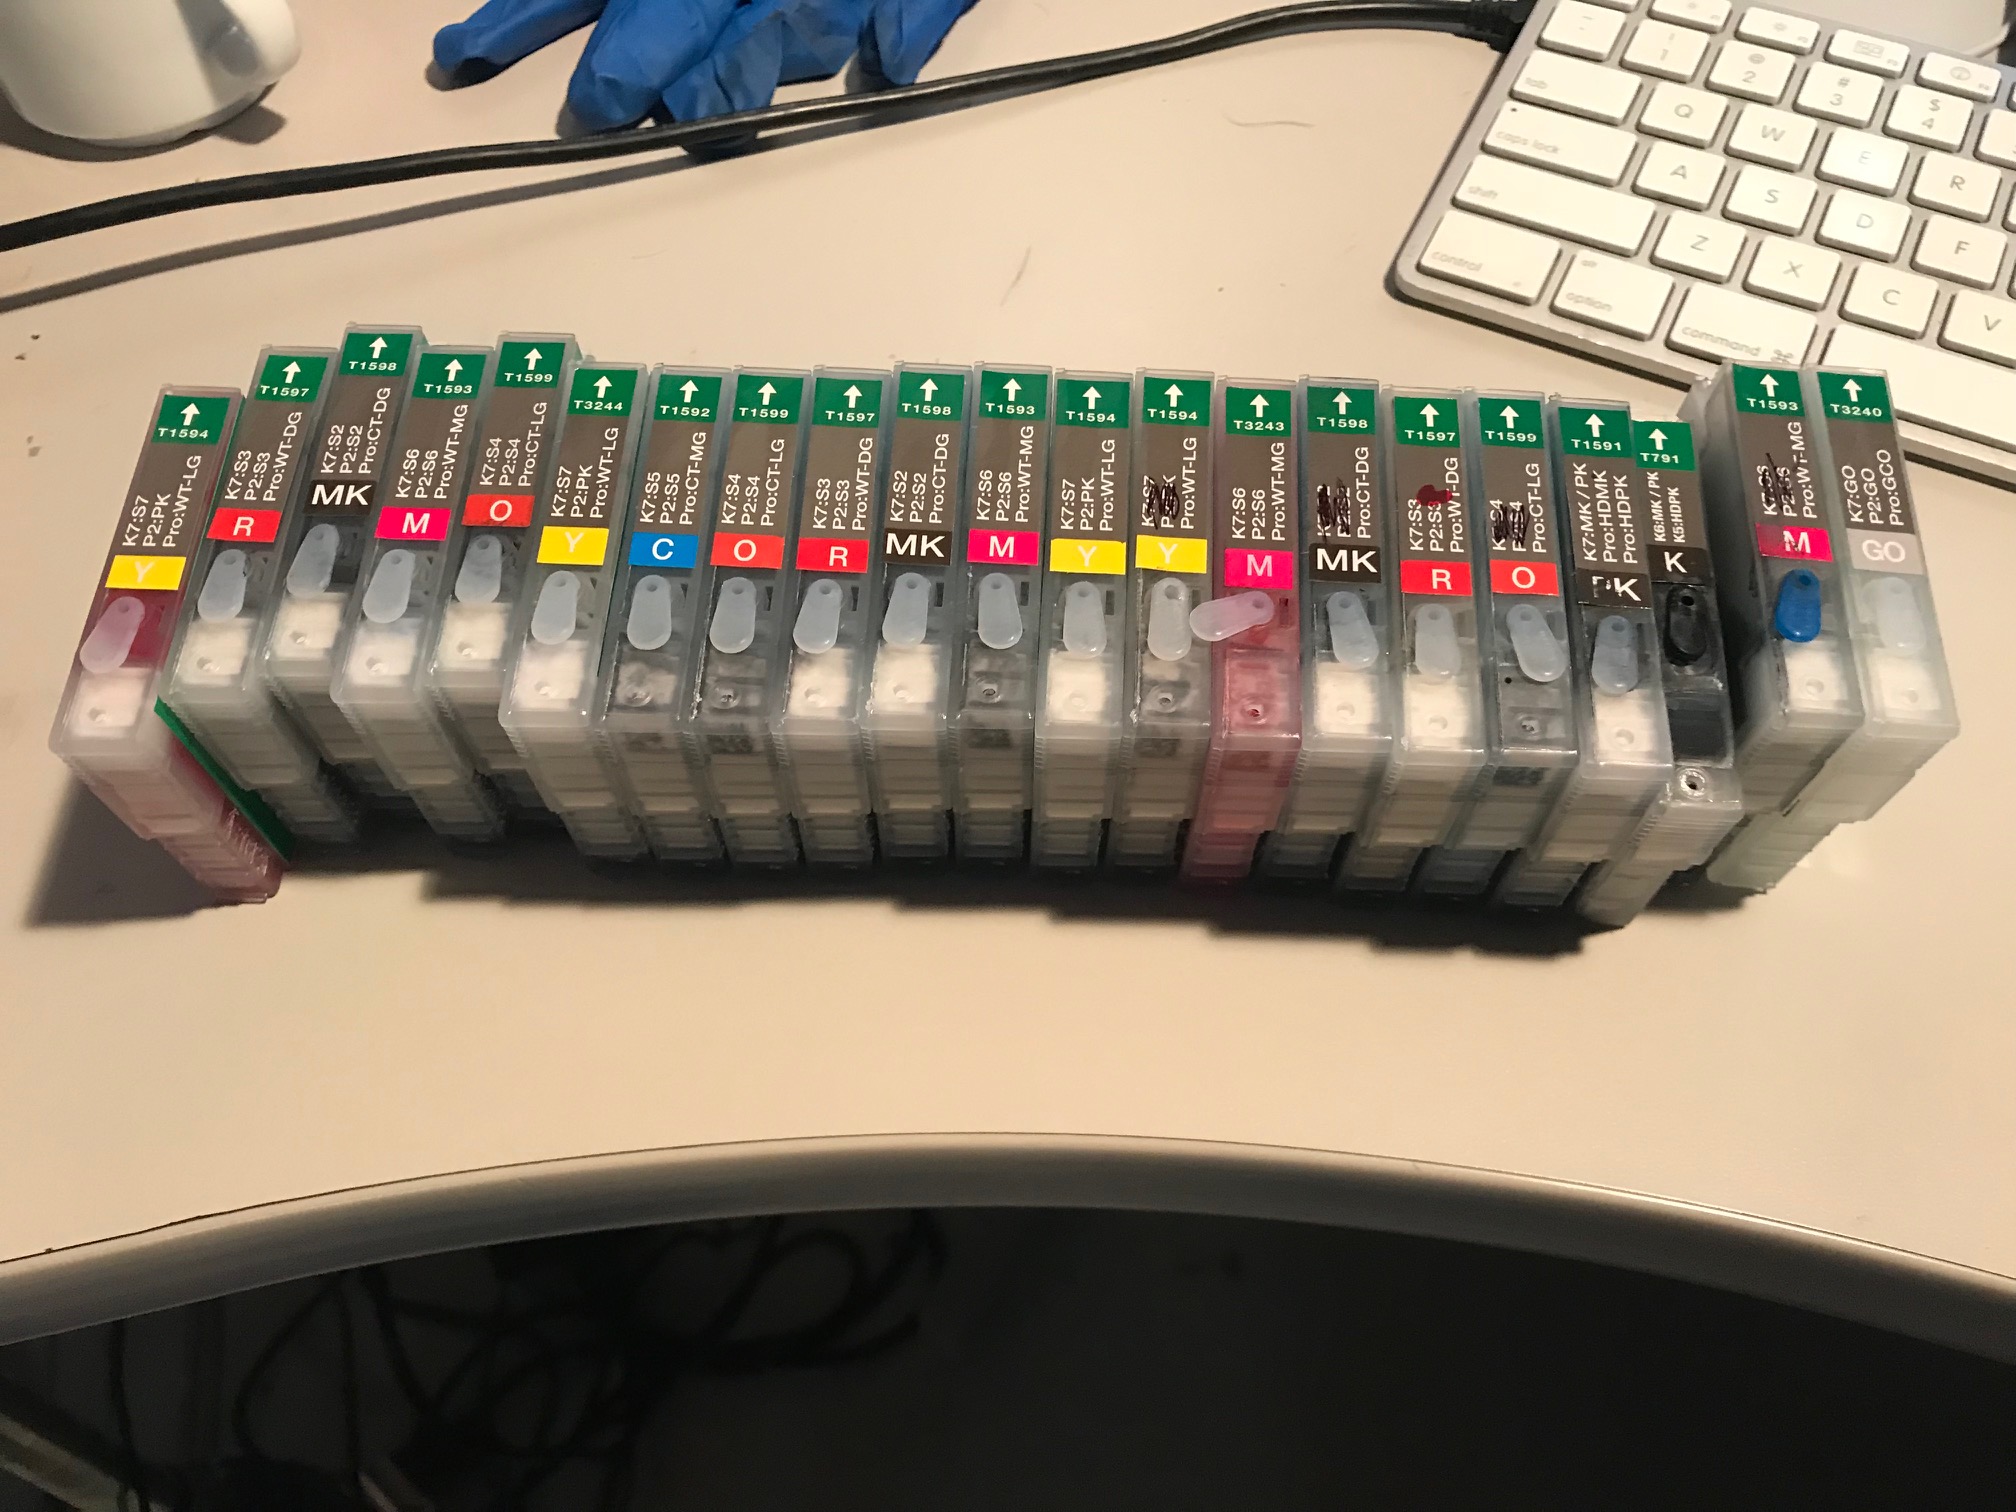
I respectfully disagree. The photo below shows the last 2 weeks of R&D P400 cartridges. I use about 1 set per week (I have used now well over 300 or 400 of these cartridges). I haven’t had lock issues, clog issues, or any other issues really beside accidentally tipping the carts over and then contaminating the air inlet filter with ink on occasion (usually after I’m done with a cart and it’s outside of the printer. You can see the ones that have black in the air inlet area.)
The “give” (or slow push-back is the way I like to think of it) that you are feeling is the inlet spike and ball spring. It’s a very heavy spring. It’s designed that way to enable you to prime the cartridge if need-be (something previous small format cartridges did not allow one to do).
I have not had a single cartridge break, come apart, etc, on putting it in or out of a printer. I’ve had one customer with a leaking cartridge of the thousands that we have sold and we were able to replace that cartridge promptly. I had another customer who had clog issues on an R2000 with similar carts but with hundreds of emails back and forth I came to the determination that it was a printer fluke.
I think what you need is a few spare cartridges. Fill them gentle, then rip the air tabs, wrap and tap, settle, put in printer, run a few cleanings (3 generally gets the new ink through the head) and you should be good.
I got my new giant bottle of PiezoFlush and was able to continue trying to get a good nozzle check from my P400 printer.
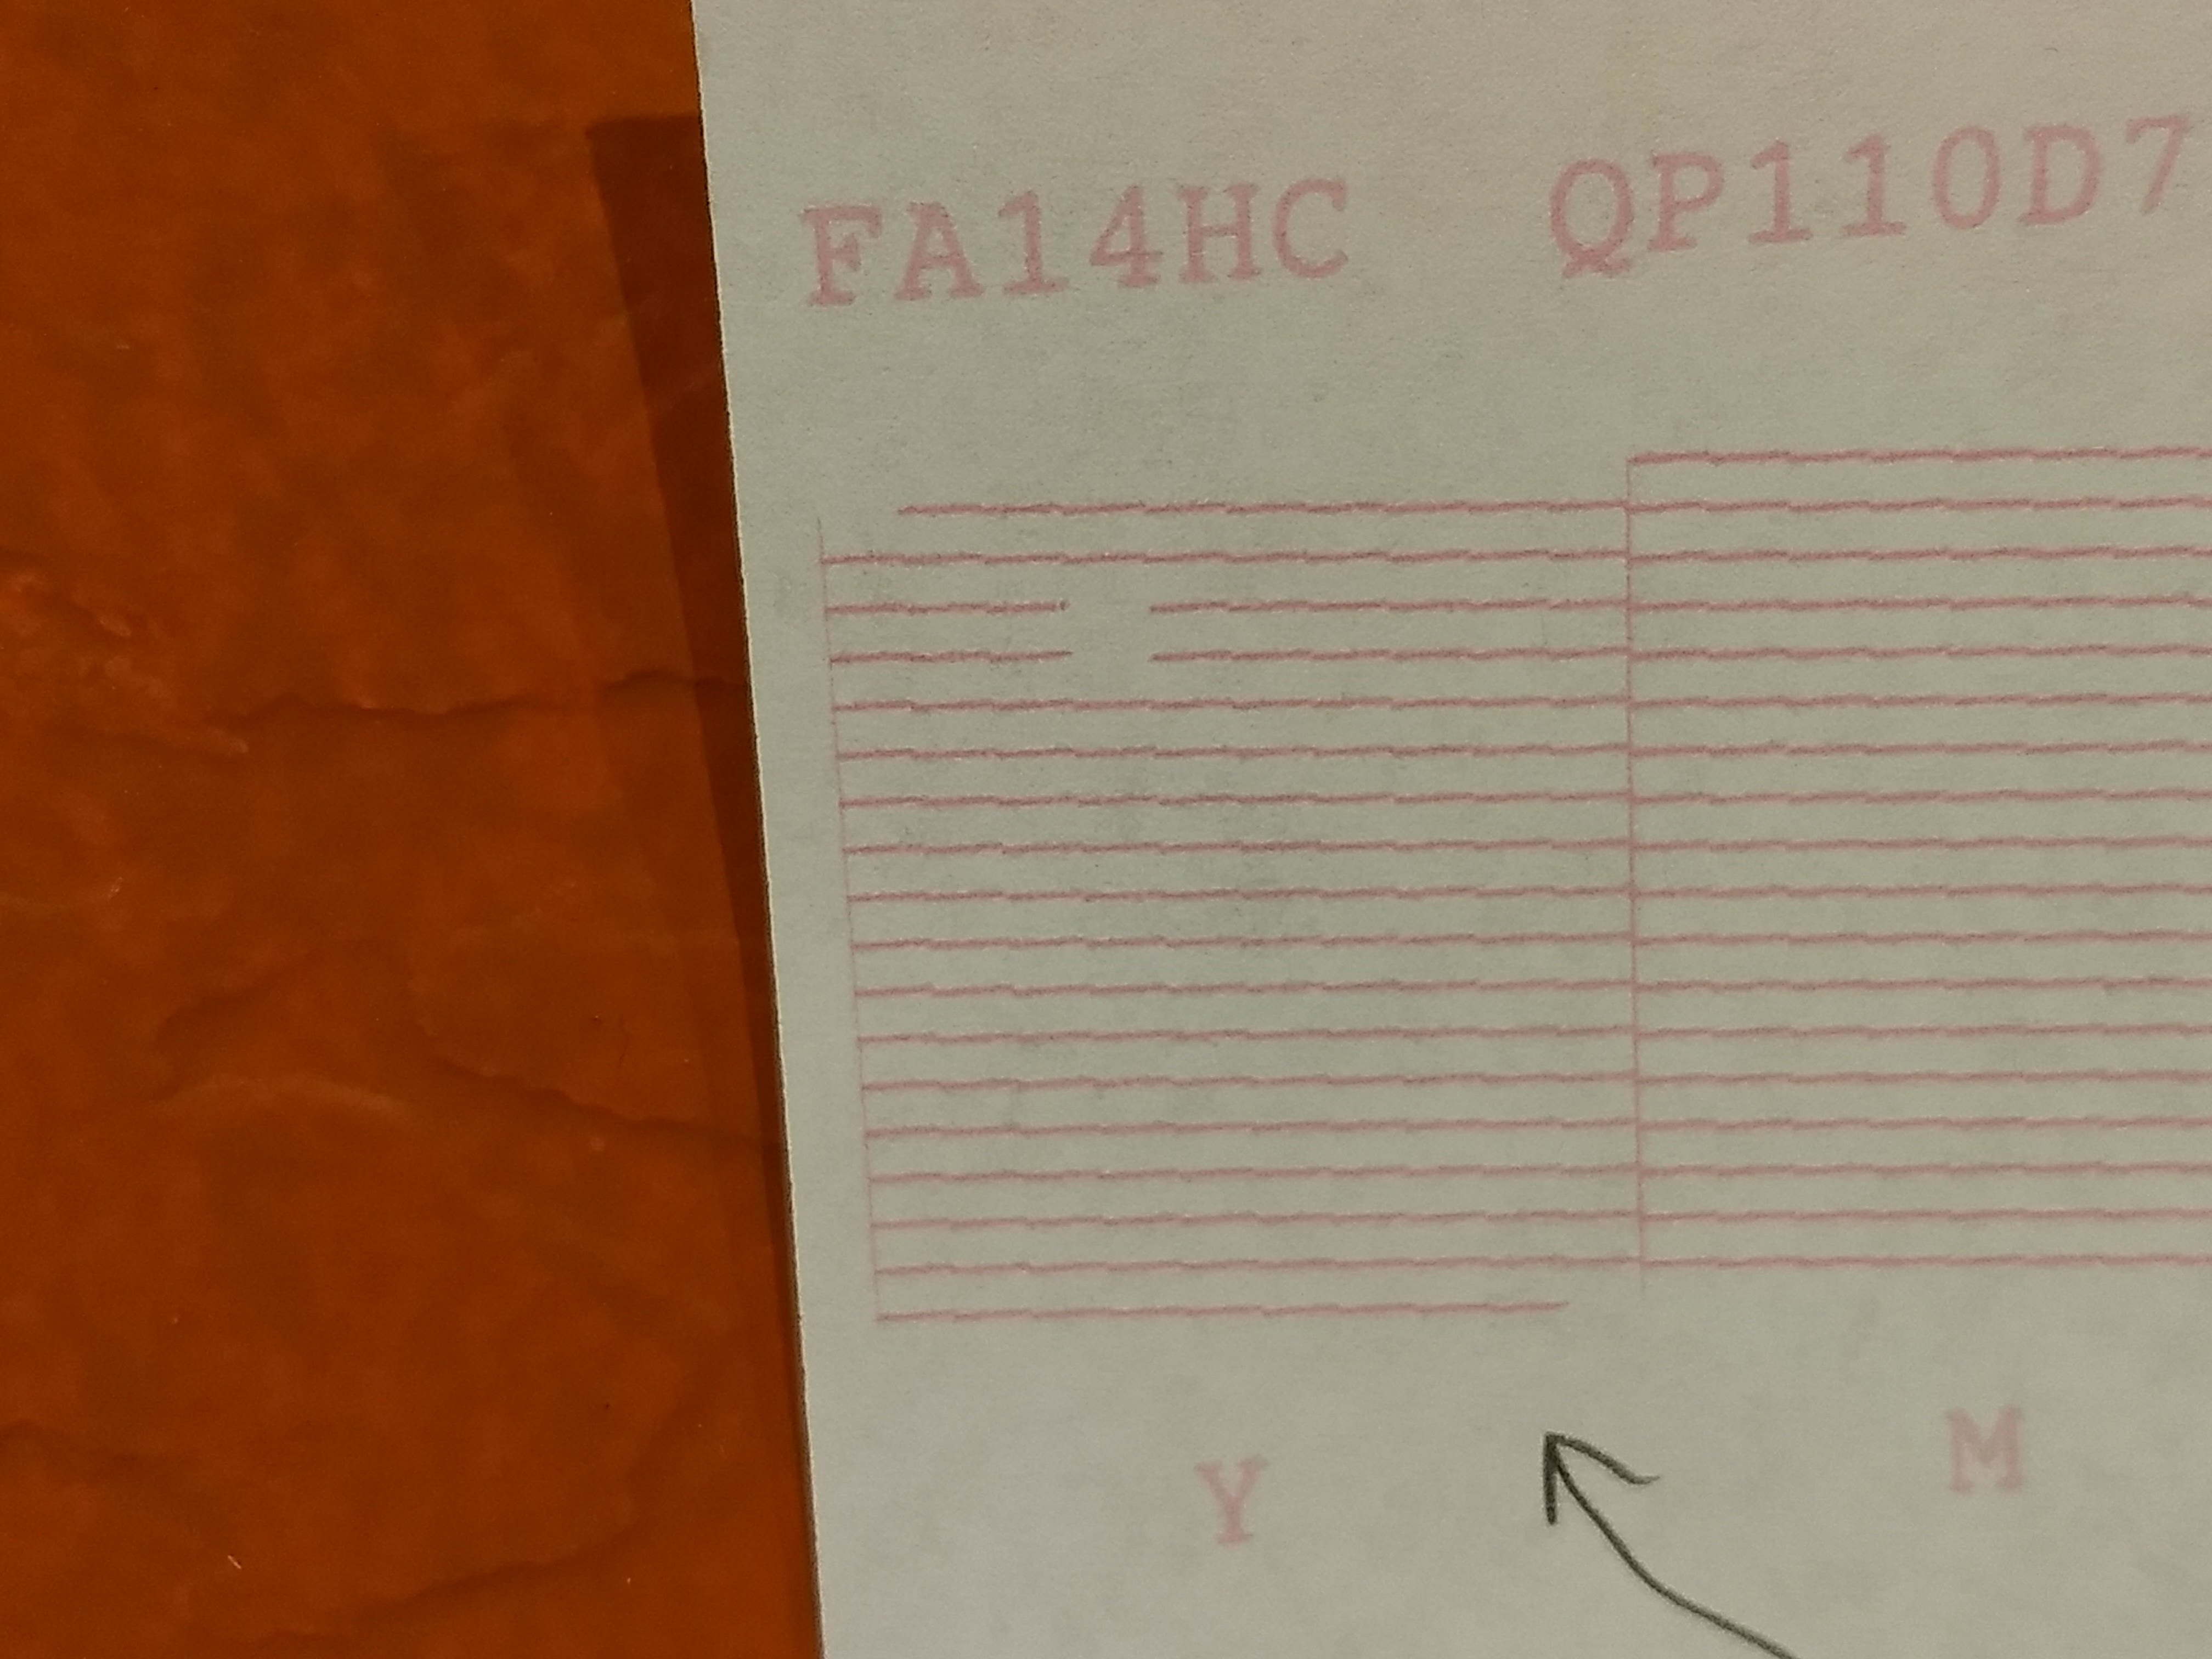
A preliminary nozzle check showed four gaps:
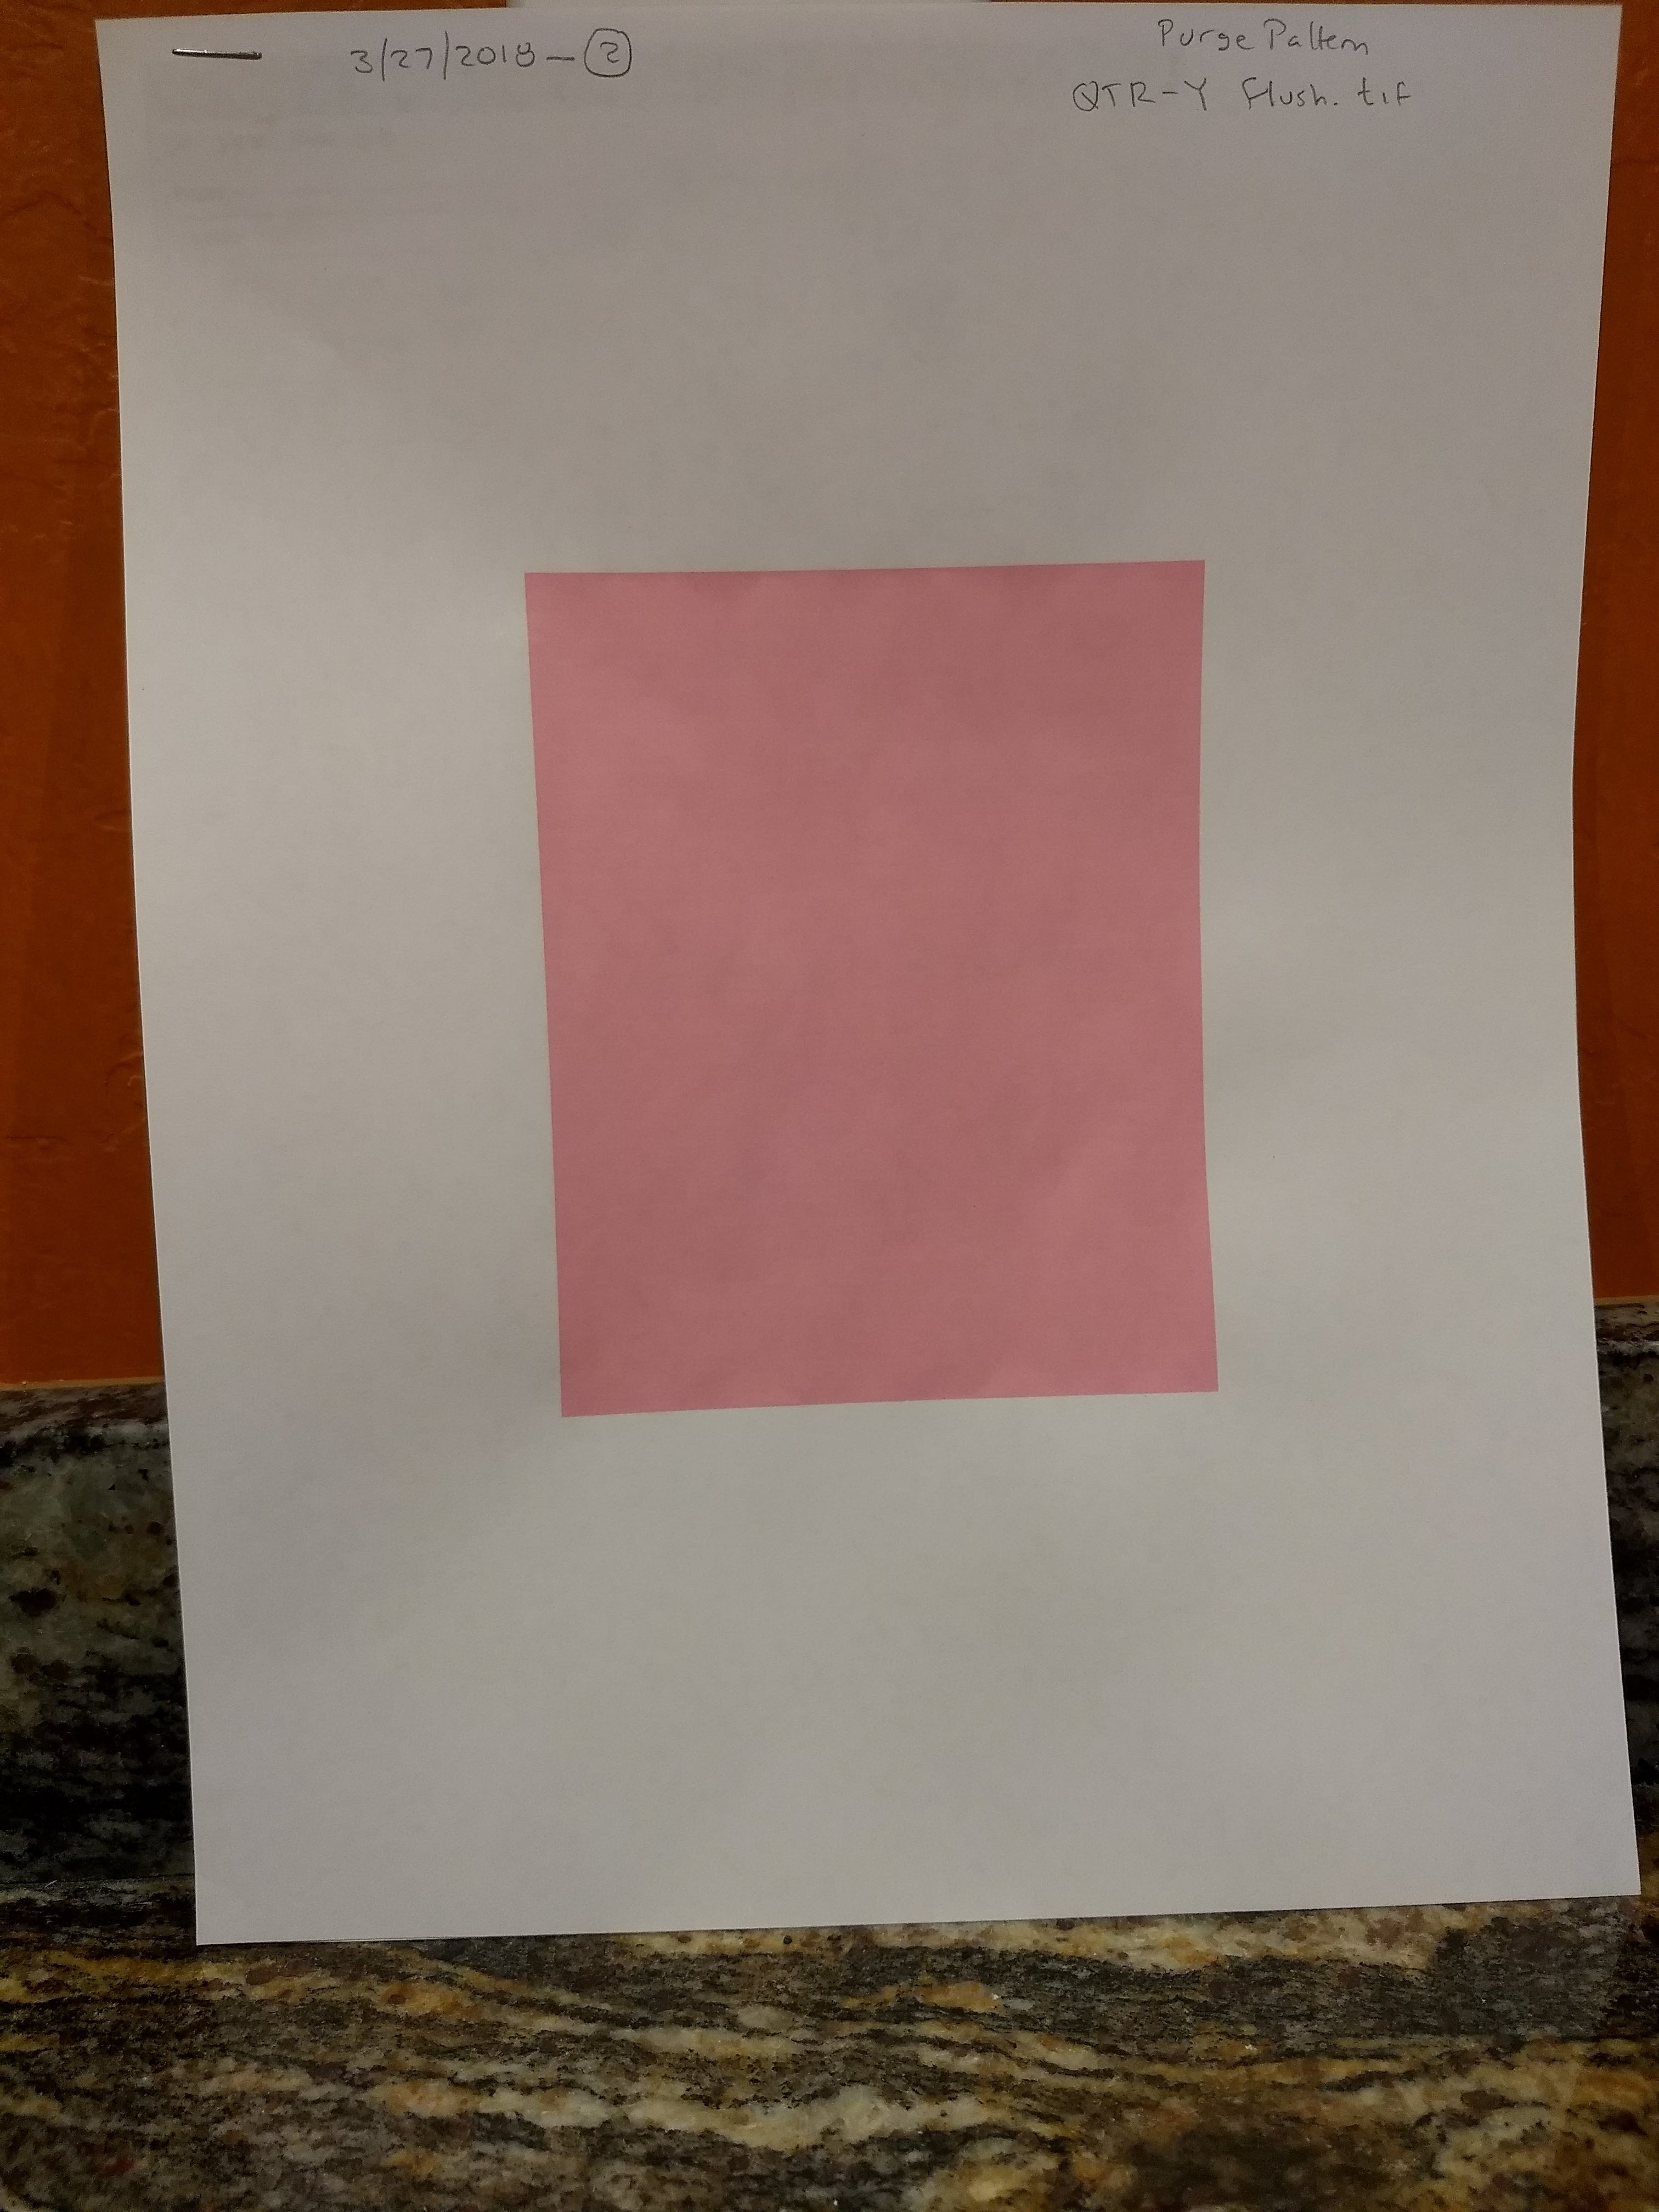
I then printed the QTR-Y.tif purge pattern IN CALIBRATION MODE using QuadR2000-PiezoDN-P2 as the Printer model. It is hard to tell if there’s anything wrong with the printout. It’s just a solid pink square.
Incidentally, the Windows instructions for printing purge patterns say to select 50-80% saturation if printing on typewriter paper (which I was using). I do not see a “saturation” parameter in QTRGui, so I set the Ink Calibration parameter to 50%, guessing that is what is meant.
After printing the purge pattern, I did another nozzle check. There’s no difference whatsoever: I see the same four gaps!
So should I print another purge pattern? A bigger purge pattern? (this one was scald to 50%). Or keep printing purge patterns until the gaps are gone?
Don Messec (who is sponsoring the Jon Cone workshop in June), suggested that my P400 Y and C cartridges might be defective. Can I get replacements for just those two cartridges? Since they’re the only ones with bad nozzle checks, and have given bad nozzle checks consistently from the moment I put them in, I think it’s worth trying.
Incidentally, I wanted to contact technical support to ask this question. But the technical support page only explains how to find your customer number, but doesn’t say exactly what to do with it. Is the proper way to get technical support simply to post to this forum, giving your customer number? If so, here’s my customer number: C35770. Seems odd, but there it is!
I’d let it sit for a while now, maybe overnight, then do it again. And yeah, the guy who wrote the QTRgui (not Roy) must have meant “saturation” instead of “calibration” on that slider.
After several several prints and trial and error I am convinced that my issue is withy printer. Not the IJM ink carts. I think that with the mass production of the epson printers that maybe 1 out of how many ever may have a tooling issue in the cart carrier. I have found that if I do at least one printhead cleaning possibly two before printing each day then everything seems to be fine. However this does not work if I remove the foam core DIY I did. I think I just have a bad printer and will deal with it until I can replace it with a P600
+1, although I’ve never had a problem with Stephen Billard’s use of “calibration”, as it’s a slider you’d use when printing the ink separation page to create QTR curves the traditional way. Saturation is for colours. Perhaps he could have used density or ink load limit.