I printed a picture using QTR and the hahnemuhle profile for photo rag bright white on a paper that i got from a friend, with the matte ink.
That was a mistake because the paper turned out to be Glossy fine art baryta FB bright white 10641673.
But i liked the black/white print very much. It did had some metamerisme if you looked to it from an angle.
So i ordered the right paper, photo rag bright white 310 gram 10641622.
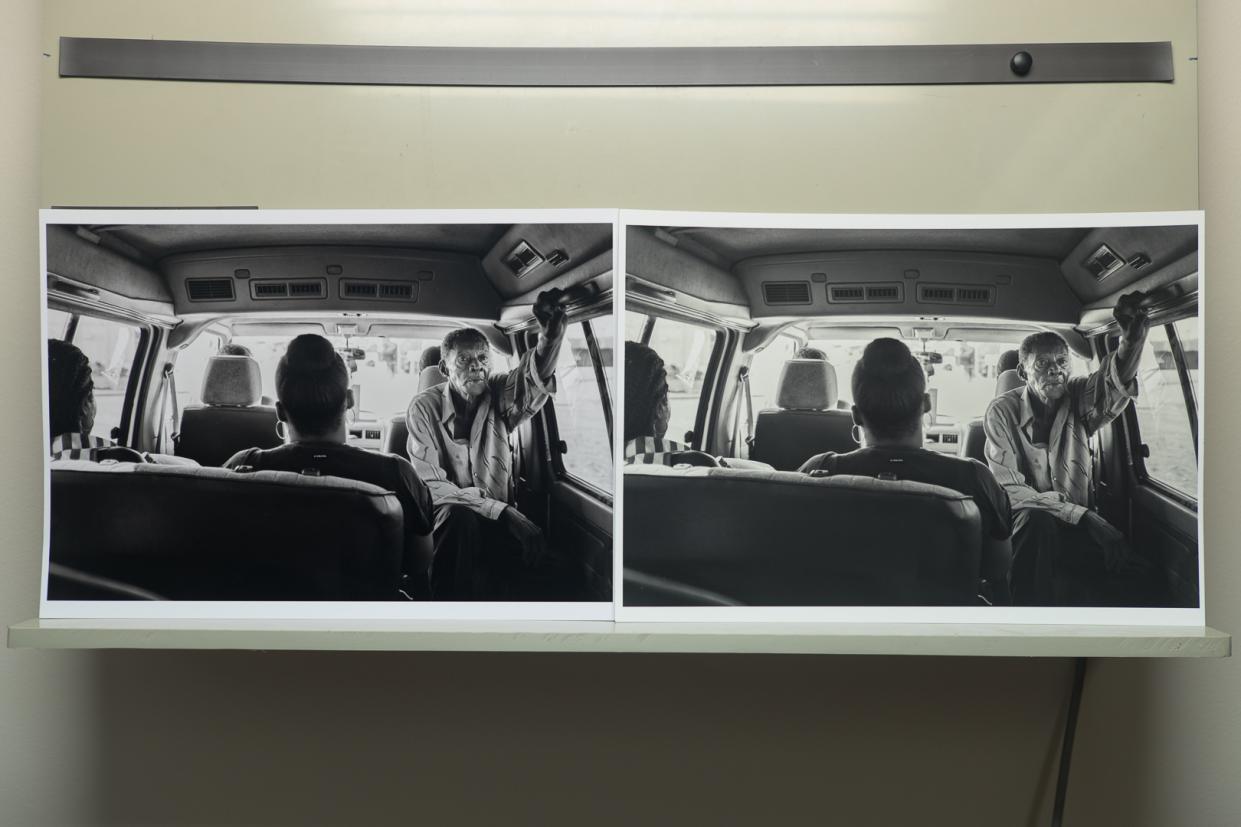
Than i printed one using the same profile. But i did not liked the result at all. The color was a lot warmer, not at all black and white. I atached a picture side by side under 5000k light. What can be the problem?
You can not print glossy media without glossy Piezography and a second printing of GO. It will not look correct in both the shadows as well as the bronzing.
I do not know what inks you are using but it sounds like you are expecting neutral?? Each paper produces a different color in each of the Piezography inks giving a full range of expression. For example, Piezography Neutral inks print from quite warm to quite cool depending upon the paper. They are only achromatic to the human eye on Hahnemuhle Photo Rag (not bright white) when viewed under 5000k.
Hahnemuhle Photo Rag is the paper we designed the color of all our inks on. Grades that are warmer or cooler produce warmer or cooler results - but some papers have unique coatings that impart differences as well.
Did you read the NEW Piezography Manual so that you fully understand our Gamma 2.20 workflow?
I think i found the problem having a to yellow B/W print.
I printed the ink separation tiff with QTR . And y saw that the 7 yellow was not very light gray. There still was a lot of yellow in it ! I did used the 2manuals flush program with the piezoflush and again with the inks.
So what to do now. With QTR i could print using only the yellow channel till a see improvement. Or i could do that with piezoflush first and with ink later. Or something else ?
The yellow should have been carried out. So you can either try and purge it out with a custom QTR Calibration Mode target by expanding the yellow 100% square to cover the entire image and repeatedly printing it in Calibration mode. Or you can do another Initial INK CHARGE which will waste ink in all the positions.
In QuadToneRIP / CurveDesign / Images open inkseparation8.tif in Photoshop.
It does not have an embedded profile - so if your Photoshop is setup correctly you should get a dialogue warning you of this.
You must select "Leave as is (Don’t Color Manage)
Then outline within the Yellow 100% square with the rectangle selection tool and select Edit / Transform / Scale and scale the selection to cover the entire image area.
Then Save As inkseparationYellow.tif and DO NOT EMBED a profile.
Put QTR in Calibration Mode when you print this image.
It will trigger only the Yellow position to print on an entire page.
Print until the yellow disappears…
I am glad that i found the problem, and more glad that Jon provided me the information how to solve it.
I used the “only yellow” print method with QTR. This way i did not waste more ink than needed.
It took 6 a4 prints. Every one became more gray and less yellow.
Printed the picture again and discovered no more yellow cast.