Hi all, I have returned with VM woes. About two months ago (May) I started up my 3880 after being dormant for the winter (about 5 months). Upon doing so, VM was clogged pretty bad (only the middle section of nozzles printed) and it took 3 days of doing a cleaning cycle in the morning and night to get it working. But then it was working fine with a perfect nozzle check. I made one print a day (11x17 or 13x19) with no issues until yesterday (7/14). I noticed streaks in the print, so ran a cleaning cycle and nozzle check. Several nozzles were still missing, so another one. More nozzles missing. Another cleaning, all nozzles missing. 3 more cleanings (full cycle), all nozzles still missing. 2 power cleans, all still missing. Let it sit overnight and this morning ran 3 more regular cycles. VMagenta is still missing all nozzles.
This may be a similar issue to something I previously asked about: Annoying (air?) issue with 3880 black
Could it be a similar issue, or is there something else? I will continue with the daily cleaning regiment until it recovers (hopefully), but while it’s being a bum it’s pumping expensive ink into the diaper. And previously the cleaning and sitting method seemed reasonable, as some nozzles were always printing. Not so now… 
For those following along, this is my 2nd 3880 which I bought new. My old 3880 was a refurb and had many issues revolving around K, VM and LM. This new printer has been mostly flawless, except for VM. VM is more expected to have problems due to its ink density, but not complete drop-outs on a cleaning.
I think you need to flush the printer to dissolve/loosen the old pigment/ink in your damper and ink line that is causing the issues. Also, empty the cartridge if you haven’t yet, shake your bottle, and refill the cartridge. You have settled pigment in the lin and damper and cartridge.
I’m going to private message you.
best,
-Walker
The TL;DR: My printer is working again. I flushed the ink tank back pane and lines with water and verified the dampers were clean (they were).
This was quite involved and required taking the printer apart to remove the ink system. If you’ve cleaned/replaced your dampers, you’re most of the way there.
1: Get at the dampers to the point where they can be removed.
2: Remove the metal plate from the top of the ink tank holder to expose the ribbon cables. Carefully remove them from the chip sensors and fold out of the way.
3: Remove the air inlet hose and 2-3 screws holding the ink tank holder to the printer. Slide to the right and lift it free.
4: Remove the dampers from the printhead and pull the entire ink system clear.
5: On newspaper or other covering, place the ink tank holder on its front (the cart fill holes are on the ground). Lift the dampers above the ink tanks to let ink drain from the lines. This will only work if you’re using refillable carts though.
6: Remove the ink tanks. Unscrew all the metal plates from the ink tank holder.
7: With the ink tank holder still face down you’ll see a bunch of screws in the foil-covered backpane. Remove these and carefully pry the backpane free. Ink will probably leak so be ready.
8: Pry the backpane off the dampers. This will leak more ink.
9: In a bath tub or utility sink, flush water through the ink tank backpane’s ink inlet nozzles. I found that using a syringe with the plunger removed, inserted into the small-format cleaning adapter worked pretty well. Hold the syringe tightly againt the faucet and let the water flow with reasonable pressure. You’ll see it swirl around the valve. Inky water will flow out the damper side of the ink tubes. Any settled pigment will be at the bottom of the valves as shown in the picture, so press lightly on that area to help it get loose. Stubborn stuff will take several minutes of flushing which is why I don’t suggest simply using a syringe as the 50cc ones don’t fit and the 10cc ones don’t hold enough water to be reasonable.
10: Once they are as clean as you can get them, blow out the water. I used my mouth but you could use a low pressure air supply too.
11: To prevent issues with hard water, inject about 5cc of PF in the same way you did the water. Of course the syringe with its plunger can be used. Blow this out the same way you did in step 10.
12: If you need to flush the dampers, hold the circular valve in and inject water/PF from the backpane end. Once the ink is out you can inspect the square screen to see if it’s clogged. As before if you use water, inject PF after.
13: While you have everything open, you may as well inject PF directly into the printhead. Follow the instructions for small format printers here on IJM’s site. Use very light pressure and go slow!!!
14: Reattach the backpanes to the ink tank holder and the dampers. Reattach the metal plates to the ink tank holder and the ink tank holder to the printer. Connect the chip sensors, and reinstall the dampers on the printhead.
15: At this point I suggest installing ink tanks, connecting the control panel to its ribbon cable and powering the printer up. Make sure your waste tank has plenty of room and run a power clean. Watch the ink flow through the lines. The rate should be similar for all of them. If it’s not, you probably have a blockage somewhere still. This let me know that VM was still clogged in the actual printhead, since the rest of the system was known to be clean. I had not done step 13 at this point.
16: If ink motion is looking good (ink should be about 3/4 through the lines), run 2 more power cleans to get ink into the dampers and printhead. You may be able to get away with only 1 but 2 is safe. Do a nozzle check and if everything is functional, button the printer back up. SUCCESS!
Pictures are from my 1st 3880 which has sat dormant for over 1.5 years. I didn’t get any “after” pictures, but know that those swirls were completely clean!
Nasty yellow crud: 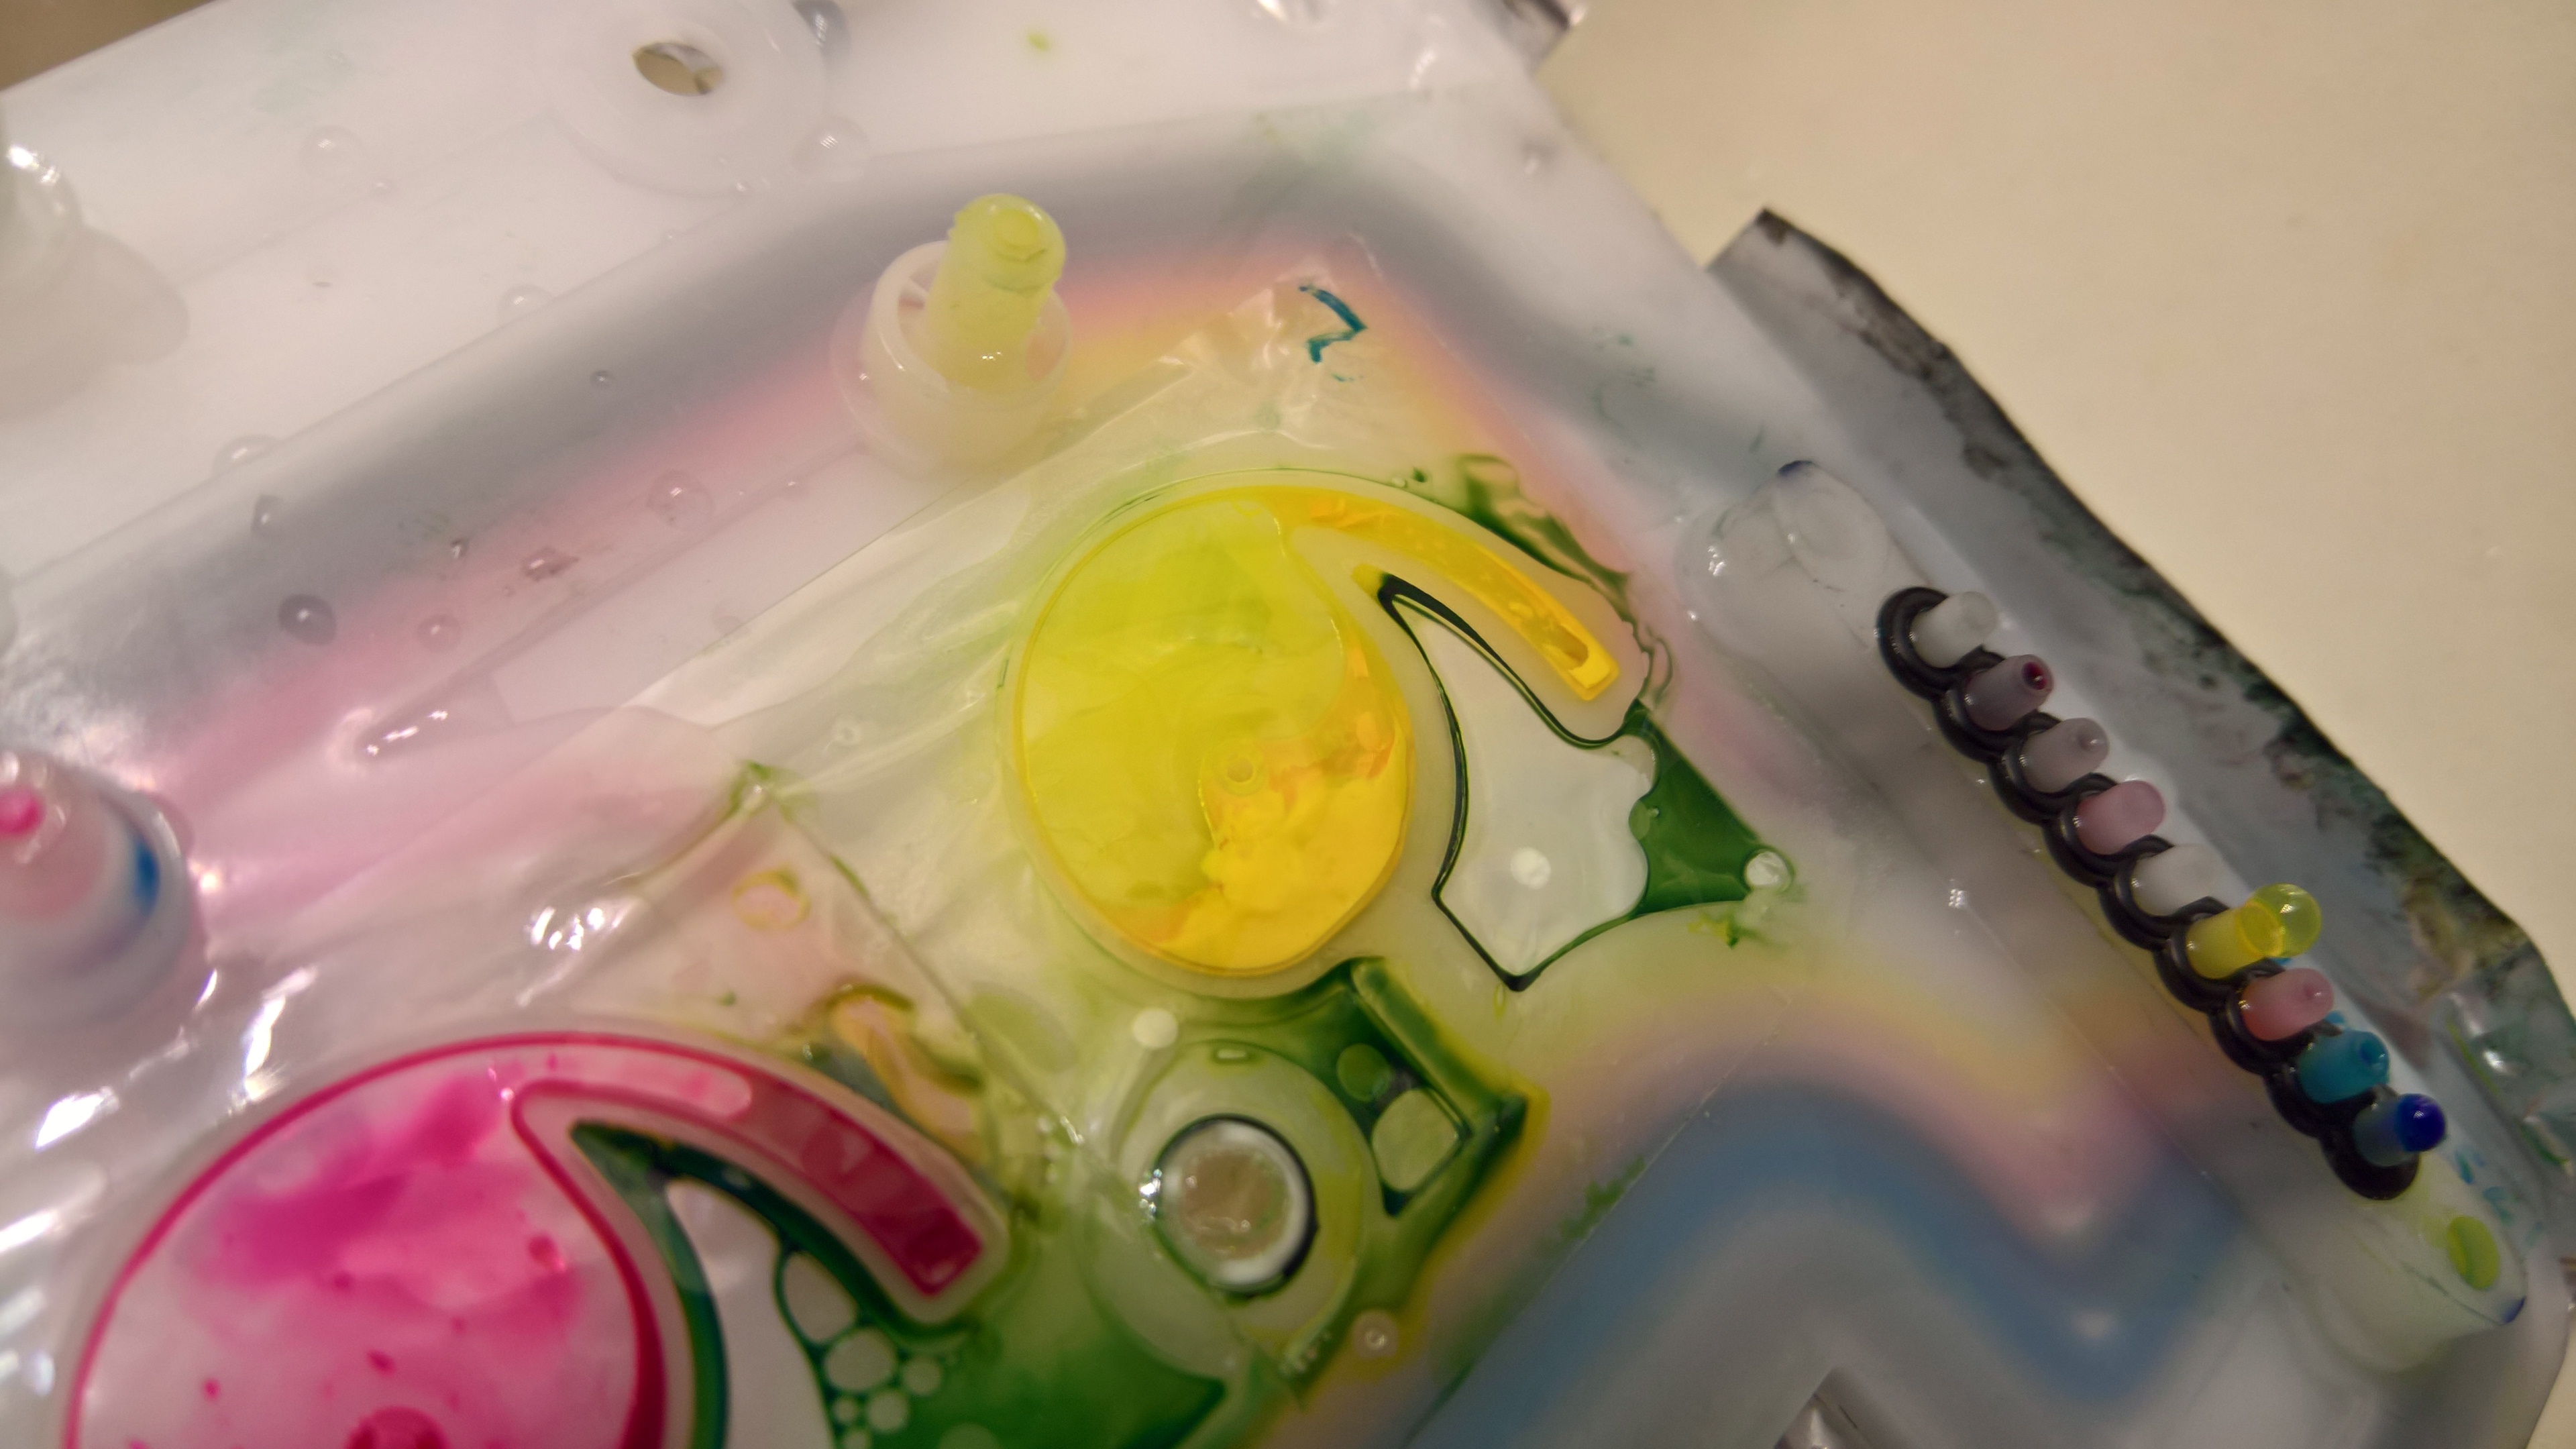
Whole thing: 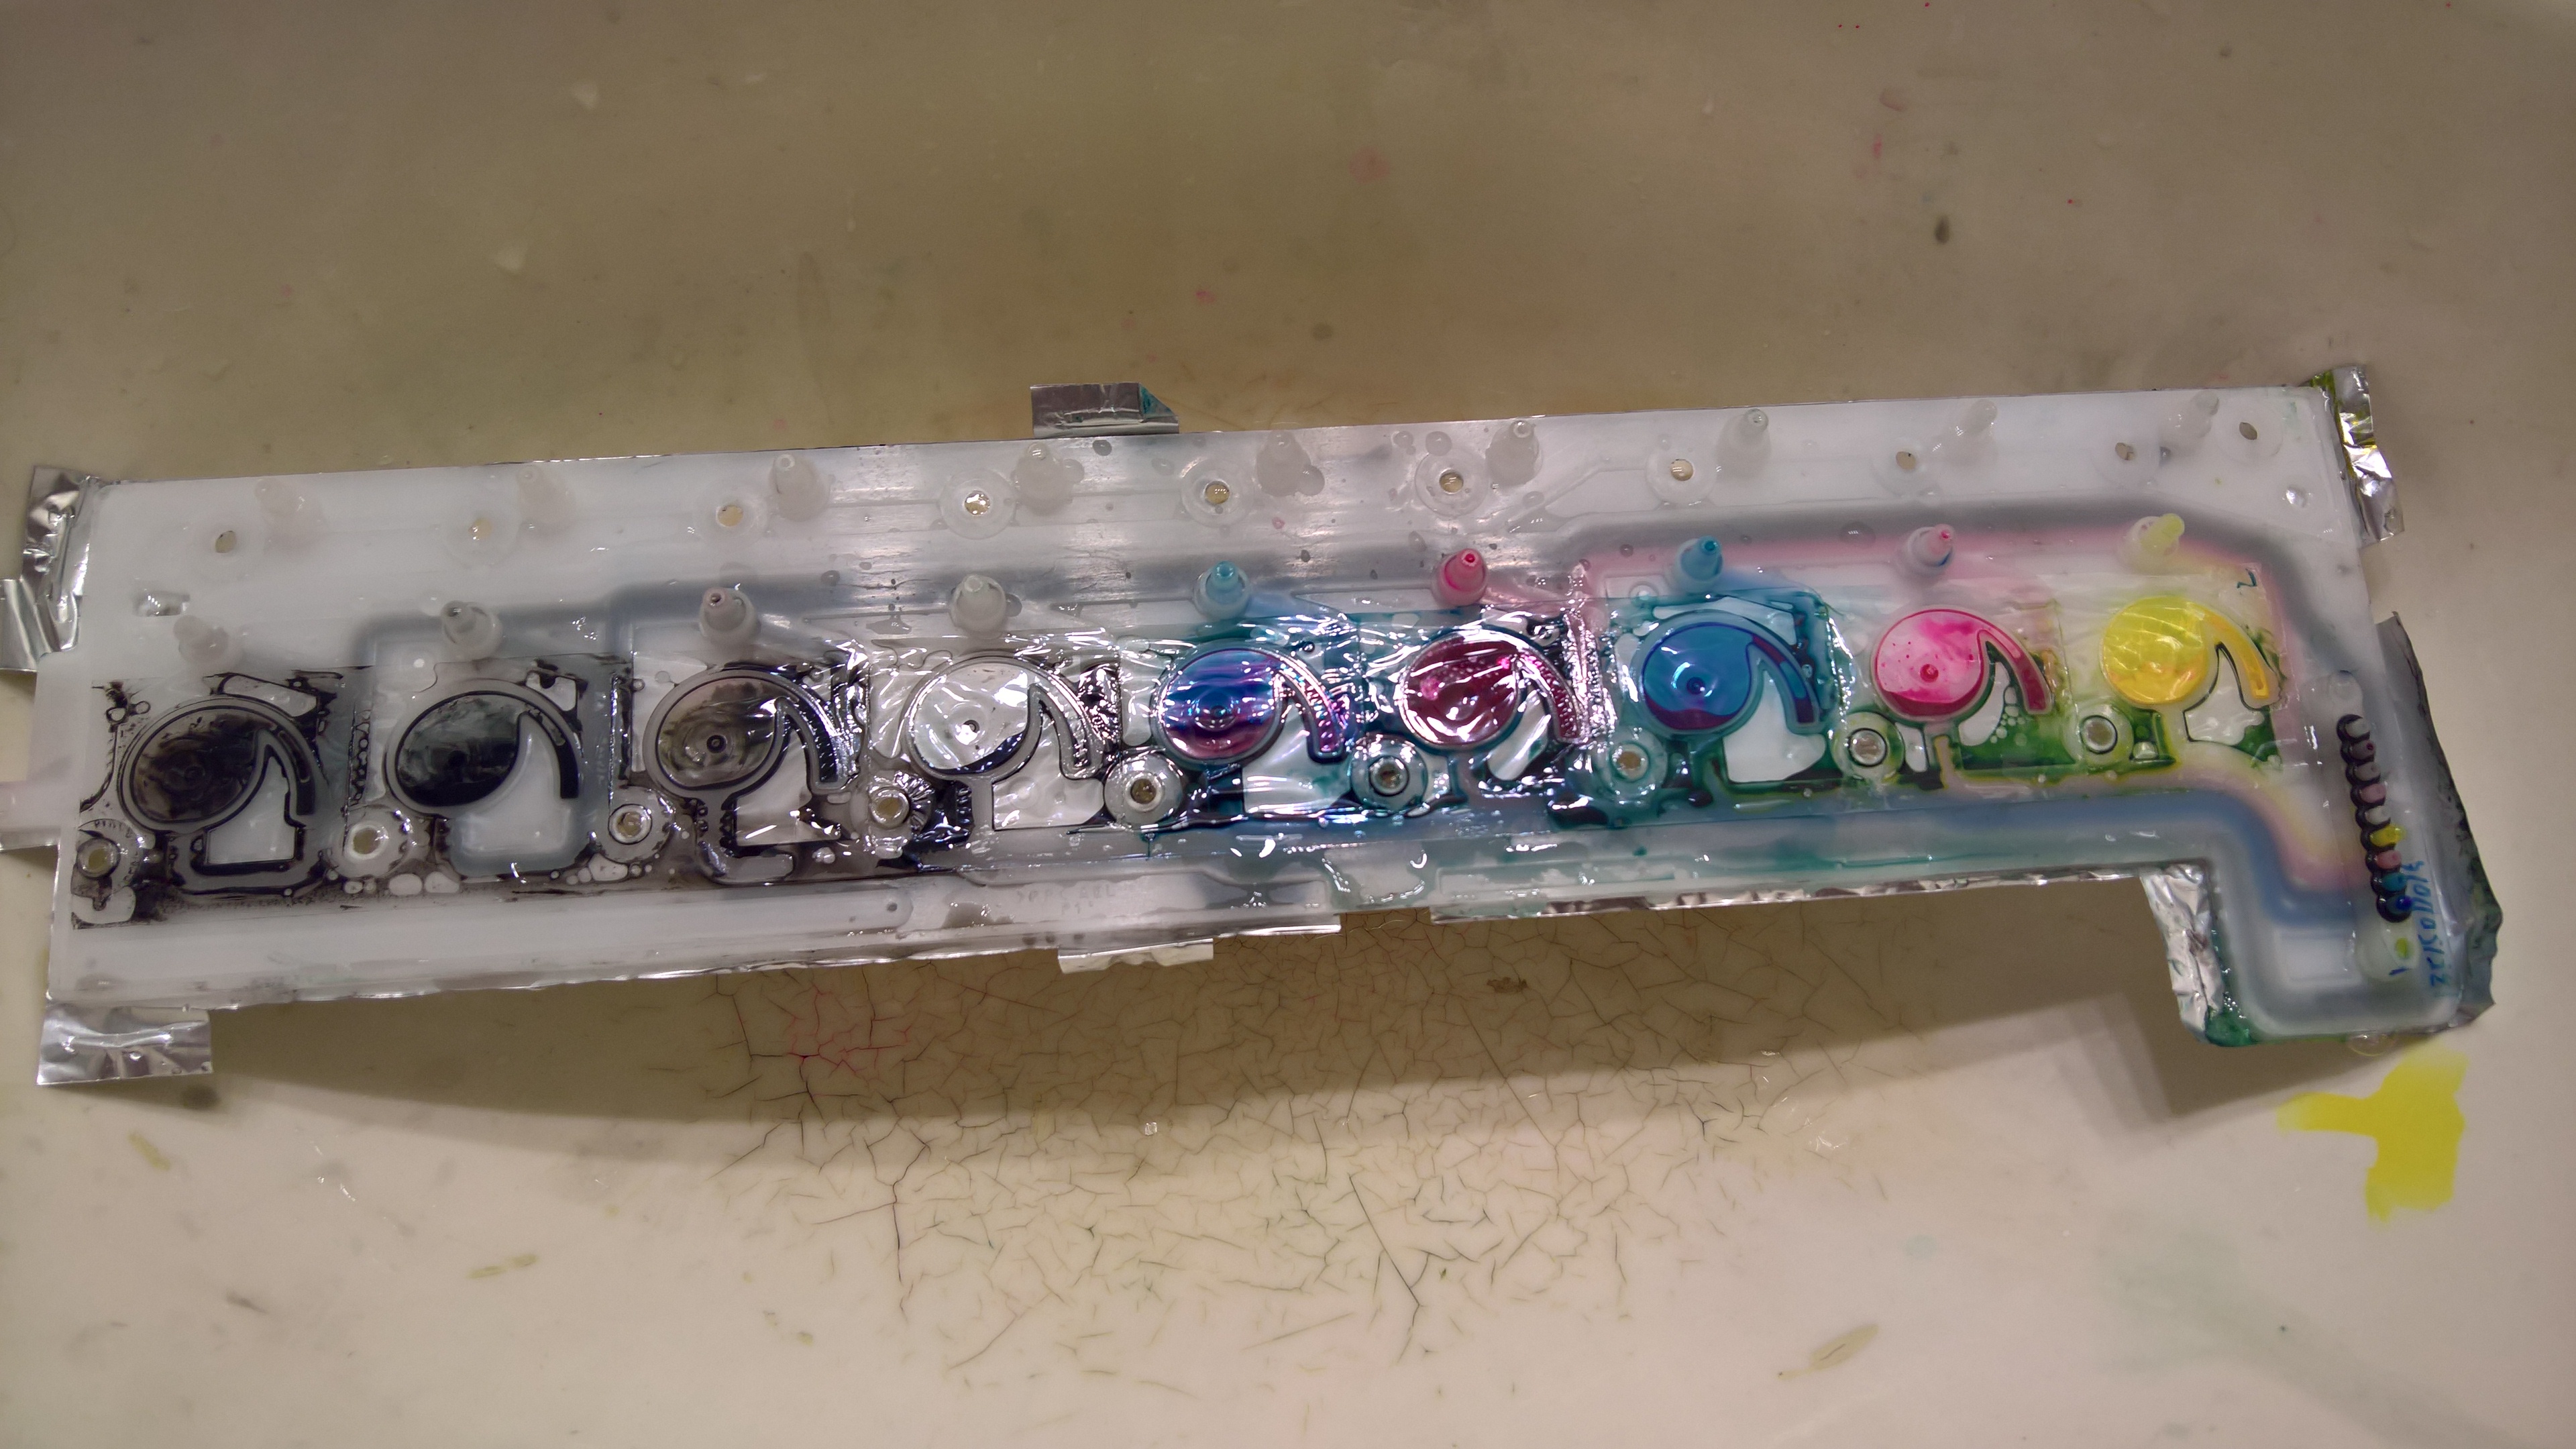
1 Like