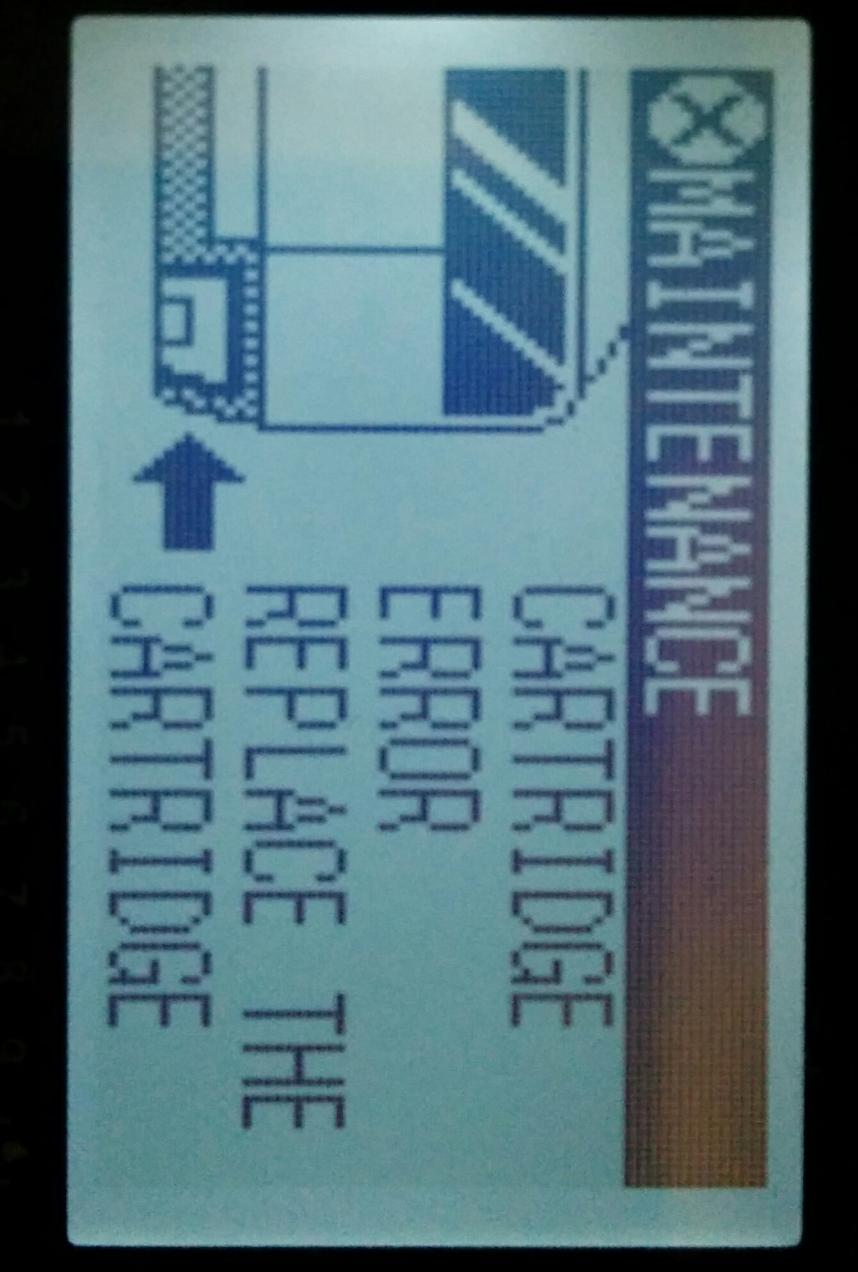
I have an Epson 3800 running Cone Color inks. A while ago I started getting this error msg (see post title) for the maintenance cartridge.
I have tried taking out and replacing the same cartridge a number of times, as well as turning the printer off and on again multiple times. I double-checked the chip with the taped-off pin and it seemed to be in order. After a while I decided to just buy a new OEM maintenance cart. to replace the one that has been giving me problems, but to no avail!
Now that you have a new OEM maintenance tank you could purchase a resetter for the waste tank and reset your original tank to full. Then you simply use your new OEM tank for resetting your original tank. You will need to re-pack your original tank with paper towels or an absorbent material like a piece of diaper to absorb the waste ink. Here are the instructions here for resetting the original maintenance tank with the resetter http://shopping.netsuite.com/c.362672/site/techdocs/38XX-Waste-Tank-Reuse-Reset.pdf
You will need the resetter 1st to reset the original tank before do the Re-Boot on the printer (there’s a procedure to reset the system, which is a little more then simply turning printer on/off). You do not have to buy the resetter if you simply decide to go forward using OEM tanks and replacing them every time they are full.
3800/3880 printer reset:
If your printer displays empty cartridge boxes on the LCD or other strange errors, the printer can be reset as follows. Open the cartridge bay door and unlock all nine carts, then slide out the waste ink tank and turn the printer power off for at least 3 minutes. When the printer is turned back on, the LCD will display “NO maintenance tank”. Slide the waste ink tank back into the printer and close the waste tank door. The LCD should now display “NO ink cartridge”. Push cartridges snugly into the printer from left to right (1 to 9), then lift up on the bottom/rear of all carts to ensure they are even. The LCD should now display “Cartridge door open”, close the cartridge bay door and the printer should pressurize cartridges then display “Ready” on the LCD panel.
Also, where it states that the cartridge bay door is to be opened / closed, is this where the plastic clip is removed from / inserted into the printer?
Jens
This error message is usually in reference to an ink cartridge, I haven’t seen it for the maintenance tank before. Can you post a picture of the display panel for me with this message?
I’m having problems uploading a 350kb jpeg image using the ‘Insert Image’ function on here, sorry. Can you give me your I email and I’ll send it to you that way instead?
Ok, try this, I found this thread, maybe it will work for you
“I finally have been able to get it to reset and show the maintenance tank full. I inserted the newtank, pulled out the ink carts and then closed the door. turned off the printer then rebooted it. This time it said replace the Maintenance tank which I just pulled it out and reset it then put it back in. The printer message then said there were no carts installed so I opened the door, replaced them and closed it back, this time it reset all to full!”
I just had this exact same problem. I found this thread in the forum while searching for the solution. I tried all of the above, and it had nothing to do with that. If you’re experiencing this problem, it may be that you did what I did, which is put the wrong Epson chip in a position.
While changing from the carts I was using to my new Inkjet Mall 3880 carts, I inadvertently put the Epson VLM chip into the VM cart. The printer reported maintenance cart problems (as above in the picture), and it briefly showed that only 2 of the ink cart positions were working correctly. When I put in the right Epson chip into the VM cart, the entire problem disappeared.
It was a while ago, but I believe I had marked them before doing the swap and simply misread the markings. The hard part was realizing that I might have made this mistake. After that it was trial and error.