I have had a set of P2 Carbon cartridges in my 4800 for a couple of months now, and all was going well. I ran a test print a couple of weeks back to keep the heads clean and it looked good.
Over the weekend I went up two versions of OSX to Mojave 10.14.3. I ran a print tonight and it looks downright scary. After studying it, it appears that all of the midtones are a single shade. There are dark shadows and bright highlights, but lots of monochromatic grey in between.
I use Print Tool with no color management, and the 21 step Spyder target looks good (I think). I have also reinstalled QTR and Community Edition (post-upgrade).
I’m stumped and frustrated. I hope someone can help out here. My sample image is below, or can be viewed at Four Terriers.

First check nozzles.
Then,
Delete your printer and re-install the proper curves from the 4800 P2 (HD) curves folder.
This is the procedure for upgrading to any new OS.
let me know after that, best
Walker
OK, here is what I have discovered.
The nozzle check went great. No issues when printing a full spectrum test sheet.
I uninstalled and reinstalled (about six times). The regular curves look better than the HD (the blacks are darker). The end result, however, is still horrible.
I pulled out my MacBook Pro. It is only High Sierra, but I thought that would be a good test, as none of the Piezography components have ever been installed on it. Clean slate.
I installed QTR, then my printer (networked), then Community Edition. I added the curves (non-HD) and used the same file to test.
The result looked just as bad. In examining it more closely it appears that the midtones have all been boosted. Features that should be very subtly just above black are very much medium grey. The highlights are fine, as are the blacks.
That this occurs from two different computers concerns me. As I said, both the 21 step Spyder target and the Marrutt full color test print look good.
Advice on a next step would be most appreciated.
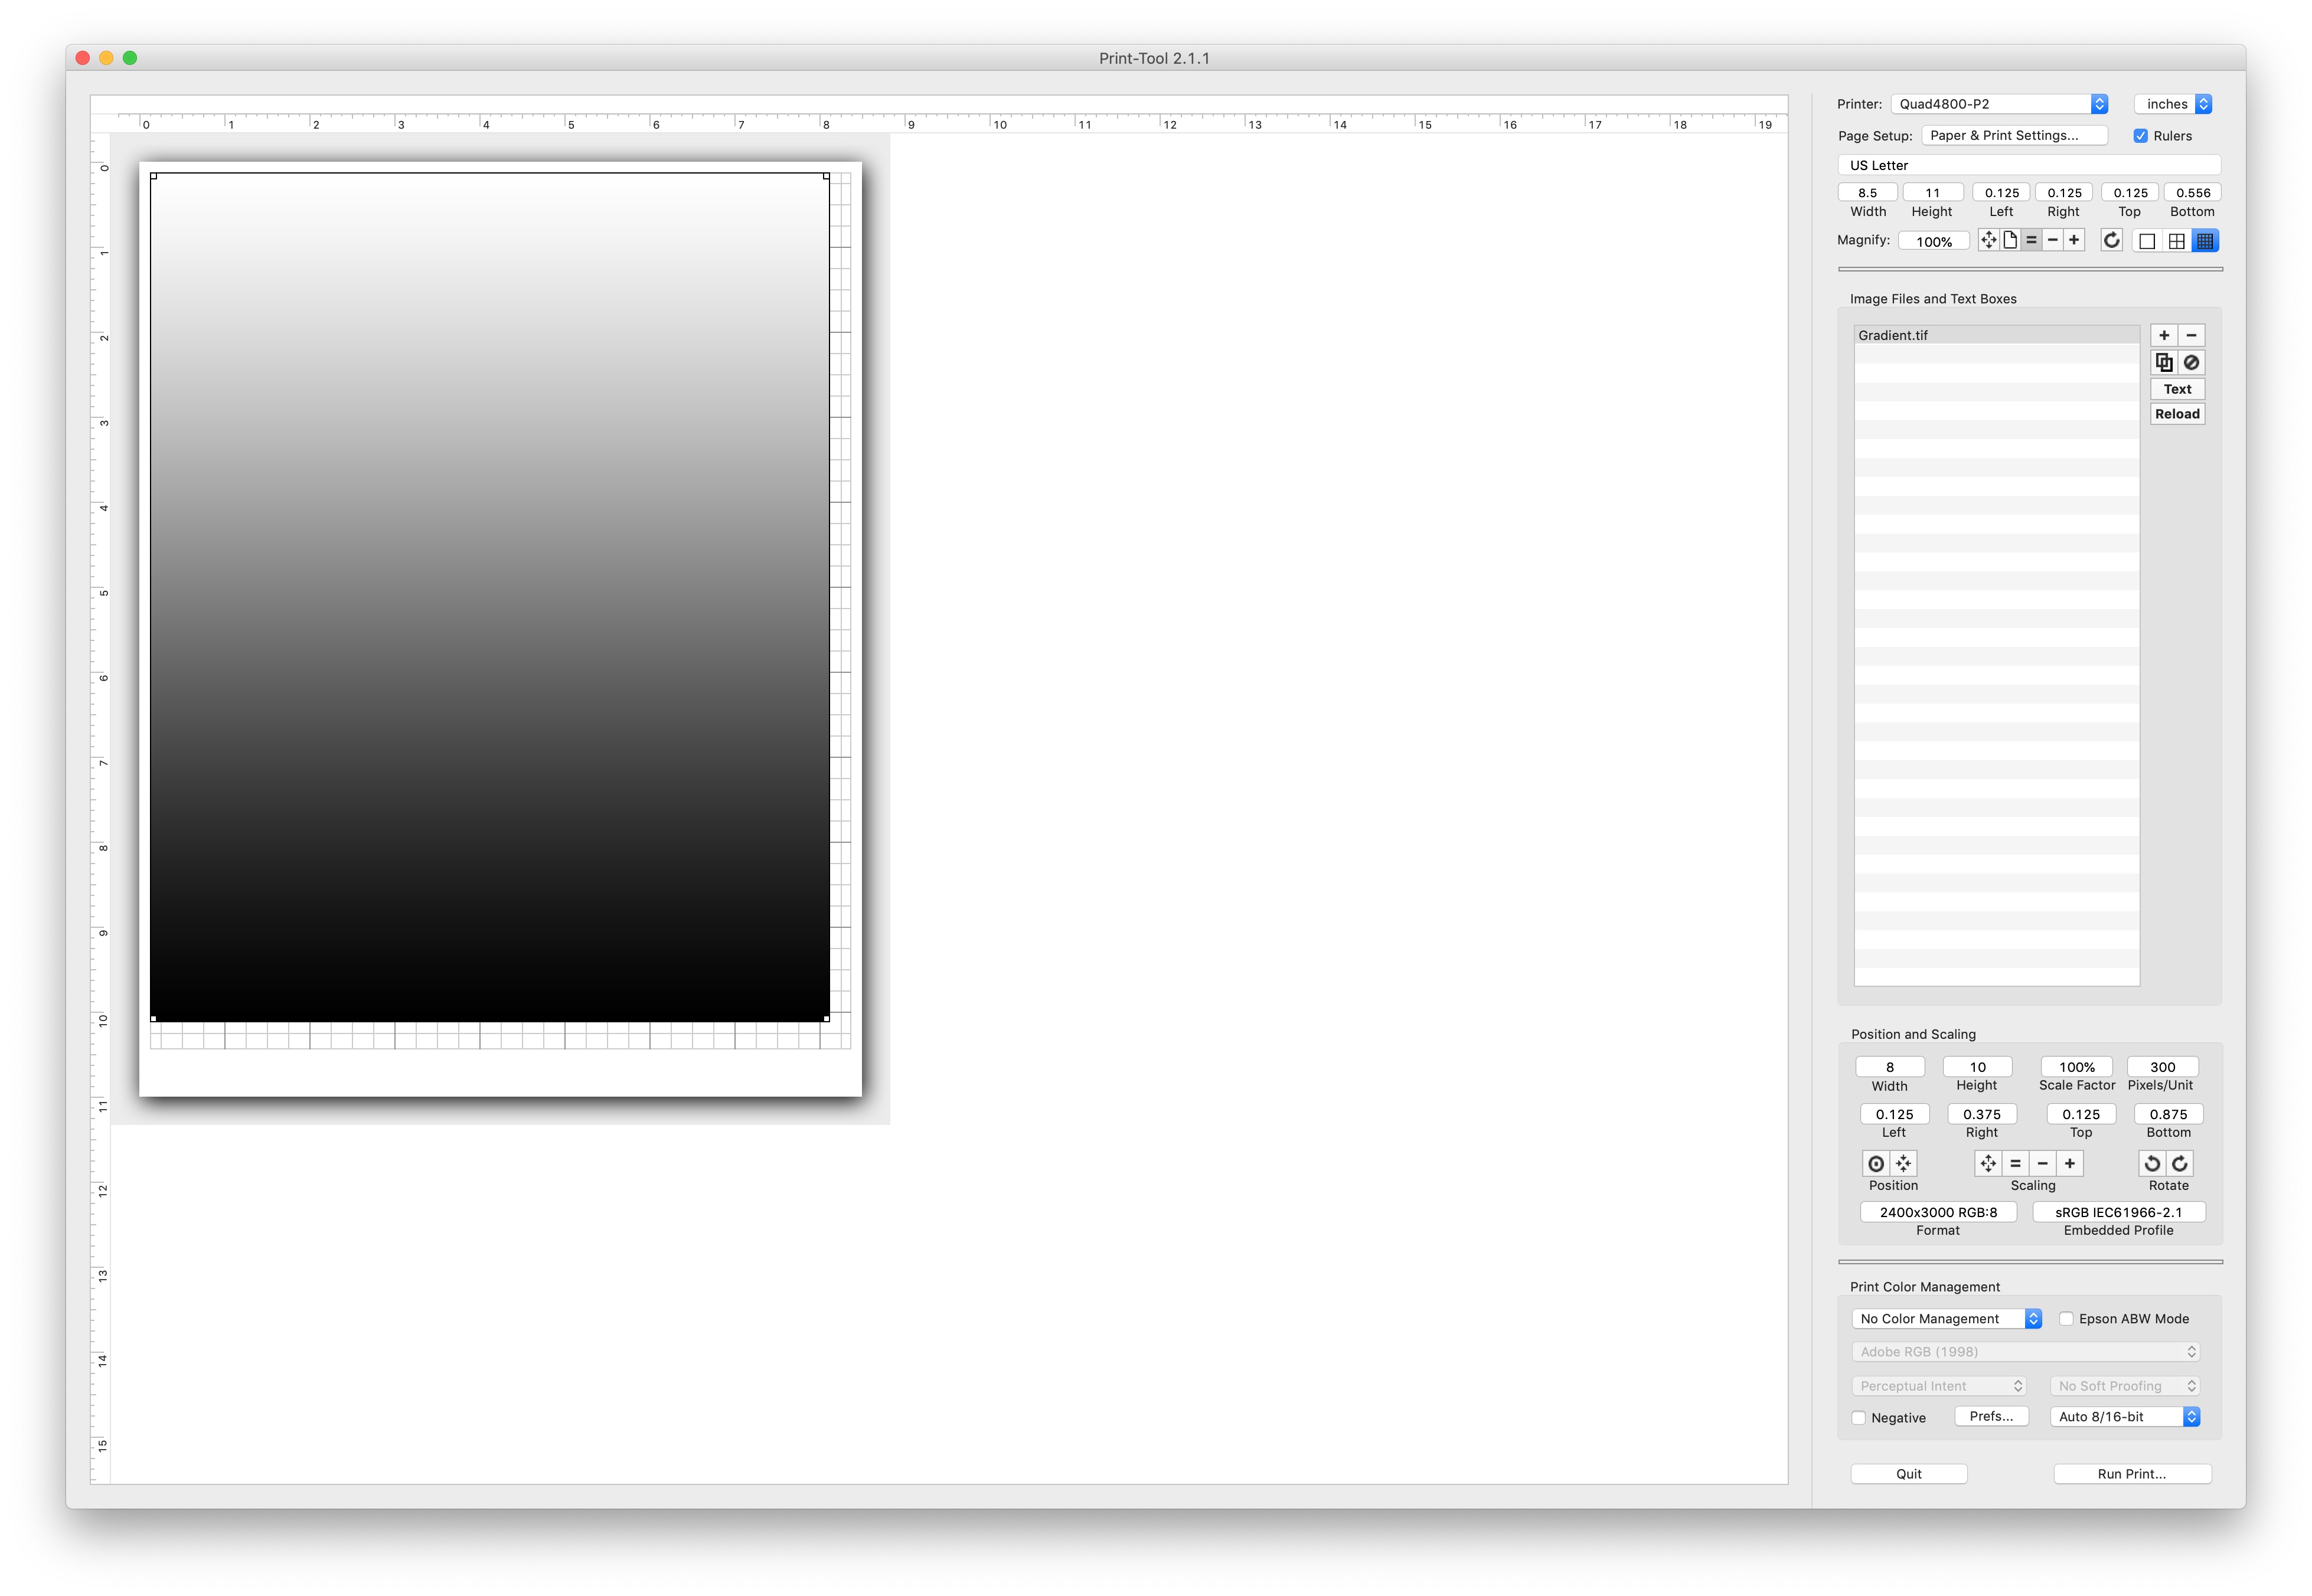
I created a simple gradient image from complete black to complete white and printed it. You can see it here. It clearly shows the boosting of the darker midtones.
Please share screenshots of your printing process. I would like to see the actual curve/setup you are using.
Also, you can drag/drop the image right into this window too. No need to post online elsewhere.
best,
Walker
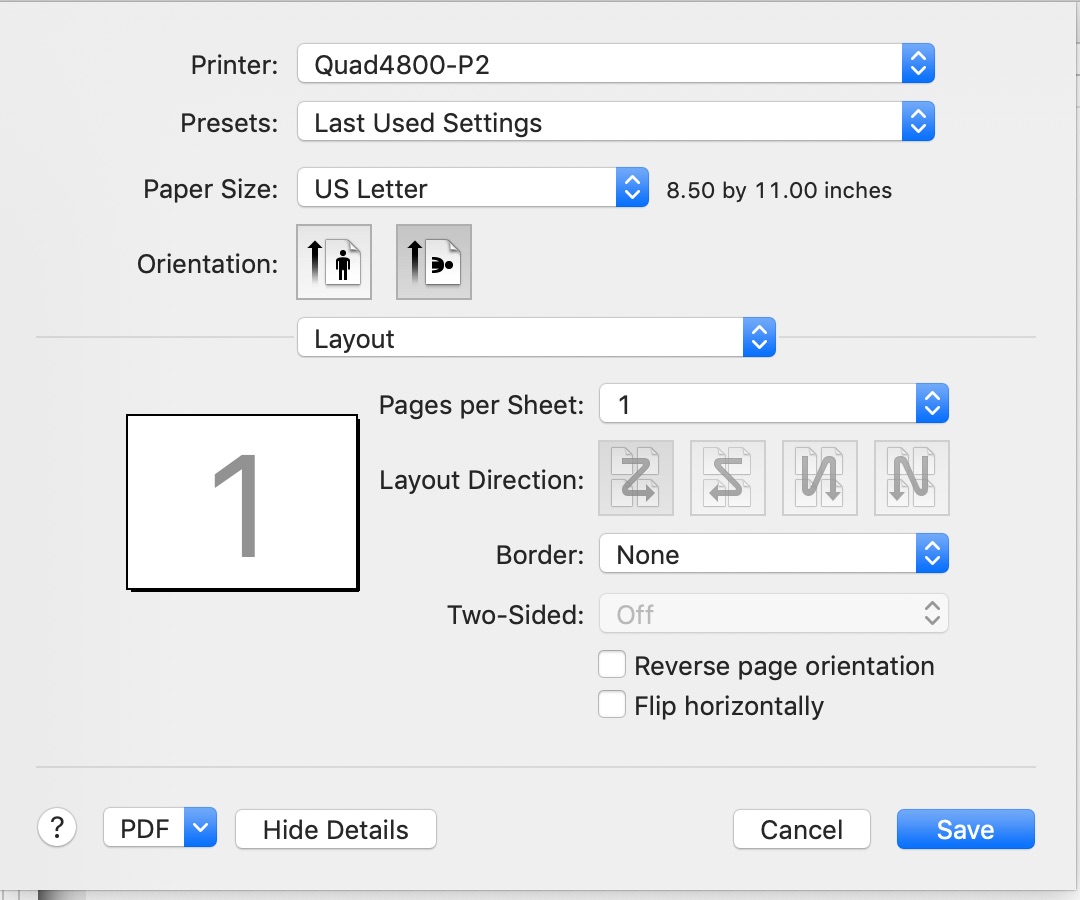
Below are what I believe to be the relevant screens. I will mention that I know the Embedded Profile is incorrect, but I tried Adobe RGB 1998 to no effect on one of the actual photos.
I also have an R3000 with K7 Special Edition loaded, so I ran the gradient and the 8 ink color test print for comparison. They both looked great, and aside from Carbon being darker, the 8 color test print was essentially identical in appearance.
Is there any way I can point the P2 Carbon curves to the R3000 to test?
Thanks.
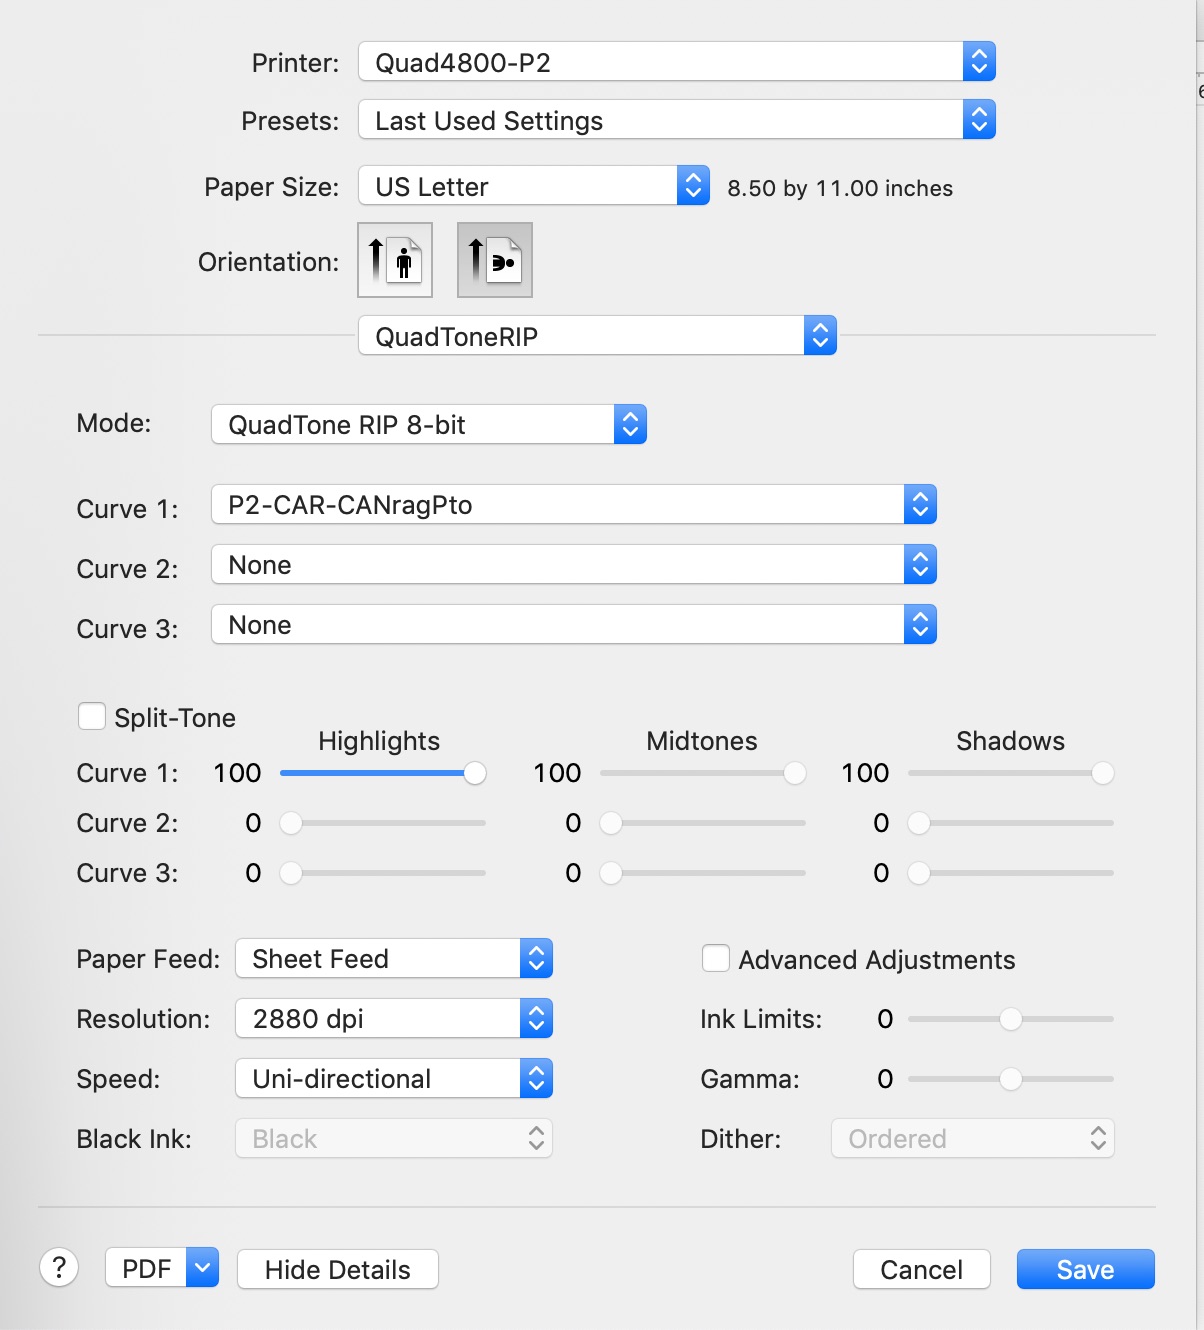
This is the correct (old school) .quad curve.
If the other printer is fine than the only other explanation I can think of is that there is a miss-filling or miss-placement of the cartridges.
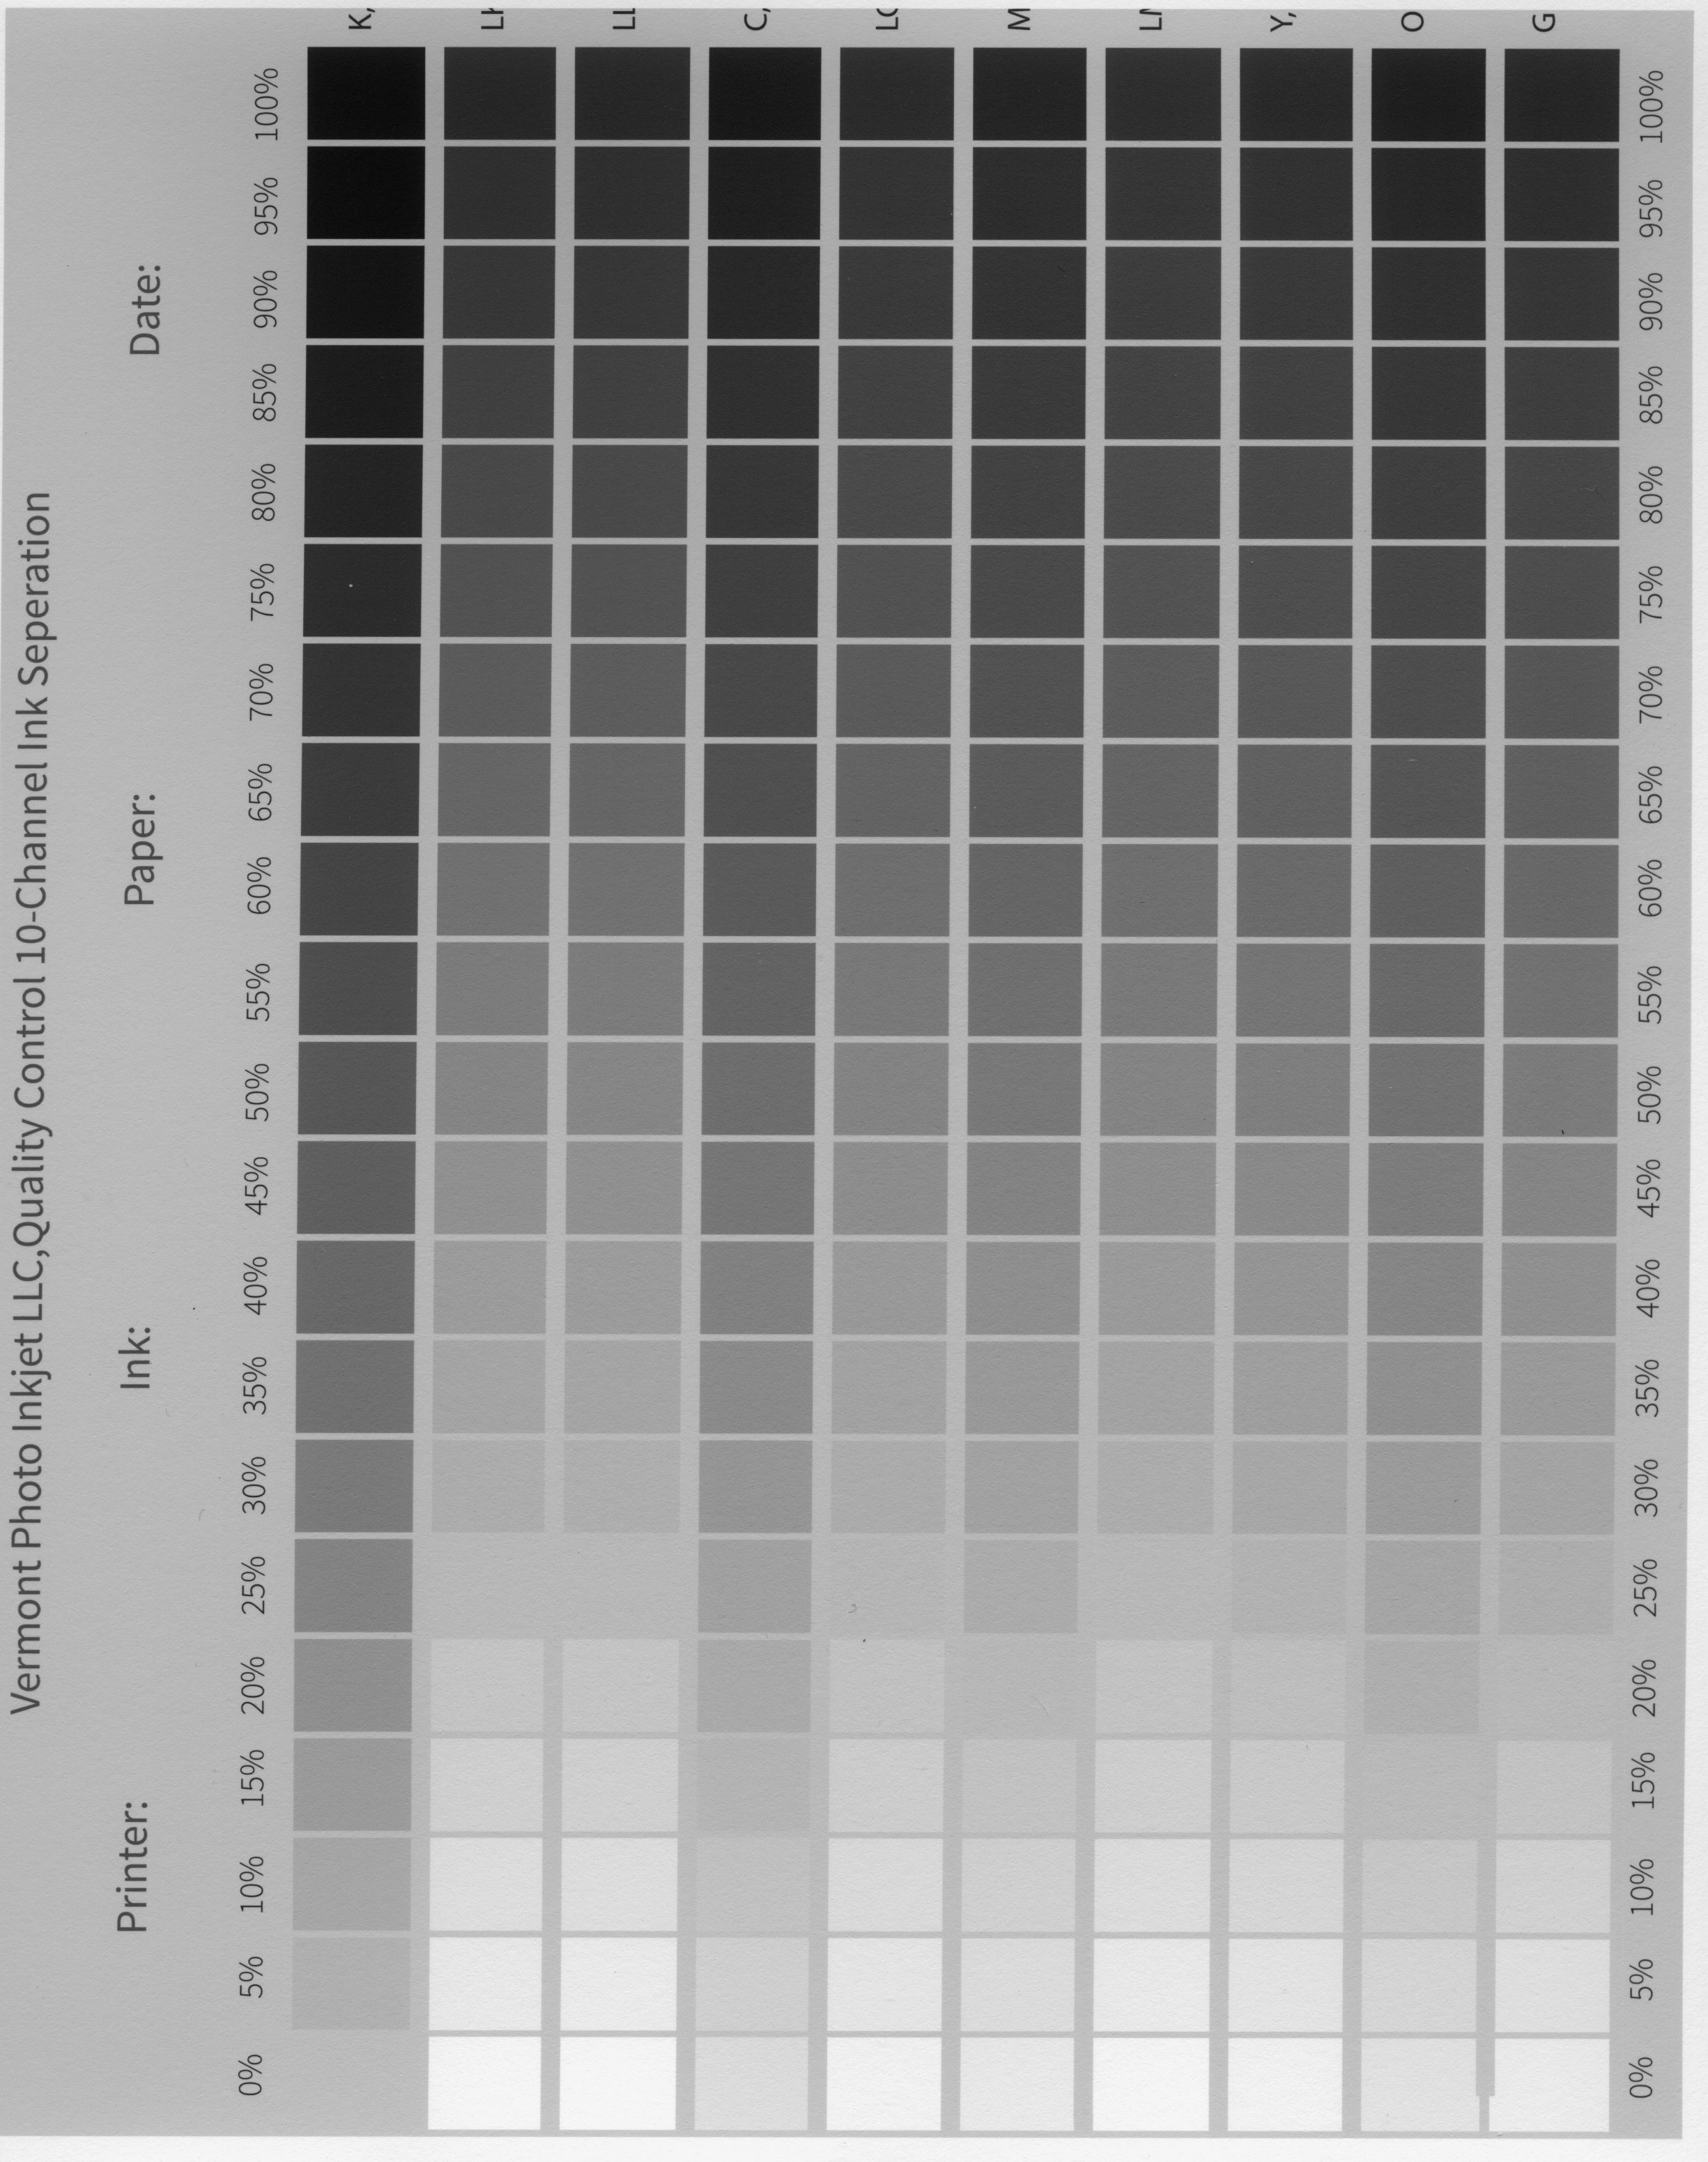
I suggest printing this target (in calibration mode) to verify the placement of the inks as described here https://piezography.com/choose-piezography-printers.
VPI-10InkSep.tif.zip (674.2 KB)
I double-checked the ink placement, and it is correct. Below is the test chart, and as far as I can tell it is fine. I’ll leave final judgement to you.
Thanks.
This was not printed in calibration mode.
Make sure you print without color management from print tool.
In QuadtoneRIP menu instead of selecting 16bit, select Calibration Mode.
best,
Walker
That’s what I get for doing it at the end of a very long day; I don’t follow instructions. Sorry. I believe you will find the image below a better effort.
Thanks.
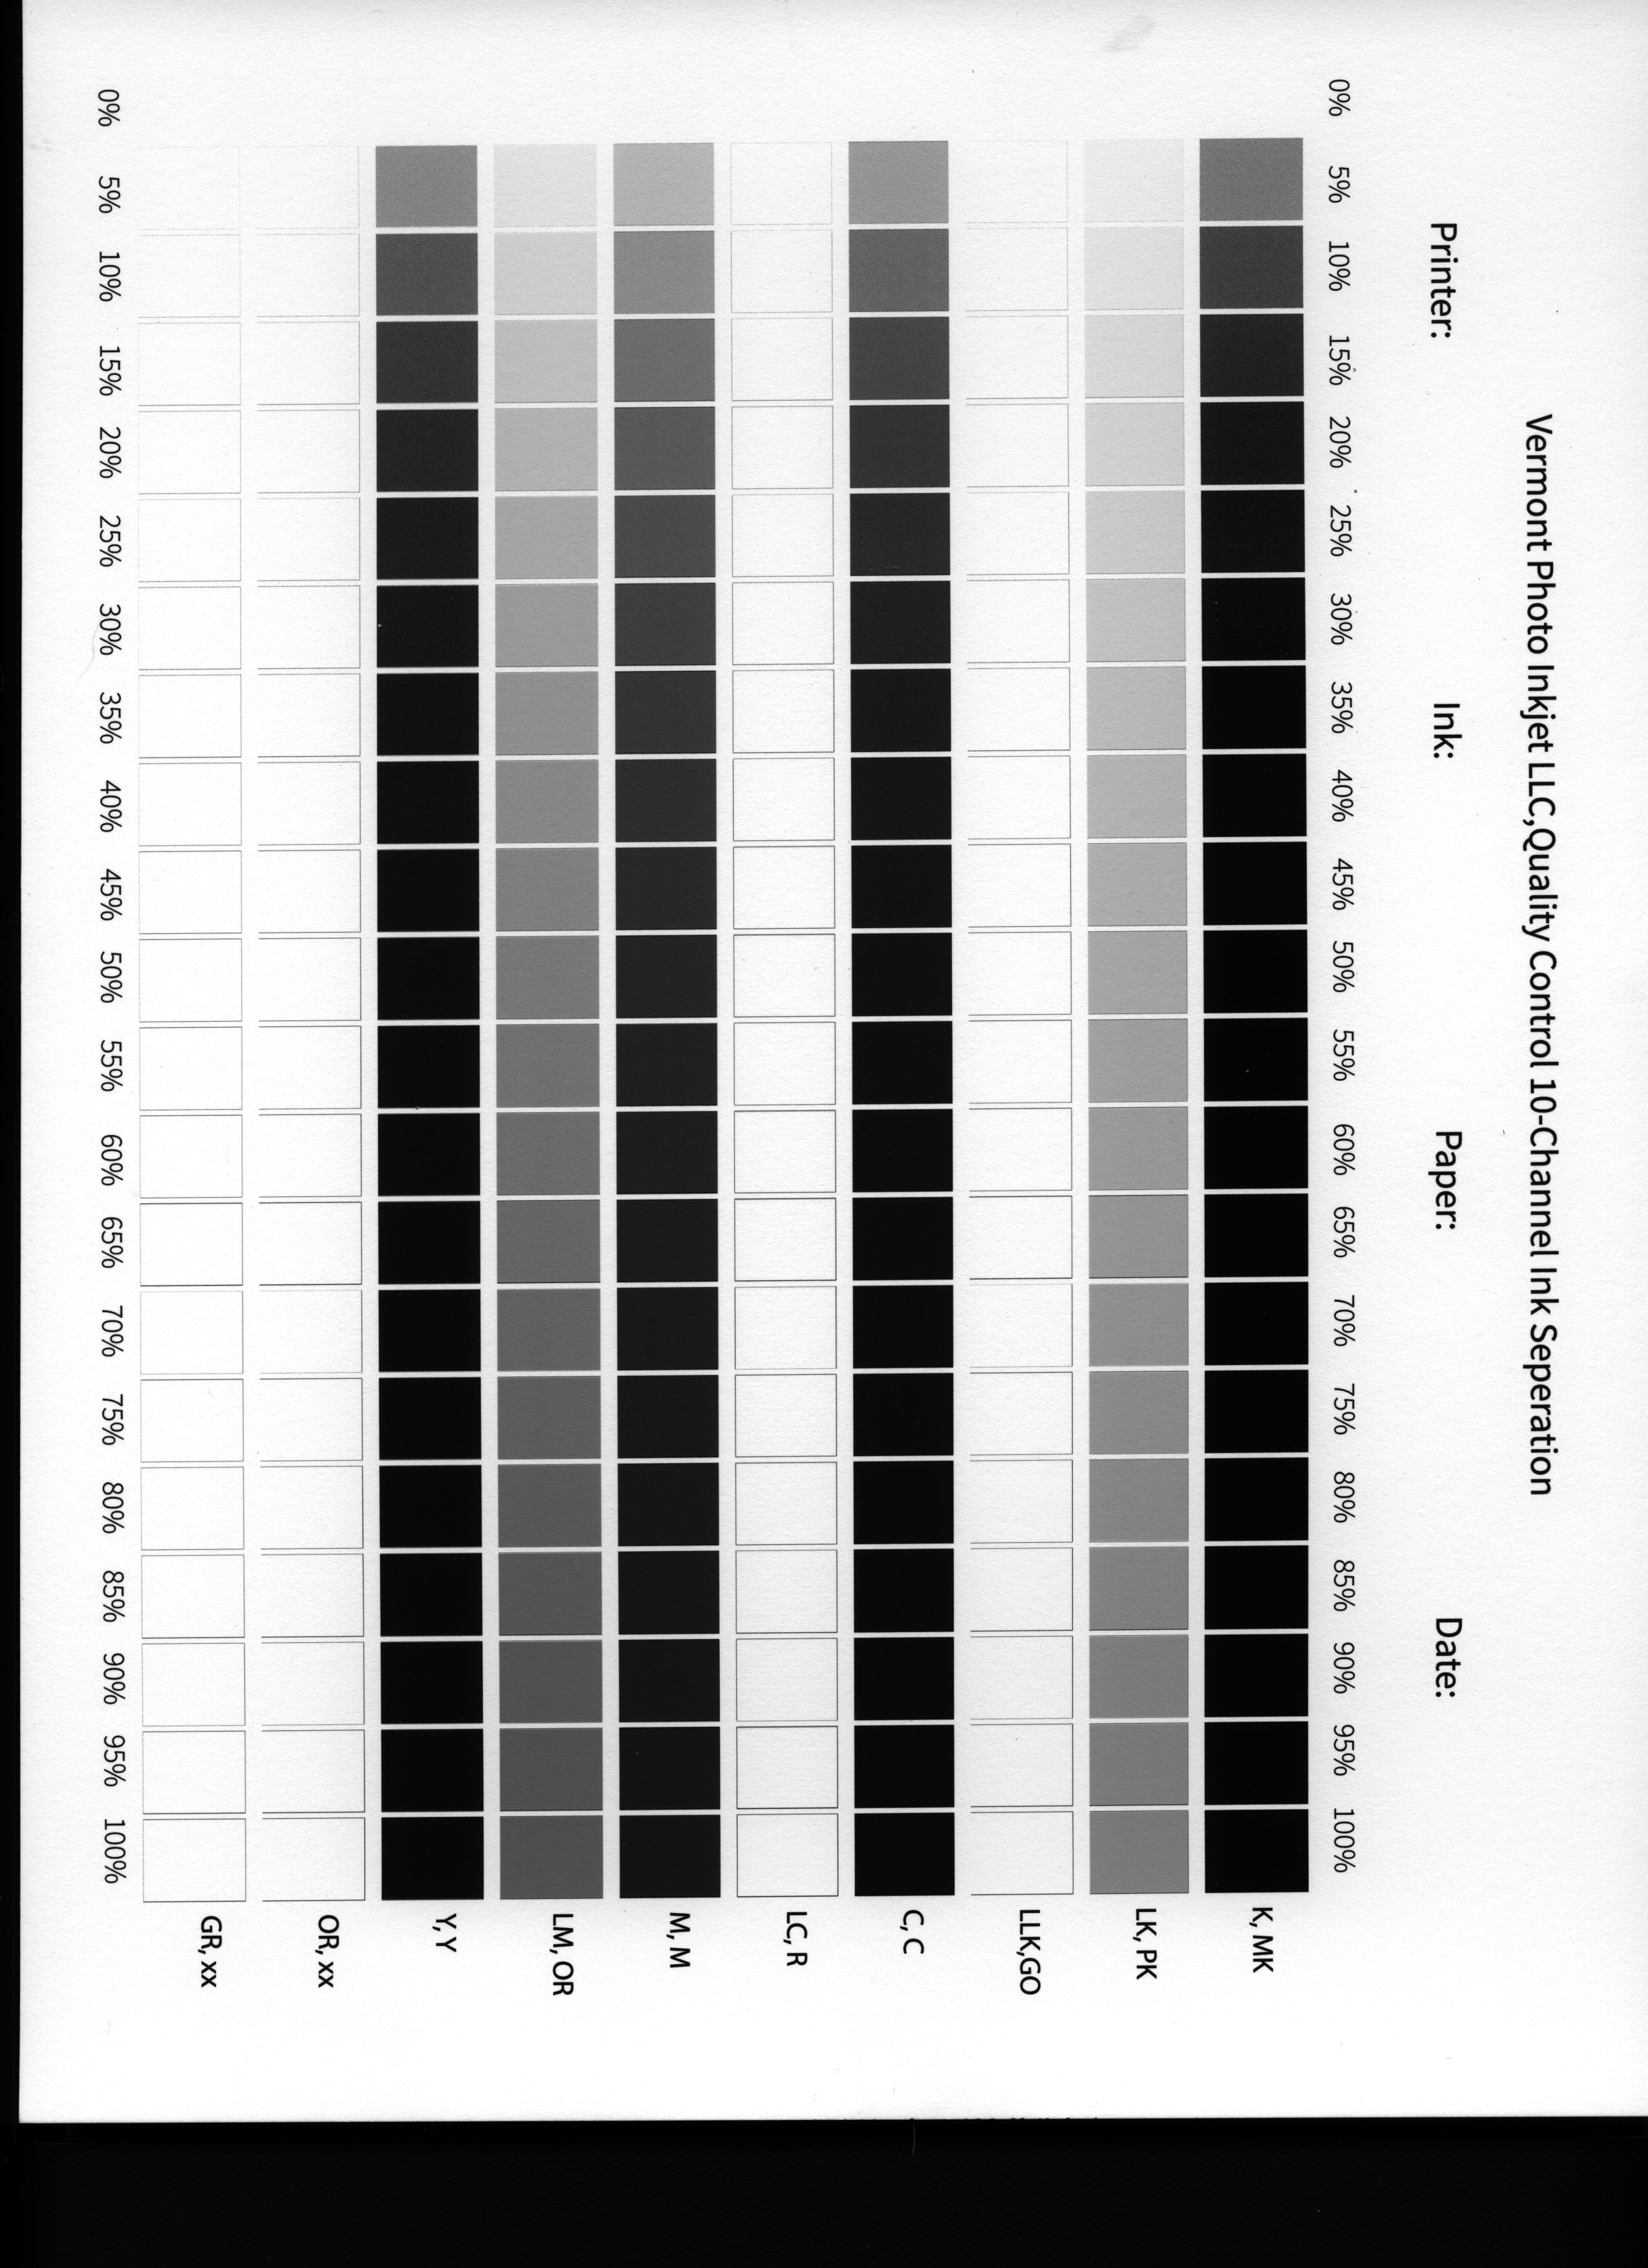
Ok. So it looks like nothing is coming out of your LC channel. This should be shade 3
I suggest priming the cart, doing a few cleanings, and a nozzle check to make sure everything is printing.
C: 2
LC: 3
M: 4
LM: 5
LK: 6
You are spot on! I primed the cartridge and ran a power flush. I then reran the QC sheet and got all seven inks.
This is curious because I had earlier run a test of all channels and LC looked good. However, I will reprint the QC page on the Canson paper that I use and save it for future comparisons should I run into further issues.
I ran an 8x10 proof of the photo that started all of this and it looked great. I then ran a 16x20 and it is fantastic.
Thanks for all of your help!
1 Like