I had been using my Epsom 1430 with Special Edition K6 on Hahn Photo Rag on my Mac running Catalina 10.15.2 with perfect output.
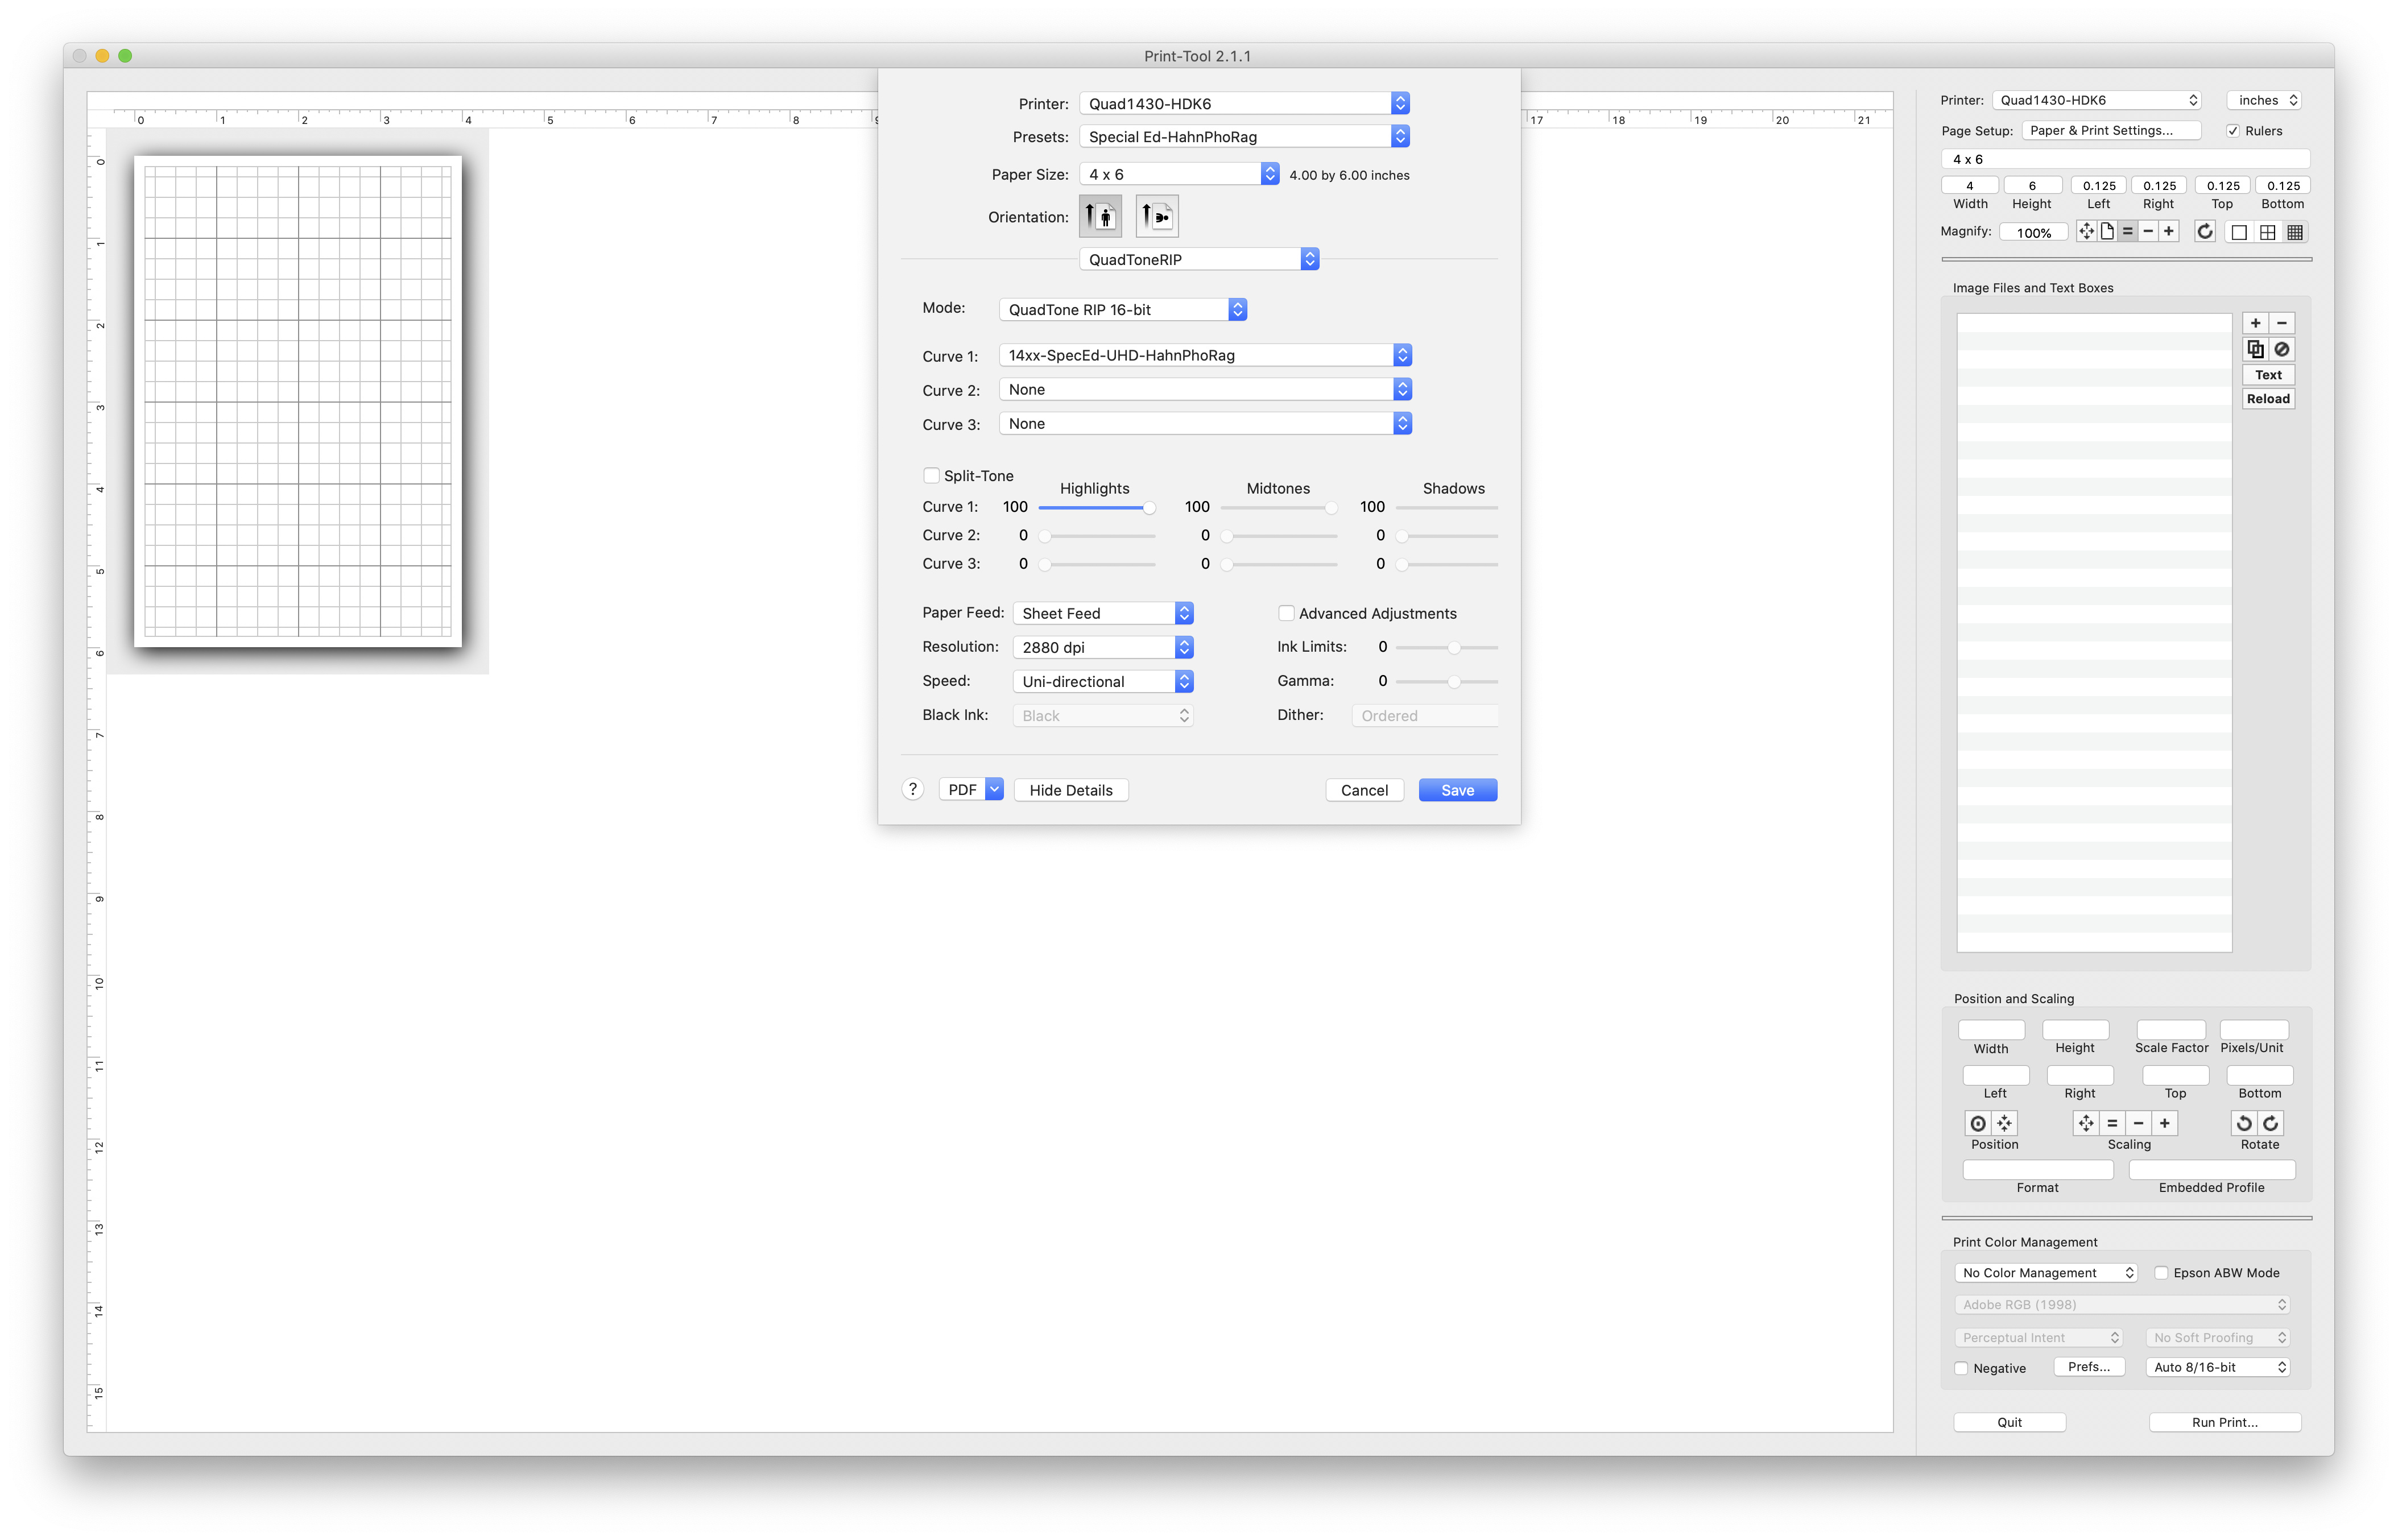
I decided to try the CISS system with Special Edition with UHD matte black and Hahn Photo Rag. I did a thorough printer cleaning with PiezoFlush prior to installing the CISS. I ran the nozzle cleaning cycle twice, then printed a nozzle check which looked perfect. Test print of Printer Test Page was perfect. I then tried a test print with Print Tool with appropriate curves (see picture). The first print came out blank (no ink).
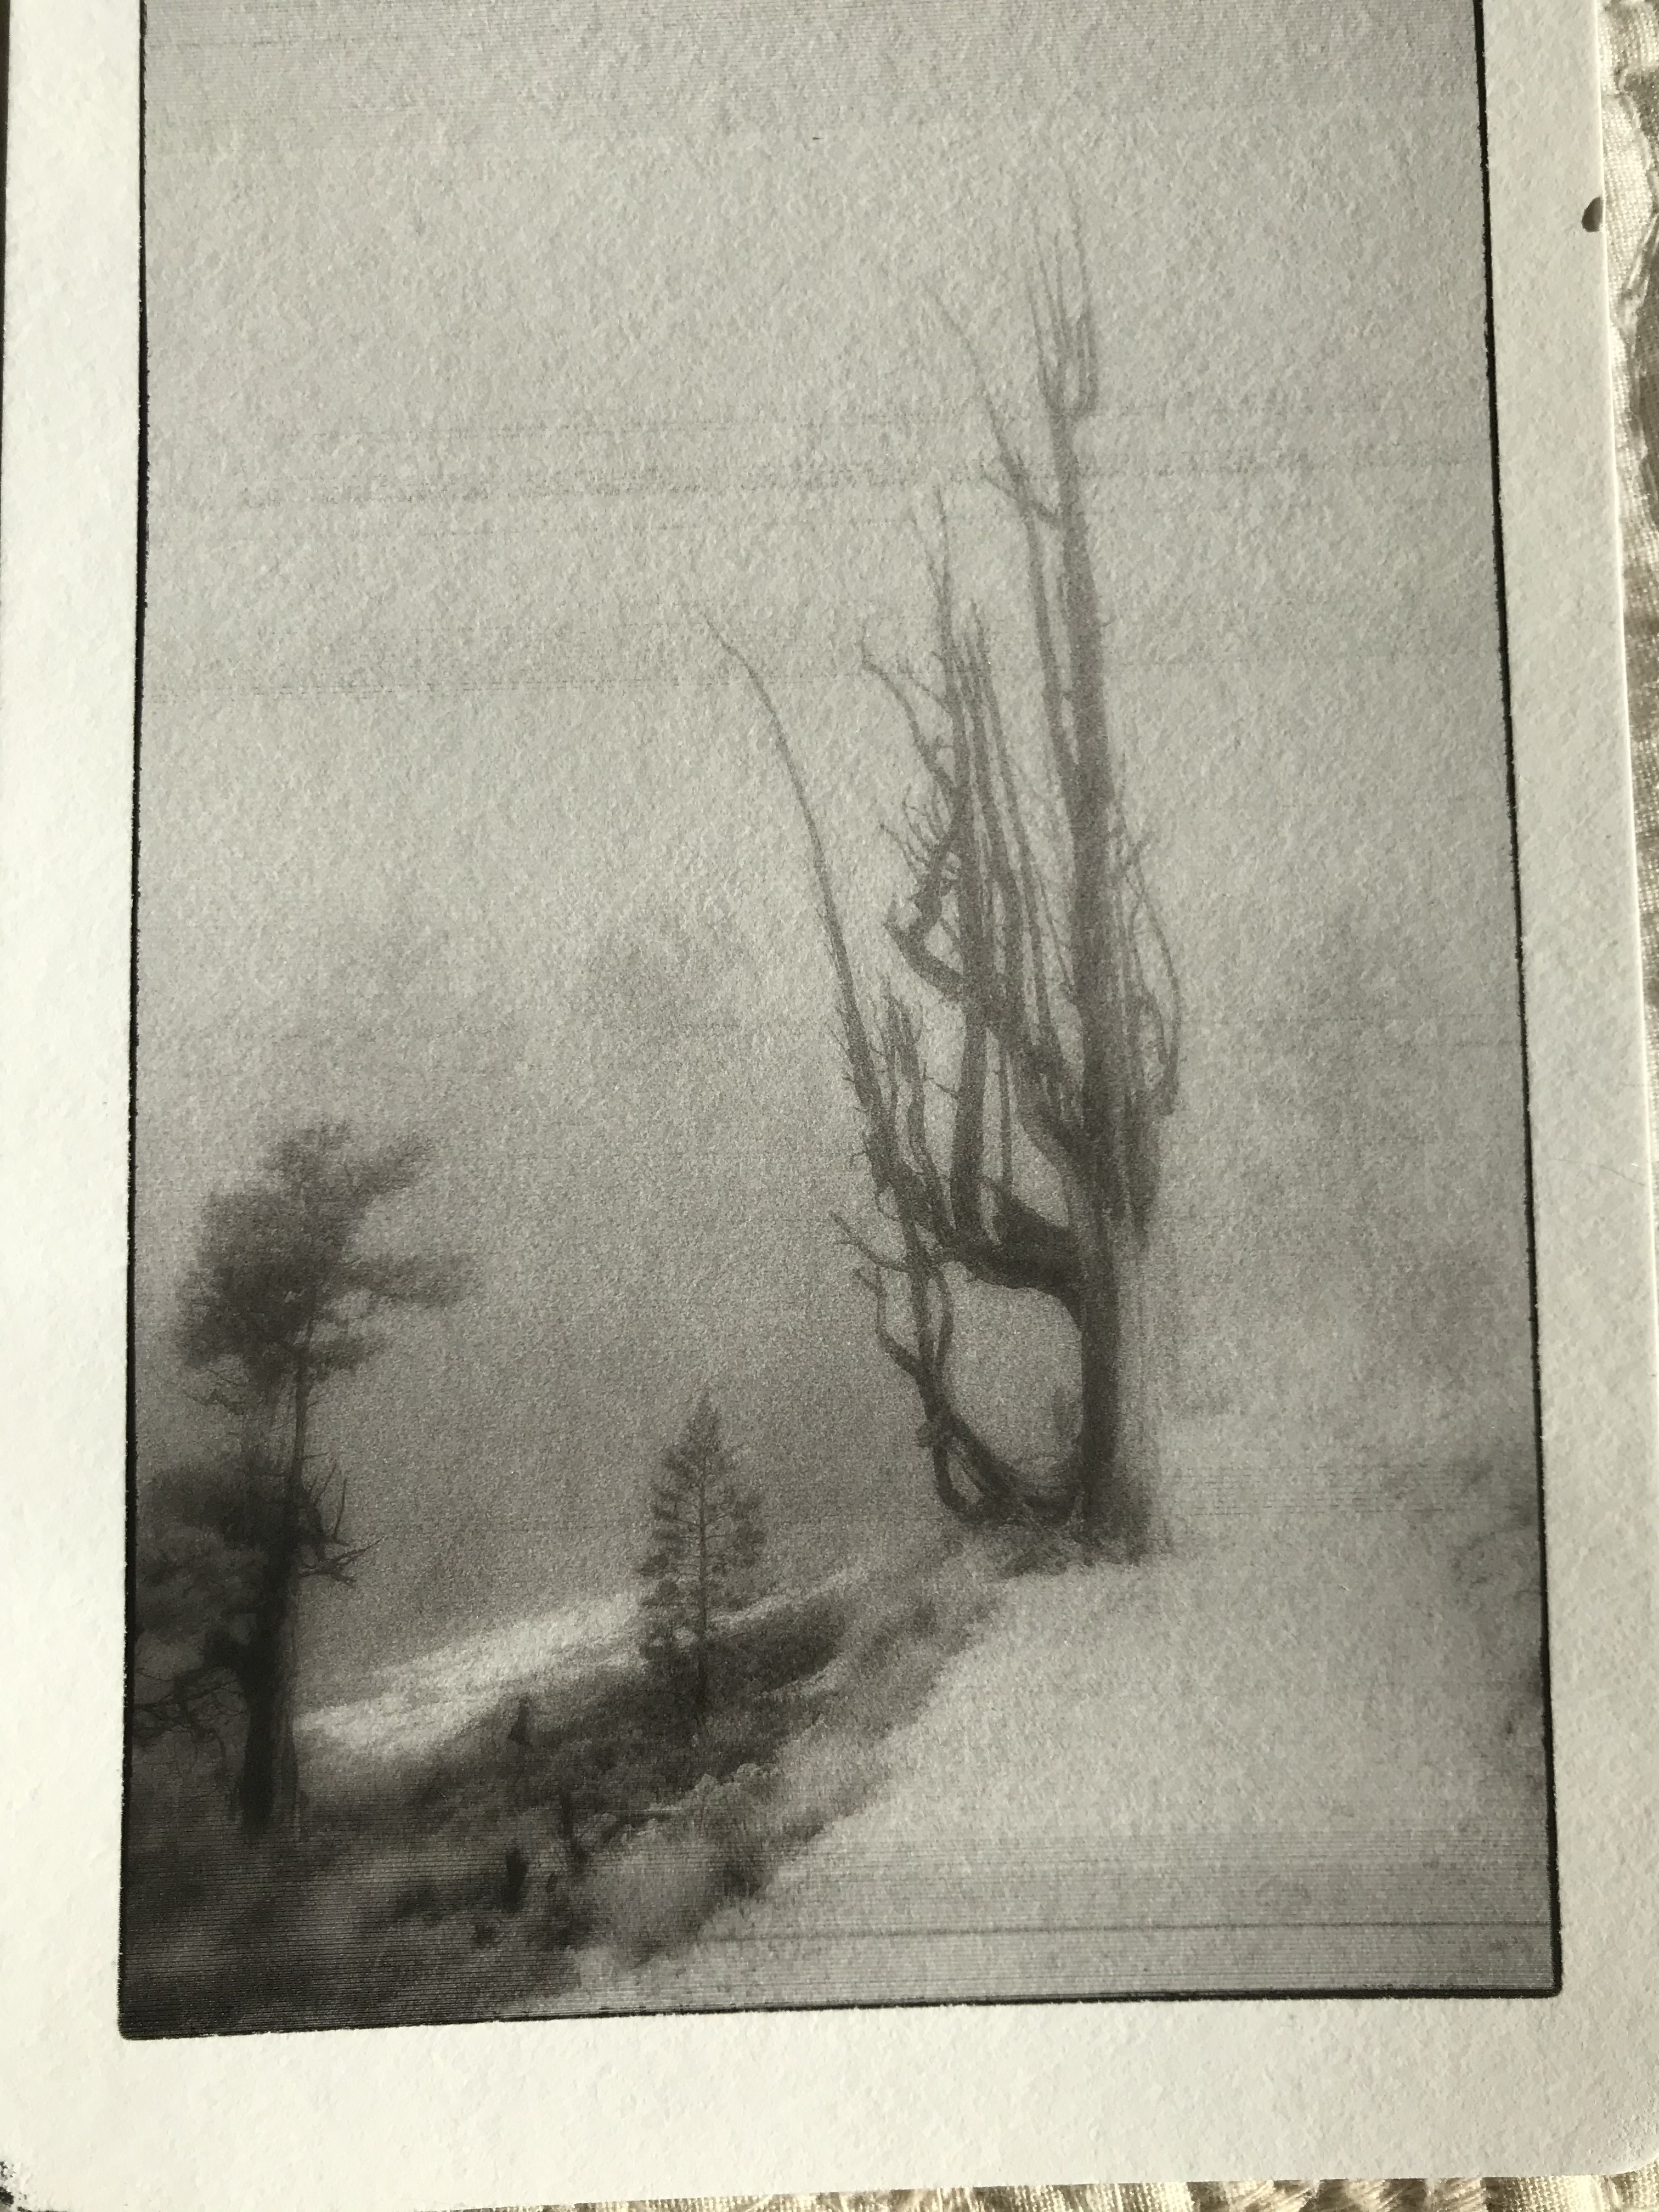
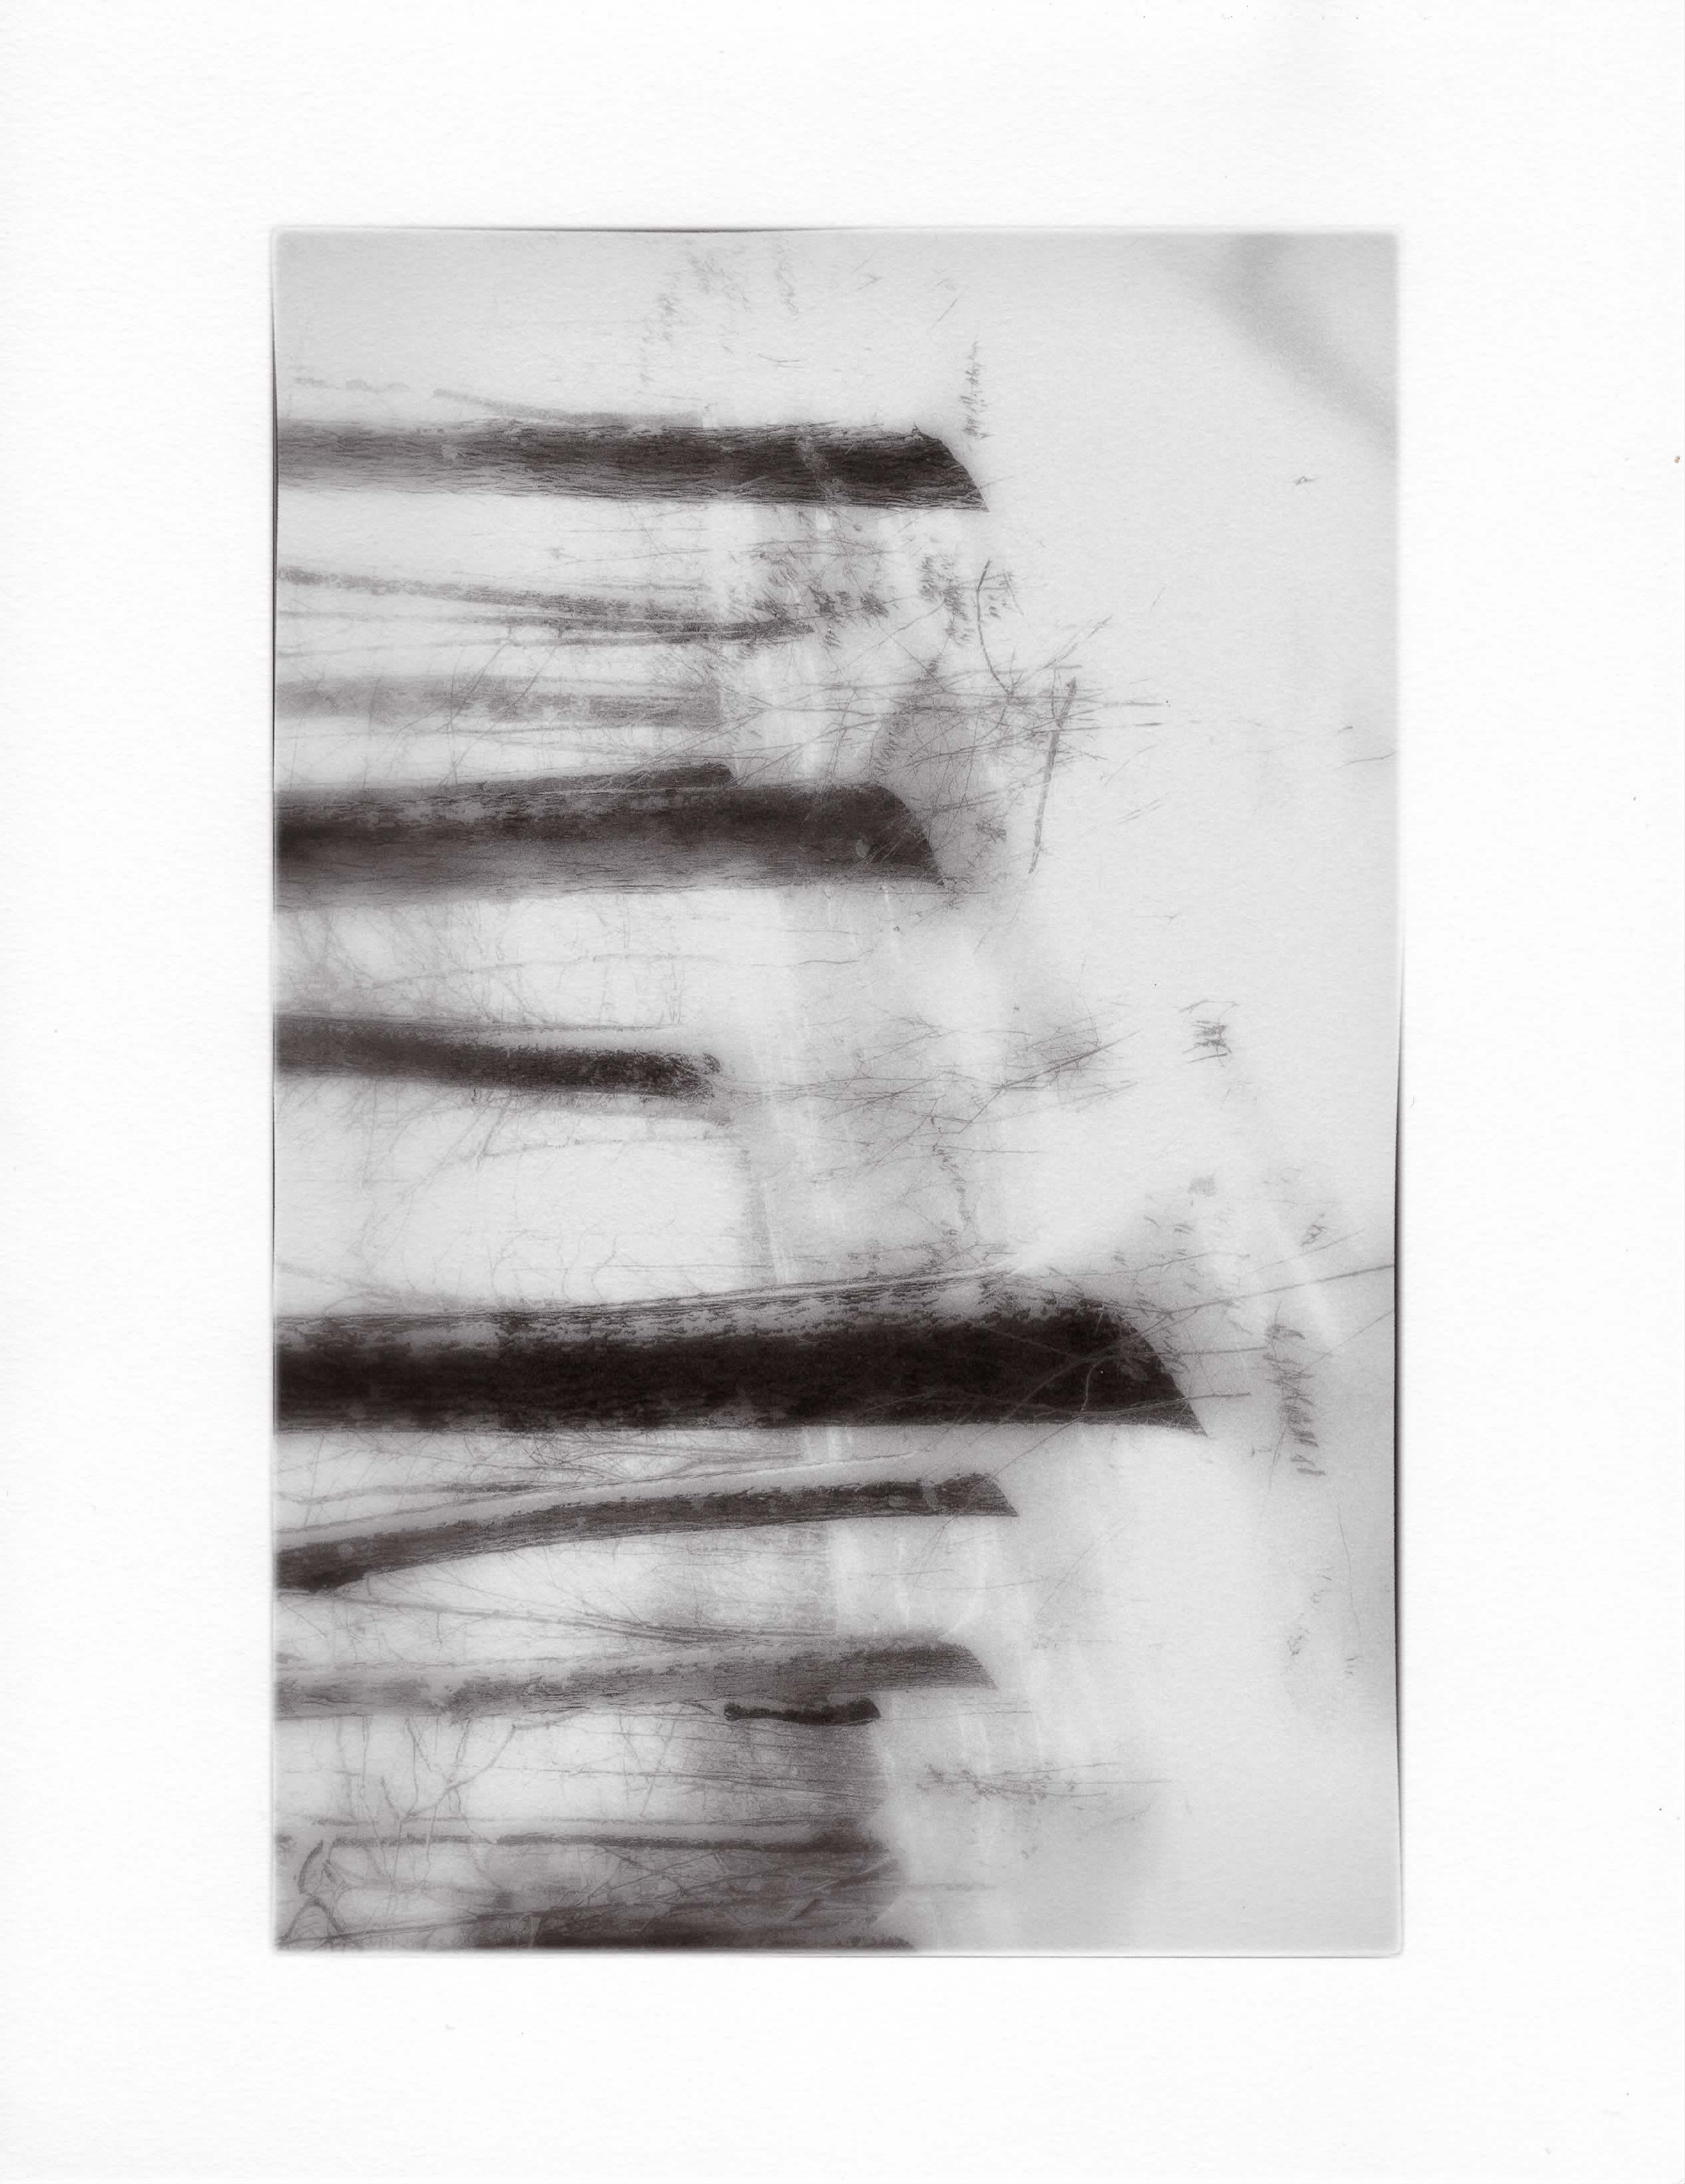
I then uninstalled Quadtone Rip, Piezography and Print Tool and installed fresh copies. Print Tool 2.1.1, QTRip 2.7.10 and Piezography Community Edition. Now all the prints have banding. (See print)
I can’t offer anything definitive here, but I can share my own experience which may or may not help.
A few years ago I ran a 1430 with the CISS. It worked fine for a short time, but after a few months I started to notice that when it was off (or even on but resting overnight) ink would flow backward from the head to the tanks in some of the lines. You could see this as clear sections of air in some of the lines. This indicated an air leak somewhere in the system — maybe at the cap where the head parked, maybe at a joint(s) where lines met head, maybe … Running several cleaning cycles before printing usually brought ink back to head, but having to do that every time became a nuisance. Replacing the CISS with refillable carts solved the problem.
Can you see air gaps in any of the ink lines?
It also looks like the bottom of your printhead might be dirty based on the stray ink drops at bottom left corner and upper right edge. Have you cleaned it lately?
A useful way to check ink channel function is to print the 6-channel ink purge page in QTR Calibration mode. It is found in Piezography>Images>QTR_Flush_Images. This will clearly identify which channel(s) are causing the problem.
Are the black edges around your image rough intentionally or is that also indicating a problem?
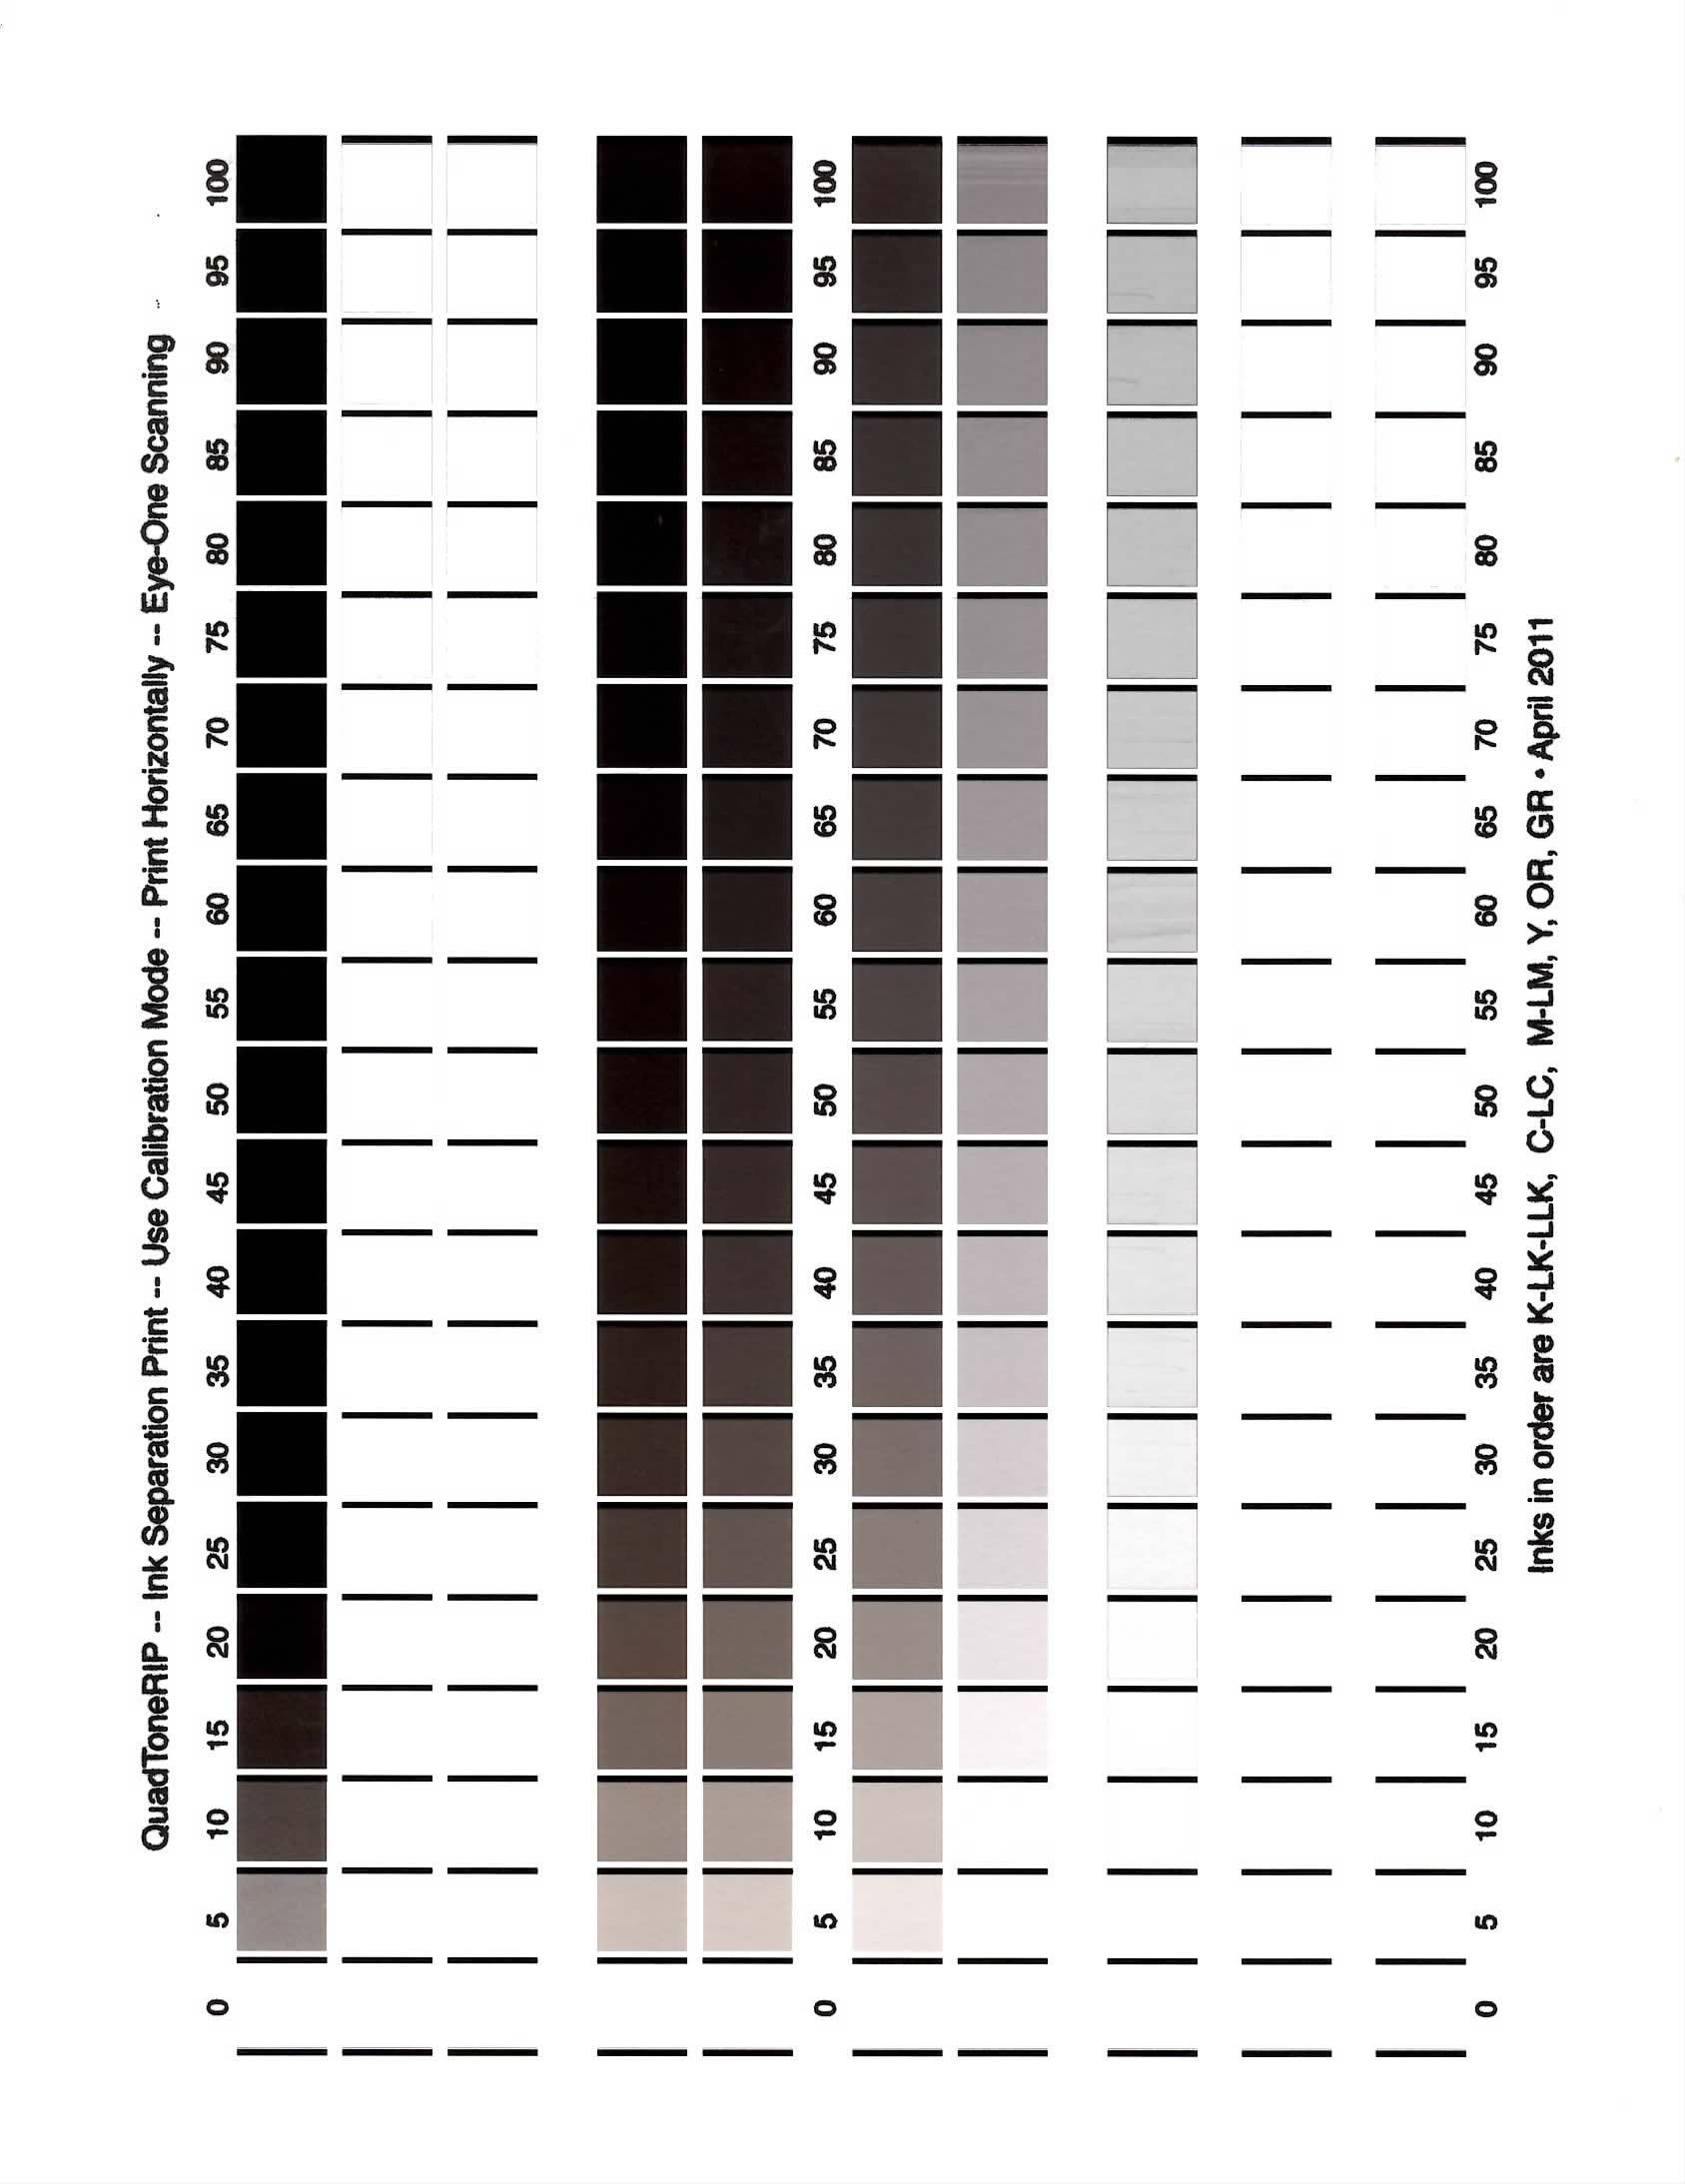
Thanks for your input Keith. This is my first experience with a bulletin board/forum. I am an old analog guy and relatively new to digital printing. I’m not sure how well I explained the problem. I do not see any gaps in the CISS lines. I did a thorough head cleaning with PiezoFlush before installing the CISS. The black rough border is intentional. I just printed the the QTR ink separation page…is that the one you meant? There is some banding in some of the squares but I don’t know how to interpret that or what to do.
Merry Christmas. Cheers, Neal
All that additional info helps. No gaps means the problem is not from an air leak. The rough border being intentional means we don’t need to consider that as an expression of the problem.
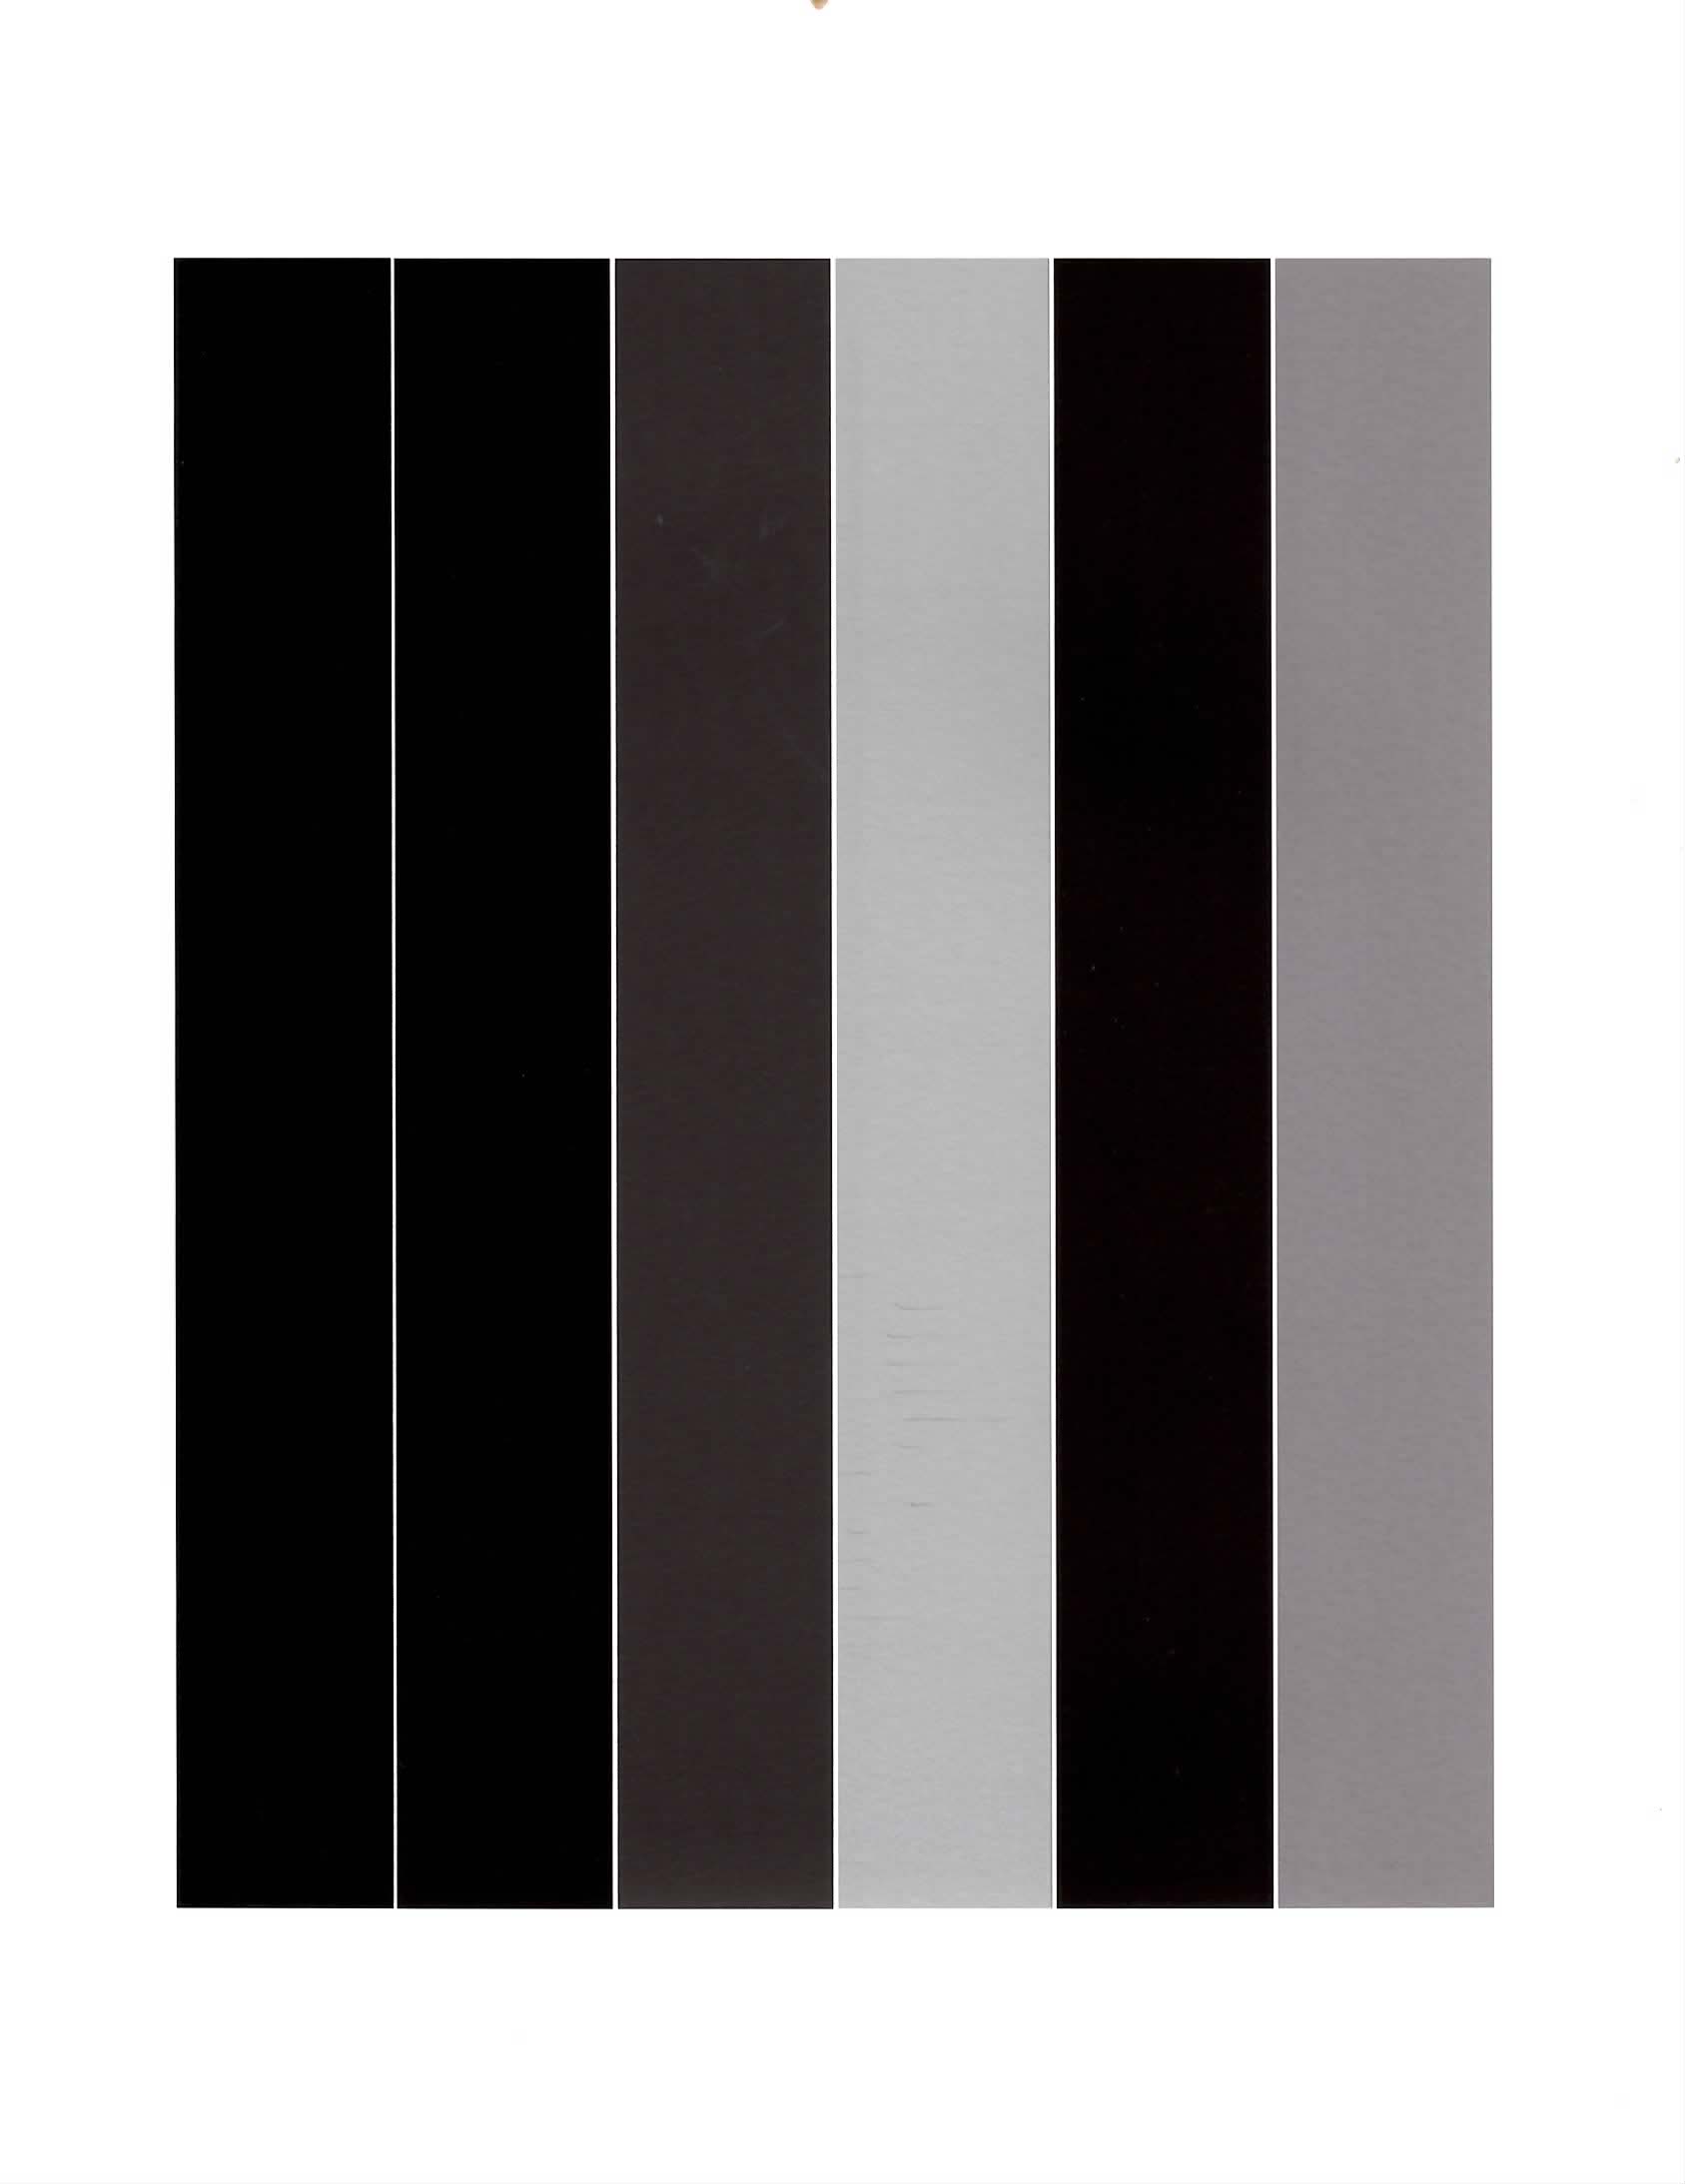
That’s an ink separation target. The purge/flush images are a little different. The one I mean is named QTR 6-ink purge and should be in the same folder. You should also see 8- and 10-ink purge images along with images for purging individual channels. The one you want looks like this:
Let me know if you don’t have it. It’s possible that I added things to this folder that came from elsewhere. I can upload to my Dropbox and you can download from there. (I am assuming that the above file has been shrunk by the forum software to a size too small for actual use, but maybe not.)
The thing about these purge files is that they sometimes “push” whatever is causing problems like yours through.
I’m going to go back to something I should have asked before anything else. Did you do a standard Nozzle Check from the Epson Printer Utility before printing the image, and if so were there any missing segments? It is important that you have a perfect nozzle check before printing.
It looks like you are using 2880dpi and unidirectional printing, both of which are good. You might want to try 2880 super, but I doubt that will solve this problem.
I have some other ideas, but let’s start with these.
Hi Keith, I did a nozzle check right after installing the CISS and it was perfect. I printed the 6 ink purge using the file attached to your last message. There wasn’t one in my Piezography folder. I just rechecked it and there is a gap in the 2nd channel. I have run 6 head cleaning cycles and after each one, new gaps appear in the test, now in channels 2, 3,5 & 6.
I suppose it could be a function of the scan, but it looks like you may have used too high of an ink limit in the Calibration mode print. If you are doing it on plain paper it should probably be in the range of 30-40%, otherwise it floods the paper. This could explain columns 1, 2, and 5 being indistinguishable. It could also explain what look like drag marks in column 4.
For reference, the ink order in the flush print is K/1, C/2, M/4, Y/6, LC/3, LM/5.
The gradual loss of nozzles during your head cleaning - nozzle check cycles actually points to a very likely possibility. Did you remember to open the vent plugs on the CISS? Do doing so will prevent ink to flow to the head.
Thanks for the Flush files! Yes, I am and have been printing with all of the vent plugs open. I just ran the 6 ink flush on plain paper at 30%. Very little tone difference between the columns but no bands! Test print is good! No more banding! I can’t thank you enough. I was getting ready to jump off a cliff.
I don’t have and can’t find the ICC for soft proofing Special Edition K6 with the UHD matte black for Hahn Photo Rag matte paper. Do you have a copy? I am working with the ICC for the original Special Edition and it doesn’t seem quite right.